If you cannot type in a regional language in Windows 11, follow these workarounds to resolve the issue. From an incorrect keyboard setting to an interruption by third-party software, anything could be responsible for this error.

Cannot type Regional Language in Windows 11
Follow these instructions if you cannot type a regional language in Windows 11
- Add preferred language
- Choose the correct keyboard
- Disable third-party regional language typing software
- Select the desired language from system tray
- Check Advanced keyboard settings
- Install a different font
To learn more about these solutions, continue reading.
1] Add preferred language
In order to type a different language other than the system language, you need to add it first. To do that, follow these steps:
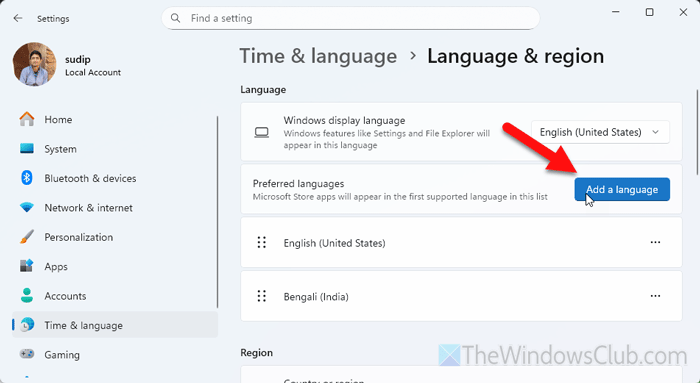
- Open the Windows Settings panel.
- Go to Time & language > Language & region.
- Head to the Preferred languages section and click on the Add a language button.
- Choose the language and click the Next button.
- Click the Install button.
Read: How to Install and Uninstall Languages in Windows 11
2] Choose the correct keyboard
Choosing the correct keyboard layout is one of the most essential parts of solving this issue. If you select an incorrect keyboard layout, you will end up typing squares and rectangles instead of the actual words.
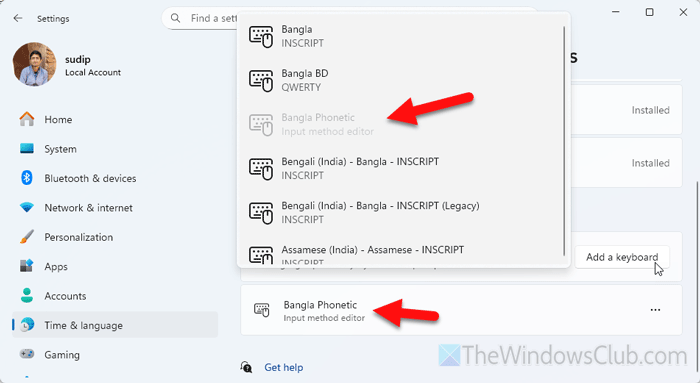
To choose the correct keyboard layout, follow these steps:
First, press Win+I to open the Windows Settings panel. Then, go to Time & language > Languages & region.
Select the language, click on the three-dotted icon, and select the Language options.
Then, click on the Add a keyboard button and try selecting the Phonetic keyboard layout.
3] Disable third-party regional language typing software
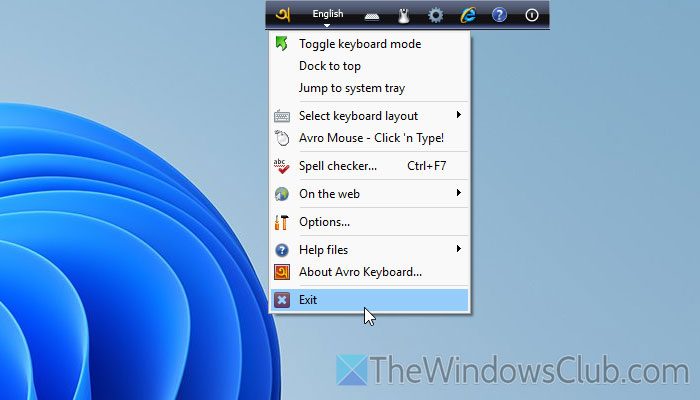
There is plenty of third-party typing software available in the market that helps you type regional languages in different apps. As they offer more options and flexibility, many users often install them on their computers. If you have done something like that, it is recommended to temporarily disable the software and check if it resolves the issue.
In our case, we have been using Avro Keyboard to type a certain regional language, and it was the culprit. Upon disabling this tool, we got what we were looking for.
Read: Best free tools for Typing Practice for Kids on Windows 11
4] Select the desired language from system tray
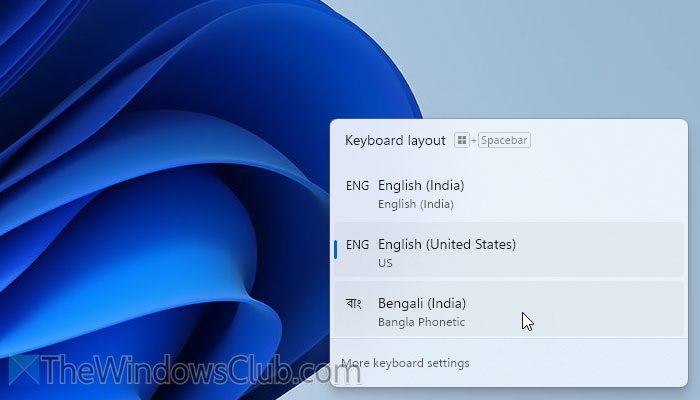
No matter how many languages you have enabled to type on your computer, you need to choose the language manually to start typing. There are mainly two options to select the desired language: from the system tray or the Taskbar.
First, you can use the keyboard shortcut, which is Win+Space. However, the problem arises when you have five or six languages. In that case, you need to keep pressing the set of shortcuts.
If you want to know a shortcut method, you can click on the language bar visible on the Taskbar and choose a language as per your requirements.
Read: Windows key + Spacebar not working in Windows 11
5] Check Advanced keyboard settings
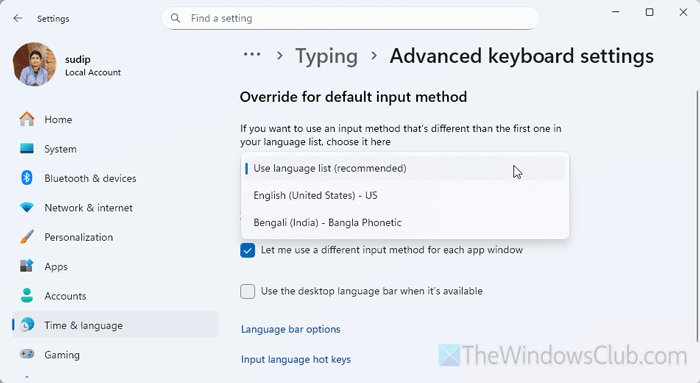
The Advanced keyboard settings in the Windows Settings panel help you override the default input method. In other words, if you want to opt for a specific language instead of showing the language bar in the Taskbar, this option is for you. From the opposite perspective, if you enable this setting, you cannot type in another language, regardless of whether it is a regional language or not.
To check the Advanced keyboard settings, follow these steps:
First, open the Windows Settings panel by pressing Win+I. Then, go to Time & language > Typing > Advanced keyboard settings.
After that, expand the Override for default input method drop-down menu, and select the Use language list option.
Read: How to reset Keyboard settings to default in Windows 11
6] Install a different font
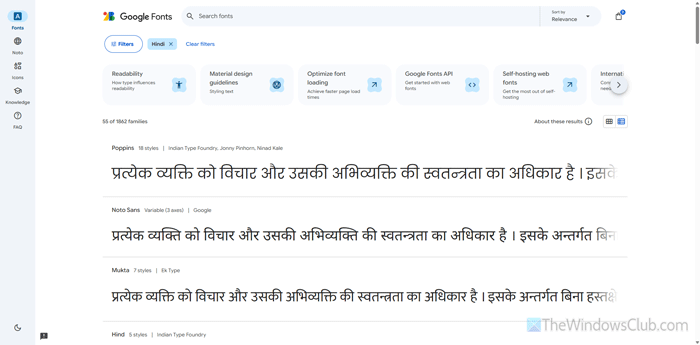
If none of the above solutions have worked for you, it is suggested that you try a different font for your regional language. You can find plenty of fonts on the Microsoft Store as well as third-party websites such as Google Fonts, DaFont, MyFonts, etc.
Read: Cannot switch Keyboard Language in Windows 11
How do I add regional language to Windows 11?
To add a regional language in Windows 11, you need to open the Windows Settings and go to Time & language > Language & region. Click on the Add a language button and choose the language. Click the Install button.
How do I force change the language on Windows 11?
To force-change the language on Windows 11, open the Windows Settings and go to Time & language > Typing > Advanced keyboard settings. Expand the drop-down list and select the desired language as per your needs. Also, remove the tick from the Let me use a different input method for each app window checkbox.
Read: How to override default Regional Format settings in Windows 11.