If you receive Error 0x803c0103 when running the Windows Update Troubleshooter, this post will help you resolve it. While the troubleshooter is meant to resolve the problem but in this case, it also gets stuck and is unable to fix.
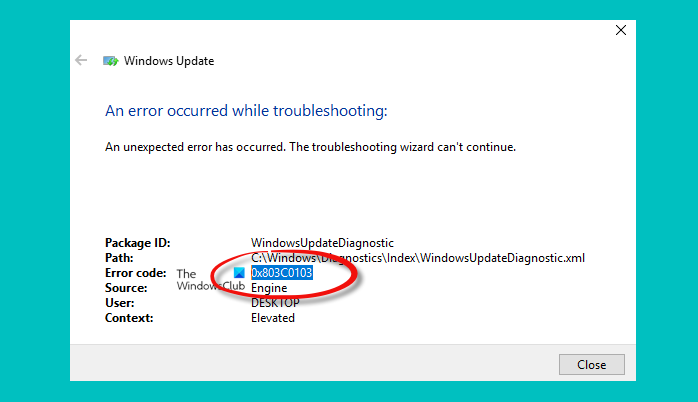
What is Error Code 0x803c0103?
Error Code 0x803c0103 ‘Unexpected error’ occurs when the Windows Update Troubleshooter fails to run and the troubleshooting wizard cannot continue on your Windows computer. Use FixWin to fix this error.
Fix Error 0x803c0103 in Windows Update Troubleshooter
If Windows Update Troubleshooter displays Error 0x803c0103 while troubleshooting, then use FixWin to carry out these suggestions and successfully resolve the issue:
- Run SFC and DISM Tools using FixWin
- Reset catroot2 and SoftwareDistribution folders using FixWin
- Reset Windows Update Component
- System Restore
- Run Windows Update Troubleshooter in Clean Boot State.
Before you begin, download our portable freeware called FixWin, extract the contents and run FixWin.exe as administrator
1] Run SFC and DISM Tools
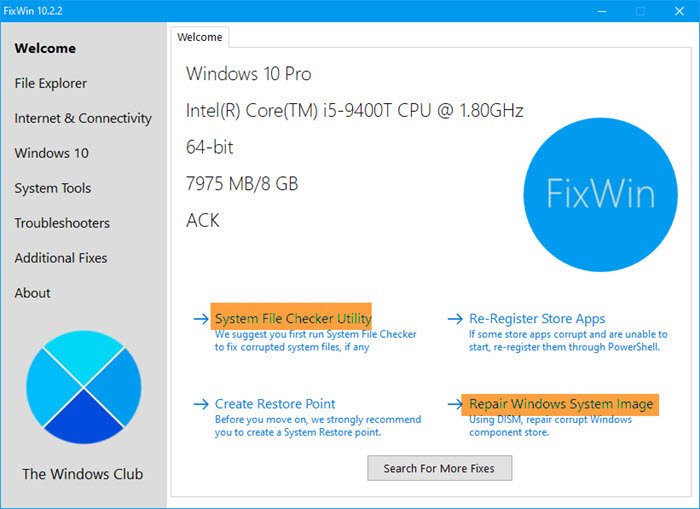
The System File Checker will repair and replace corrupted Windows OS files whereas the DISM Tool will repair a corrupted system image.
Open FixWin and from the Welcome page click on Run System File Checker first. Wait for the scan to complete and then restart your computer.
If there is an issue, the tool will inform about it and fix the problem automatically.
If your Windows Update client is already broken, you will be prompted to use a running Windows installation as the repair source or use a Windows side-by-side folder from a network share, as the source of the files.
You will then be required to run the following command instead in an elevated Command Prompt for DISM:
DISM.exe /Online /Cleanup-Image /RestoreHealth /Source:C:\RepairSource\Windows /LimitAccess
Here you have to replace the C:\RepairSource\Windows placeholder with the location of your repair source.
Once the process is complete, DISM will create a log file in %windir%/Logs/CBS/CBS.log and capture any issues that the tool finds or fixes.
2] Reset catroot2 and SoftwareDistribution folders
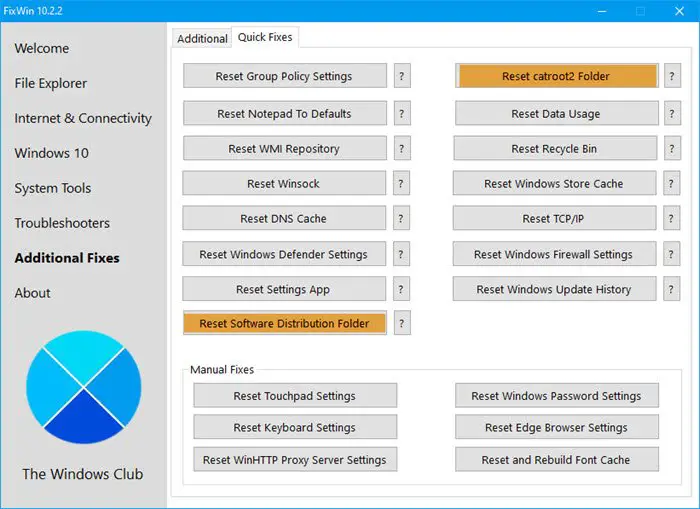
Next, you need to reset the catroot2 and SoftwareDistribution folders.
Open FixWin > Additional Fixes and press the required buttons one after the other.
3] Reset Windows Update Component
One last thing you can do is reset the Windows Update components as follows:
- Stop Windows Update Services
- Delete the qmgr*.dat files.
- Flush the SoftwareDistribution and catroot2 folders
- Reset the BITS service and the Windows Update service to the default security descriptor
- Re-register the BITS files and the Windows Update related DLL files
- Delete incorrect Registry values
- Reset Winsock
- Restart Windows Update Services.
Here is the summary of all the steps you need to take to reset Windows Update Components to defaults in Windows 11/10:
4] Run Windows Update Troubleshooter in Clean Boot State
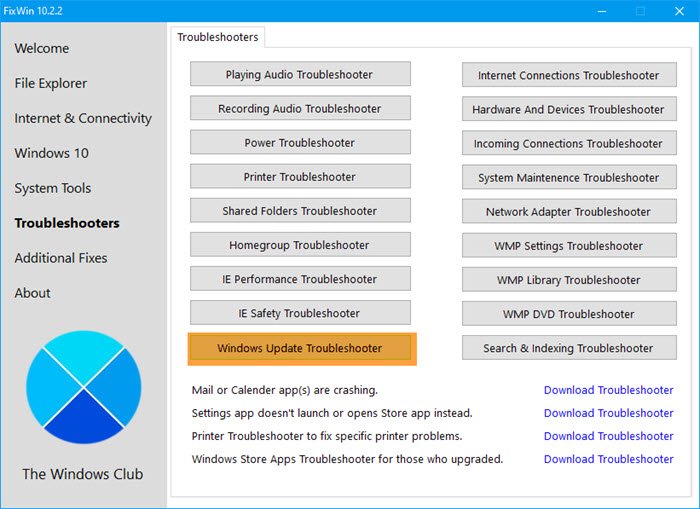
Perform Clean Boot, run FixWin as administrator > Troubleshooters tab, and then click on the Windows Update Troubleshooter to run it.
See if it works now.
5] System Restore
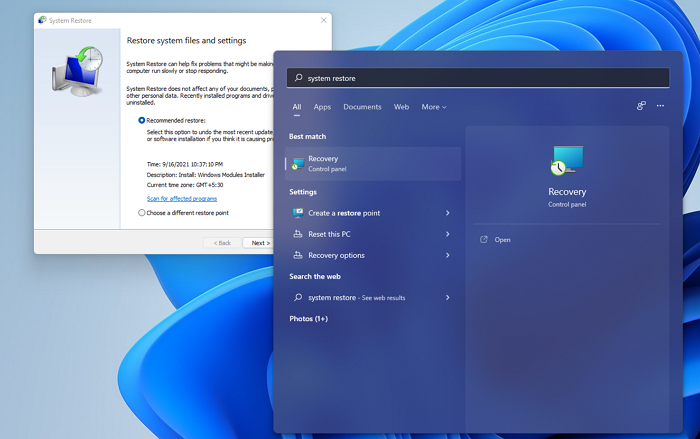
The last option is to perform a System Restore if you have any. While you can always open System Restore from Ultimate Windows Tweaker’s Welcome page with a click, here is the traditional method to do so.
Press the Start key, type System Restore and launch the Recovery tool when it appears on the list. Click on Open System Restore, and either choose the recommended date or one from the list which you think will work the best.
I hope the post helps you fix Error Code 0x803c0103.
Leave a Reply