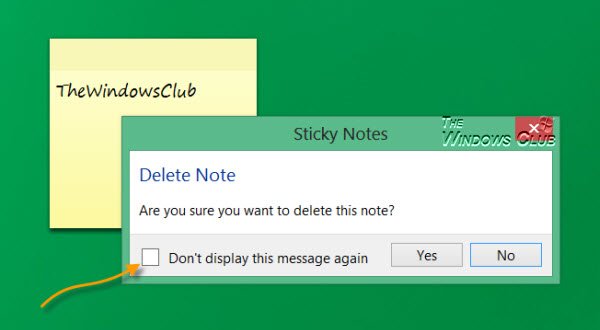
The Sticky Notes in Windows 11/10 allows you to pin your notes and reminders to your desktop. Its a very useful feature and there is a lot you can do with it. Sometimes, you may want to delete an old sticky note. To do so, you click on the ‘x’. Now when you do that to delete a Sticky Note in Windows 11/10, you are prompted for confirmation. You have to click on yes and proceed. If you check the Don’t display this message again check box, to stop future prompts, you will not be prompted again the next time you delete a sticky note. But what if you decide later on that you’d rather have the prompt back? There is no way the Windows UI allows you to do it easily in Windows 7/8 – but only Windows 10 Windows 11 allows you to do it easily!
Re-enable Windows Sticky Notes delete confirmation prompt
Disable or Enable Sticky Notes Delete Confirmation Prompt
This post will show you how to turn on, turn off, re-enable the Sticky Notes Delete Confirmation warning box in Windows 11/10, using its Settings, Registry Editor or FixWin.
1] Via Sticky Notes Settings
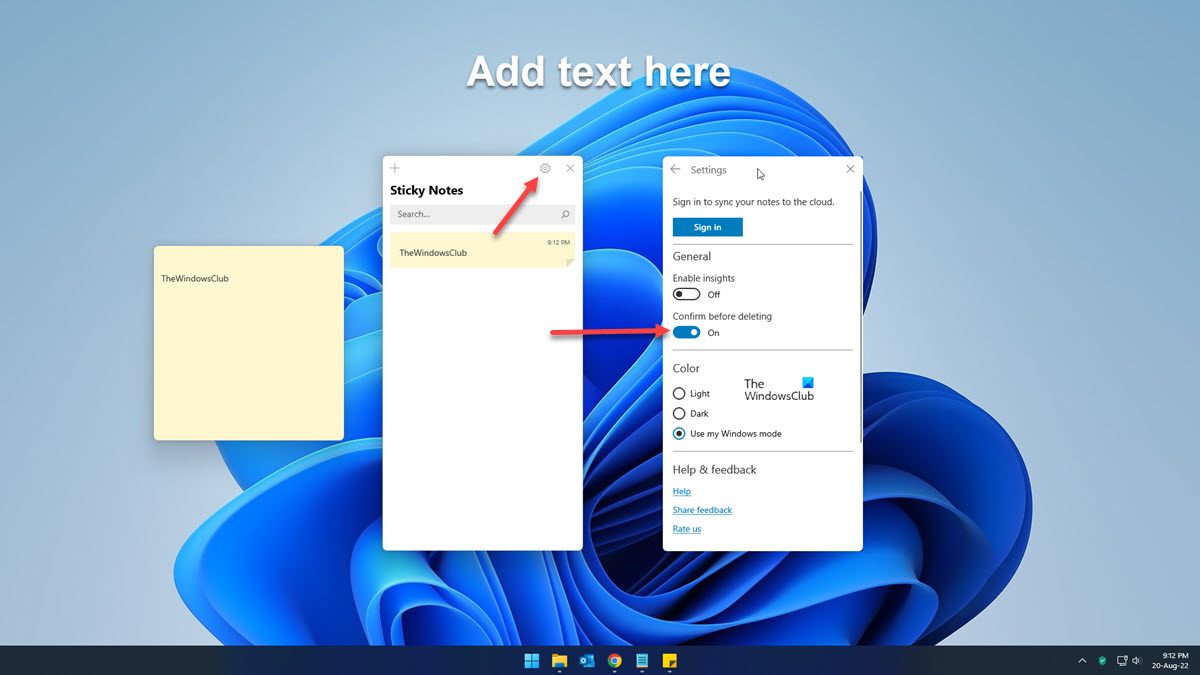
To Disable or Enable Sticky Notes Delete Confirmation Prompt In Windows 11, do the following:

- Open Stick Notes settings
- Toggle the Confirm before deleting toggle On or Off as per your requirement.
Windows 10 also offers an easy way in Sticky Notes v3.
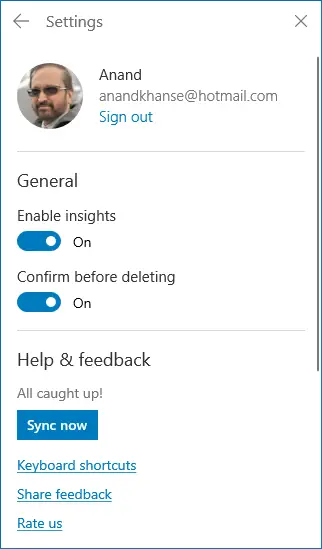
Just go to the Sticky Notes Settings and toggle the switch against Confirm before deleting.
2] Using FixWin
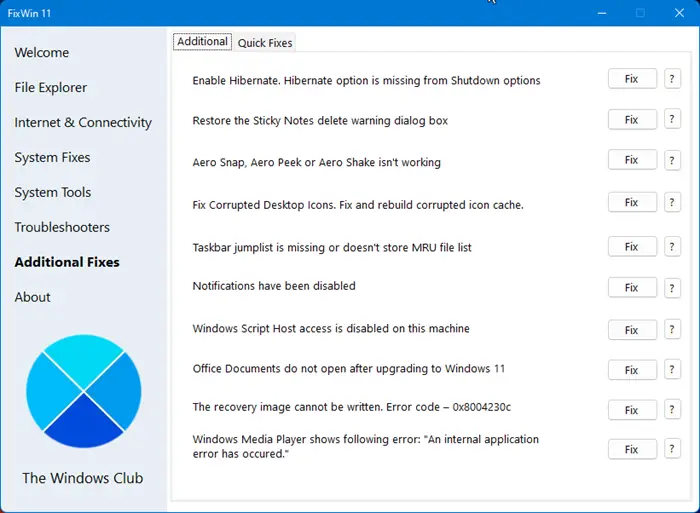
Use our freeware FixWin.
You will find the fix under Additional Fixes > Additional.
Click the Fix button to restore the Sticky Notes delete warning dialog box.
3] Using Registry Editor

KB971605 says you can edit the registry.
So open regedit and navigate to the following key:
HKEY_CURRENT_USER\Software\Microsoft\Windows\CurrentVersion\Applets\StickyNotes
Double-click the PROMPT_ON_DELETE registry entry in the right panel.
In Value box, type 00000001 & then click OK. Exit.
That’s it!
In Windows 7 or Windows 8.1 if you wish to re-enable it back, then there are two ways you can re-enable the delete confirmation prompt – The Registry way or using FixWin for Windows 7 or Windows 8.1 – as mentioned above.
If you are a regular Windows 10/8/7 sticky notes user, you might find these Sticky Notes tips & tricks to use, format, backup and restore handy.