Windows 11 sometimes fails to connect to SMB shares that are perfectly accessible. You see Windows cannot access \share or, when using the command line, System Error 53 – “Network path not found.” This happens even when other devices (Mac, iOS, Windows 10) connect to the same share without issues. In this post, we are going to see what we can do if Windows 11 SMB Client cannot connect to the SMB share.
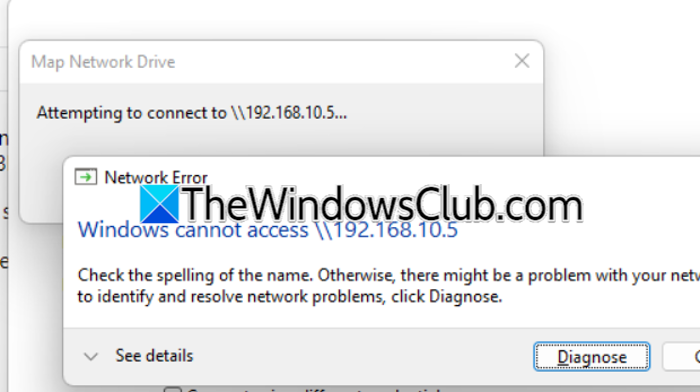
Windows cannot access \\192.168.10.5
Check the spelling of the name. Otherwise, there might be a problem with your network. To try to identify and resolve network problems, click Diagnose.
net view \\192.168.10.5\Vault
System error 53 has occurred.
The network path was not found.
Fix Windows 11 SMB Client cannot connect to SMB share
Windows 11 has stricter security rules for SMB (Server Message Block) than previous versions. By default, it requires SMB signing, blocks guest access, and turns off SMB1. If your share host, like an old NAS or a custom TrueNAS setup, does not meet these requirements, the SMB handshake will fail. This usually shows up as System Error 53 because Windows stops the connection before it can fully resolve the path. Even using an IP address instead of a hostname will not get around these security checks.
If the Windows 11 SMB Client cannot connect to the SMB share, follow the solutions mentioned below.
- Disable SMB Signing Requirement on the Client
- Enable Insecure Guest Logons via Registry
- Clear Stored Credentials in Credentials Manager
- Configure SMB Signing and disable SMB1 on the Share Host
Let us talk about them in detail.
1] Disable SMB Signing Requirement on the Client
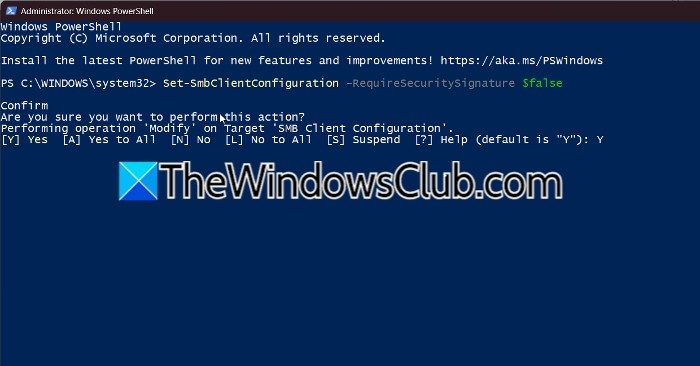
Your share host likely does not support SMB signing. Disabling this requirement on Windows 11 allows the client to accept unsigned SMB traffic, matching the host’s capabilities. To do the same, we are going to use a PowerShell command. Open Run by Win + R, type powershell, and press Ctrl + Shift + Enter.
Now, run the following command.
Set-SmbClientConfiguration -RequireSecuritySignature $false
Press Y and Enter when prompted.
Once done, reboot your computer, and once your system starts up, test the connection again (using \\hostname or \\IP).
2] Enable Insecure Guest Logons via Registry
Many SMB shares allow guest or anonymous access. Windows 11 blocks this by default. However, enabling insecure guest logons permits those connections to proceed. To do the same, follow the steps mentioned below.
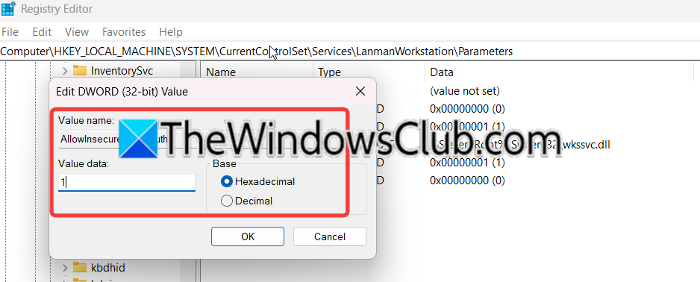
- Press Win + R, type regedit, and press Enter.
- Navigate to:
HKEY_LOCAL_MACHINE\SYSTEM\CurrentControlSet\Services\LanmanWorkstation\Parameters - Right-click > New > DWORD (32-bit) Value.
- Name it AllowInsecureGuestAuth and set its value to 1.
- Close Registry Editor and restart your PC.
- Attempt to access the SMB share again.
Now, check if the issue persists.
3] Clear Stored Credentials in Credential Manager
Windows caches old or corrupted credentials for network shares. Clearing them forces a fresh authentication attempt, removing conflicts that cause Error 53. You need to follow the steps mentioned below to do the same.
- Launch Credential Manager from the Start Menu.
- Now, go to Windows Credentials.
- Delete any entries related to your SMB server (by hostname, IP, or FQDN).
Now, reboot your computer. Once your system starts, try connecting again. Windows now prompts you for new credentials.
4] Configure SMB Signing and disable SMB1 on the Share Host
Your TrueNAS host has SMB1 disabled (correct), but Windows 11 requires SMB signing by default. If TrueNAS does not support signing, the connection fails. Enabling signing on the host (or disabling it on the client) resolves the mismatch. This solution addresses the root cause on the server side. You need to follow the steps mentioned below to do the same.
- Log in to your TrueNAS web interface.
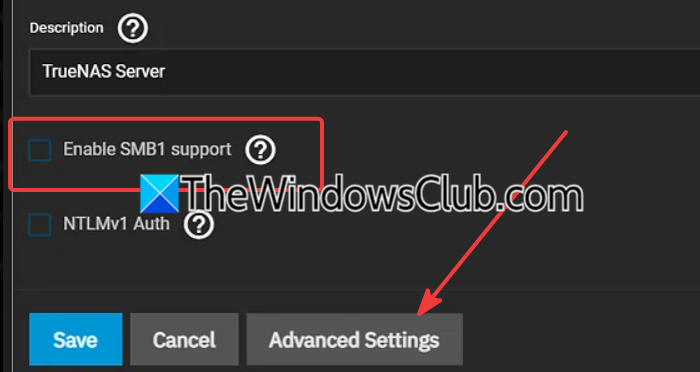
- Go to Services > SMB > click the edit/pencil icon.
- Verify that Enable SMB1 support is unchecked. This prevents insecure SMB1 connections.
- Click Advanced Settings.
- Find Server Signing Mode, and set it to Required (to match Windows 11’s default requirement).
- If your Windows 11 client already has signing disabled (see Solution 1), set this to Disabled instead.
- Set Client Signing Mode to Preferred or Required.
- Click Save, then restart the SMB service (toggle the service off and on).
On your Windows 11 client, test the connection again using \\truenas.lan or the IP address.
Hopefully, with these solutions, your issue will be resolved.
System error 53 has occurred. The network path was not found.
This error means Windows 11 cannot establish an SMB session with the target share. It often masks deeper security mismatches, such as SMB signing requirements, disabled guest access, or protocol incompatibilities, rather than a missing network path. Even when you use the correct IP address, Windows 11 returns Error 53 if the server’s response fails its security checks. We recommend you check the solutions mentioned earlier. Disabling SMB signing or enabling insecure guest logons typically resolves this error on Windows 11.
Read: How to check SMB version on Windows 11.
Why can other devices like Mac and Windows 10 connect to the share, but not Windows 11?
Windows 11 enforces stricter SMB security defaults than macOS or Windows 10. It requires SMB signing, blocks guest access, and disables SMB1 by default. Older share hosts often lack these modern requirements. Your Mac and Windows 10 devices tolerate the host’s older settings, but Windows 11 refuses the insecure handshake. Apply the solutions above, starting with disabling SMB signing on Windows 11 or enabling signing on the host.
Also Read: New SMBleed vulnerability can compromise Windows SMB Protocol.