
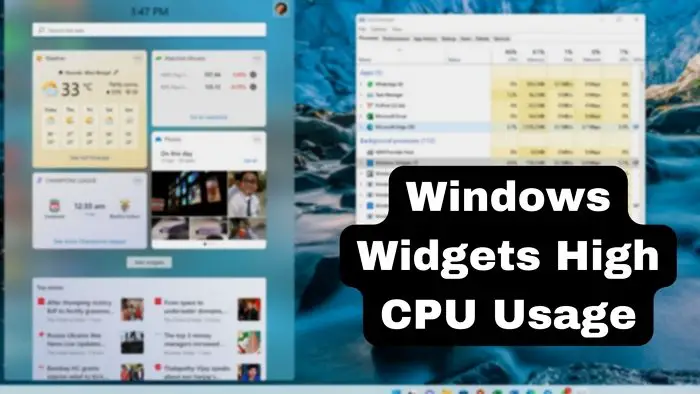
The built-in Widget platform in Windows 11 is an excellent feature that significantly enhances its appeal. However, this helpful feature might use too much CPU. That, in turn, will cause an overall decrease in the system’s performance. Moreover, it will cause delays in individual apps or even cause them to crash. Did you know that 100% CPU use can make Windows 11 unstable? In that case, it is vital to identify the common causes and learn about the possible fixes. This post will share how you can fix Windows 11 Widgets high CPU usage issue.
Common Reasons for High CPU Usage for Widgets
It is vital to understand that every app or program you run on the computer will take some CPU processing power. Windows can run multiple apps and programs simultaneously. However, it is essential to know if the system is getting overloaded. In that case, the app crashing or slowing down is inevitable. That is why you need to find the cause and fix it immediately.
Various factors can lead to high CPU usage in widgets. These include:
- Background apps: Sometimes, we minimize the apps rather than closing them. If kept running for an extended period, it will consume a high CPU power, leading to enhanced usage. It is possible
- Corrupt Files: If any of the supported files needed by Windows Widgets are corrupt, the primary program will keep on probing for it, but since the file is corrupt, it will get no result. It will keep running in the background resulting in high CPU usage.
Knowing these causes will help you resolve the high CPU usage issue with ease.
Widgets showing high CPU Usage in Windows 11
There are multiple solutions that can help resolve the Windows 11 Widgets high CPU usage issue. Here are the fixes
- Update Windows 11
- Run System File Checker or SFC Scan
- Disable Windows Widgets
You will need admin permission to execute some of the suggestions.
1] Update Windows
At times, Microsoft rolls out updates to fix these issues. So you need to check if there is a cumulative or KB update that can fix the problem.
- Open Windows Settings using Win + I
- Navigate to Settings > Windows Update
- Click on Check for Updates button
- If there are any updates available, you can download and install the update.
Once done, restart your PC to ensure the update is complete, then check whether the issue persists.
2] Run SFC Scan (to fix any corrupt files related to Widgets)
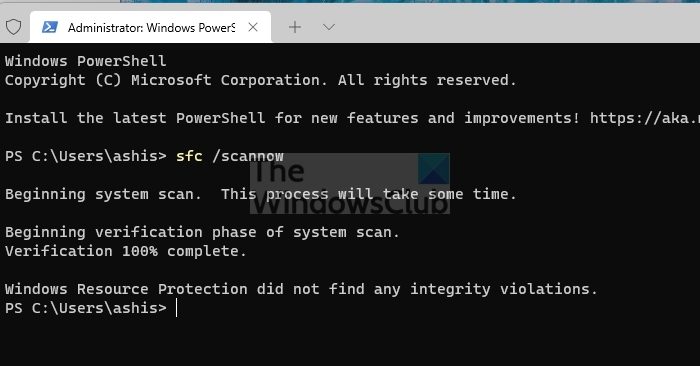
If files associated with Windows Widgets are corrupt, they will not be able to work properly and can result in high-CPU usage. We can use the System File Checker tool to fix any corrupt files on the system.
- Right-click on the Start menu
- Click on Windows Terminal (Admin)
- Type the following command and press the Enter key
sfc /scannow
- The tool will check for inconsistencies and replace any corrupt files with new ones.
Once it’s done, check whether CPU usage is still high in Task Manager.
3] Disable Windows Widgets
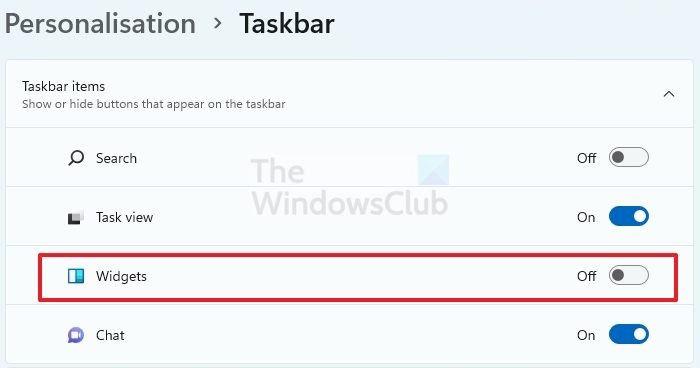
To disable Windows 11 Widgets:
- Open the Settings menu using Win + I or open it from the Start Menu.
- Click on Personalization > Select Taskbar
- Now, make sure that the Widgets toggle is turned off.
- With the Windows widgets disabled, CPU usage should no longer be high.
Several factors can cause high CPU usage in Windows 11. However, if not resolved, it will interfere with the system’s overall performance. That is why you must adopt solutions that will help you efficiently fix the increased CPU usage issue.
I hope the post was helpful, and you were able to fix the Windows 11 Widgets high CPU usage issue.
Read: Feeds or Search application is showing high memory usage
Do Widgets drain the battery?
Yes, widgets drain the laptop’s battery. However, the amount of battery it drains and how often it updates itself depends on your widget. That is why it is essential only to keep the necessary widgets. You can further configure the power usage to turn off background apps to save the battery.
Read: How to fix 100% Disk, High CPU, High Memory usage in Windows.
How to disable background apps?
You can turn off apps in the background by going to Settings > Apps > Apps & features. Under this section, scroll to find the app and click on the three-dot menu and select advanced options. Locate the Background app permissions section and set it to Never.
