A Template is a time-saving utility. Simply select a template and open it; it contains all the styles and formatting you need for a document. For instance, if you have a Word template, you can easily create a document with defined styles and formats, font styles, colors, and more. Thus, it helps in saving both time and effort. It may even contain text, headers or any other common information that you do not want to be changed for similar documents. In this post, we learn how to save Table Templates in Word for quicker access.
How to save Table Templates in Word
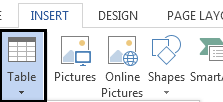
Open a document in Word. Create a table! To do so, select the ‘Insert’ tab from the ribbon interface and choose ‘Table’ option.
Once done, create a table, select it, switch back to ‘Insert’ tab again and click on the small drop-down arrow residing below the Table icon to display the menu.
Now, from the expanded menu, select ‘Quick Tables’ and from the right-hand section ‘Save selection to Quick Tables Gallery’ presented at the bottom.

You should see a ‘Create New Building Block window’ popping up on your computer screen.
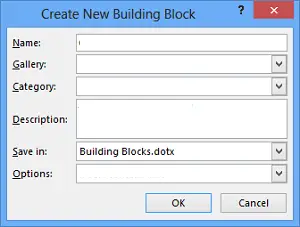
Here, give your new table template a name, so you can easily spot it later. If necessary, you can save it to a particular Gallery or Category and add a line of description so that others in the group are made aware of how and when to use the table.
When you are done, click OK to save.
Now, to insert the table template in the document, go to the Insert tab -> Table –> Quick Table.
If at any stage, you would like to delete the table template from the list, go to the Table’s menu -> Quick Tables -> Choose the one that you want to delete -> Right-click on it, and select ‘Organize and Delete’.


I hope you find this tutorial useful!
Read: Where to download Word, Excel, PowerPoint, Outlook for free?