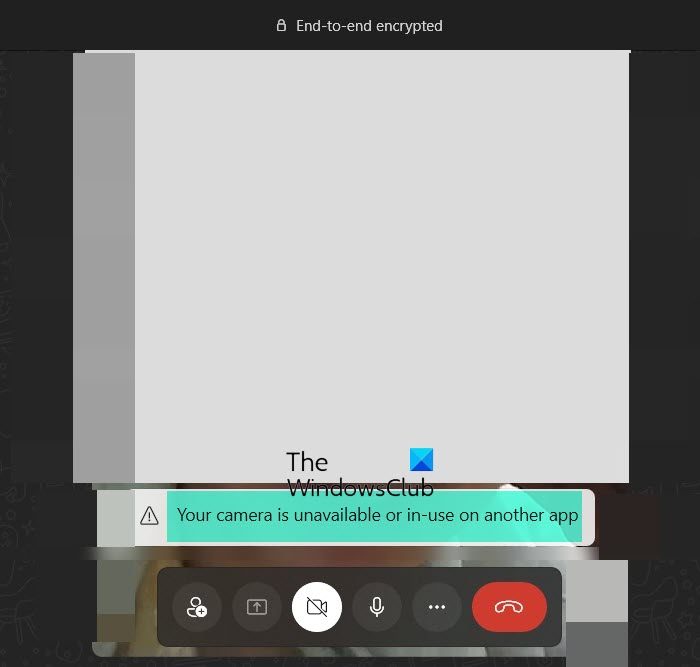
If you cannot use WhatsApp, Skype, Teams or any other similar app on your Windows 11/ 10 PC and you see an error message Camera being used by another application, Your camera is unable to use on another app or Your Webcam is being used by another application, then here are the potential resolutions that will help you fix the problem.
This error doesn’t allow you to use the webcam, thus making video conferencing impossible. It can occur for both internal/integrated and external webcams.
This issue doesn’t have any specific cause. A few of the probable causes are as follows:
- Virus or malware affecting the system.
- An old or corrupt version of WhatsApp, Teams, or Skype for Desktop software.
- The drivers for the camera could be corrupt.
- The WhatsApp, Teams, or Skype for Desktop might not have access to the webcam.
- A Firewall, anti-virus or some webcam protection might be restricting the link between the camera and WhatsApp, Teams, or Skype for Desktop.
- Some other application using the camera might not have been closed and could be running in the background.
Fix Camera being used by another application in Windows 11/10
Considering the various possibilities, you could troubleshoot the problem sequentially as follows:
- Run an anti-virus scan
- Kill the process using the camera
- Disable Firewall
- Update the camera drivers
- Switch ON “Allow apps to access the camera.”
- Reset the camera app
- Disable webcam protection
- Re-install WhatsApp, Teams, or Skype for Desktop.

1] Run an anti-virus scan
Run a full system anti-malware scan, thus eliminating the possibility of such a cause.
2] Kill the process using the camera
Open the Task Manager (press CTRL+ALT+DEL to open the Security Options window and select Task Manager from the list).
Check if any program other than the the current one which uses the camera is still active and running.
If yes, you might consider killing the process and restarting the system.
3] Disable Firewall
Temporarily disable any anti-virus or Firewall on the system. This is to make sure that neither of those interferes with the functioning of the webcam. You may switch then ON after isolating the issue.
4] Update the camera drivers
Press Win + R to open the Run window. Type the command devmgmt.msc and press Enter to open the Device Manager.
Expand the list of Camera drivers and right-click on your webcam’s driver and select Update driver.

Restart the system.
5] Switch ON “Allow apps to access the camera.”
Click on the Start button and then select the gear-like symbol to open the Settings menu. Go to Privacy.
In the list for App permissions on the left-hand side, select Camera. Turn the toggle switch ON for Allow apps to access your camera.

Also, check the list under Choose which apps can access your camera. The switch should be ON for Skype.
Remember that Skype for Desktop shows a difference from the pre-installed Skype app on your system.
Read: How to find out which app is using the webcam in Windows
6] Reset the Camera app
Even if we missed unlinking the camera to a program that was using it, resetting the app would do the job.
Click on Start > Settings > Apps > Apps & features.
Scroll through the list to locate the Camera app. Click on it to expand the options and select Advanced options.

Scroll through the options and find Reset. Click on Reset and allow it to process.

Restart the system once the job is done.
7] Disable webcam protection
Certain security software comes with webcam protection. It might be an option is your general anti-virus software, or it could be dedicated software. If you are aware of the same, disabling webcam protection temporarily to isolate, the issue could be helpful.
8] Re-install WhatsApp, Teams, or Skype for Desktop
If everything else fails, you could consider uninstalling and reinstalling WhatsApp, Teams, or Skype for Desktop. Just like any other application, Skype can be uninstalled from the Programs and Features menu in the Control Panel. You can re-install the application from the official website.
All the best!