Windows 11 and Windows 10 offer you a way to see how much data your Wireless or Ethernet adapter can consume. This is important because of data limits you might have with your ISP. I am sure many of you have either unlimited or huge stock of data bandwidth, but many don’t have this privilege. This feature is important for them, as data is not cheap and with this, in place, one can understand how much data has been consumed without using any third-party tool.
There is another aspect. Many a time you connect to multiple networks – and you get to know details of that as well.
While, Windows 11/10 offers macro-control when it comes to controlling the amount of bandwidth that a PC consumes, especially for the updates. Windows 10 Spring Creators Update now offers users to put a limit on bandwidth usage in the foreground as well along with Background Data Control.
Set Data Limit for Wireless and Ethernet Adapter in Windows 11
If you are on a strict data budget, you don’t want to go overconsume the Internet. If you set Data Limit for the network of your choice, once the computer is connected to that particular network, you won’t be able to use it beyond that particular limit. However, you can remove or edit data limit anytime and in this article, we are going to see how to do the same and more.
To set Data Limit for Wireless and Ethernet Adapter, follow the given steps.
- Open Settings from the Start Menu.
- Go to Network & Internet.
- Look for Advanced network settings, and open it.
- Click Data Usage from More Settings.
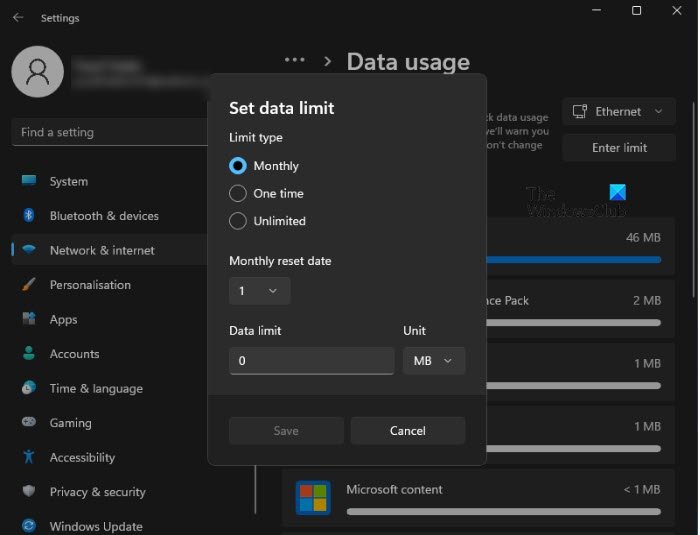
- Now, select the network from the drop-down menu and then click Enter Limit
- Set the Limit type and Data limit and click Save.
This way, you will never over-consume.
How to remove or edit Data Limit in Windows 11
As mentioned earlier, after setting the Data Limit initially you can easily remove or edit it whenever you want. To remove or edit Data Limit, follow the given steps.
- Open Settings from the Start Menu.
- Go to Network & Internet.
- Look for Advanced network settings, and open it.
- Click Data Usage from More Settings.
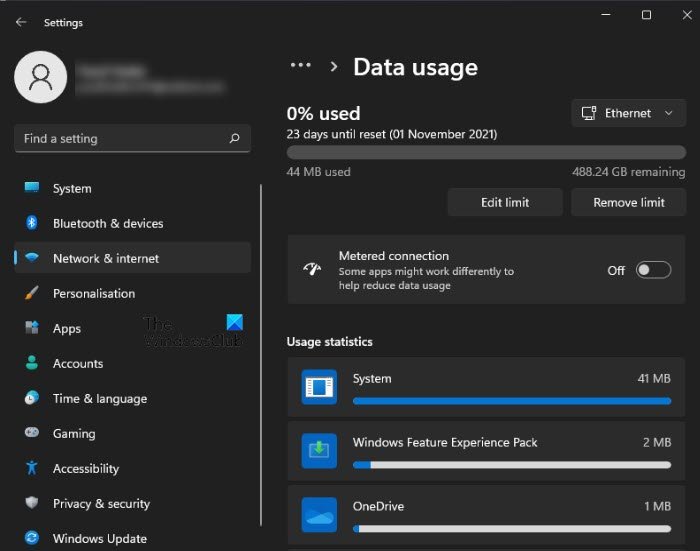
- Now, select the network from the drop-down menu on which you have applied the limit initially, and click Remove limit or Edit limit as per your choice.
That’s it!
Read: How to control Bandwidth in Router
Set data limit for Ethernet & WiFi adapter on Windows 10
Open Settings > Network & Internet > Data Usage. This will list down all the adapters including WiFI with the amount of data it has consumed.
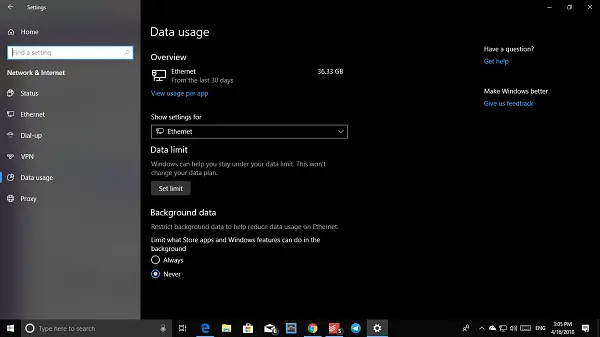
You can then click on View usage per app, to see data consumed by individual apps. Here I just have Ethernet, but if you have a computer which has both WiFi and Ethernet, you can see both.

Next, select the network adapter from the drop-down, and then click on Set Limit button. Here you can set data limit based on-
- One-time
- Monthly Limit
- Unlimited.
Once done, it will give you details on how much data has been consumed, and the remaining portion. The best part is that your data has been already tracked, and you get a realistic picture no matter when you set it up.
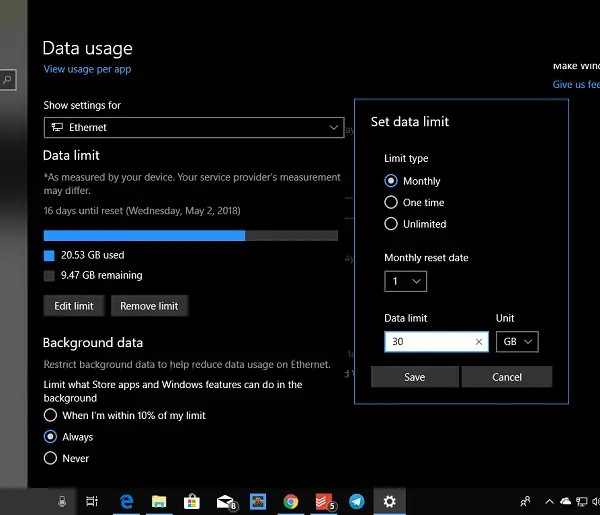
The next thing you need to take a look at is Background Data based on your data consumption. You can start restricting the background data. The options are –
- When I’m within the 10% of your limit
- Always
- Never.
It is to be noted that the data transfer within the same network i.e. between PCs or between NAS or Xbox One Streaming is also accounted for this.
I hope this helps!
Read next: How to manage the Data Usage Limit on Windows.