We have seen how to make your Windows 11/10 computer a Trusted PC. Today we will see how to remove a device from Microsoft Account. Making a computer a Trusted PC is great, as it helps sync data, verify your identity automatically and perform sensitive actions like resetting your password or managing your billing info without having to enter a security code each time. But there may come a time, when you may want to remove it as a Trusted device.
How to remove a Device from Microsoft Account
To remove Trusted PC from Microsoft Account:
- Log in to your Microsoft Account.
- Select All Devices link
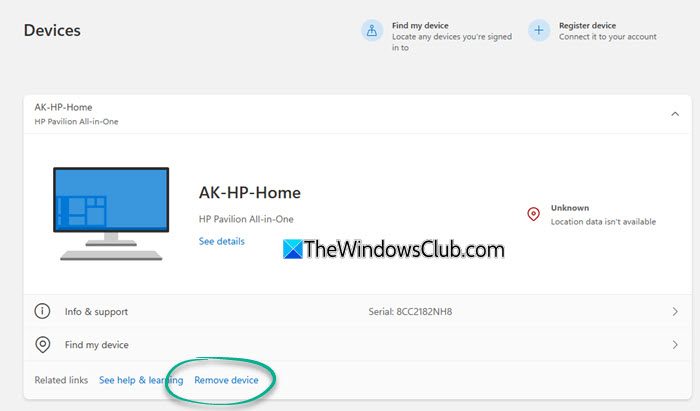
- You will land on the Devices details page.
- Identify the device that you want to remove as Trusted PC
- Click on Remove device link
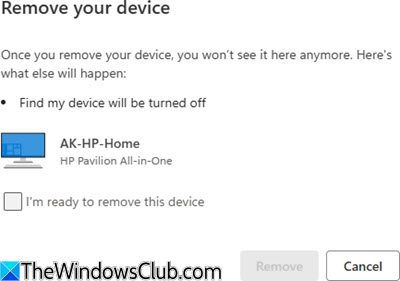
- In the popup, check the box, and give your confirmation to Remove the device.
That is all.
You will now be sent a confirmation email to complete the process and be again asked to confirm the removal of the device. Follow the instructions mentioned in the mail to remove the device.
What happens if I remove a device from my Microsoft account?
When you remove a device from your Microsoft account, it no longer counts toward your device limit. This will also prevent the device from accessing your Microsoft services, such as OneDrive.
How do I unregister a device from Microsoft Authenticator?
To unregister a device from Microsoft Authenticator, go to your account page and select ‘Security Info’ from the left menu. Locate the device you wish to remove, then click ‘Delete’ on the far-right of its entry. This process effectively removes the device from the Microsoft Authenticator app for better account security.
How to remove a trusted device from a computer?
To remove a trusted device from your computer, navigate to your account settings or security settings. Look for a section labeled ‘trusted devices’ or ‘authorized devices.’ Find the device you want to remove and select the option to delete or unauthorize it. This will revoke access, enhancing your account security.