The Plug and Play service automatically detects and configures hardware devices when they are connected to the computer. However, if the Plug and Play service is missing or fails to start in Windows 11/10 here’s what you can do to resolve this issue.
Service ‘PlugPlay’ (PlugPlay) failed to start. Verify that you have sufficient privileges to start system services.

What is the Plug and Play option?
The Plug and Play option allows devices to be automatically detected and configured when connected to a computer. It eliminates the need for manual setup by seamlessly assigning resources such as memory addresses and drivers. This feature ensures peripherals like USB drives or printers are ready to use instantly.
Plug and Play Service missing or failed to start in Windows 11
If the Plug and Play service is missing or has failed to start in Windows 11/10, you can follow the solutions mentioned below.
- Restore Plug and Play to its default settings
- Check for problematic drivers
- Try a different version of the HP Smart app
- Use the Generic Microsoft Driver to print
- Restore your system image
- Repair system files.
Since the error message asks you to verify that you have sufficient privileges to start system services, make sure you are signed in with an Administrator account to carry out these suggestions.
1] Restore Plug and Play to its default settings

If the Plug and Play service is not starting, our first endeavor should be to restore it to its default settings. This way, if the issue is due to any misconfiguration, it will be resolved. To do so, search for Command Prompt in the Start Menu, right-click on it, and select Run as administrator. Then, you need to click “Yes” when the UAC prompt appears. Finally, execute the command mentioned below.
sc config PlugPlay start= demand
net start PlugPlay
This will make sure that Plug and Play is restored back to its default startup settings. You can now run the application that throws this error and see if it helps.
Alternatively, open Services Manager and locate the Plug and Play service.
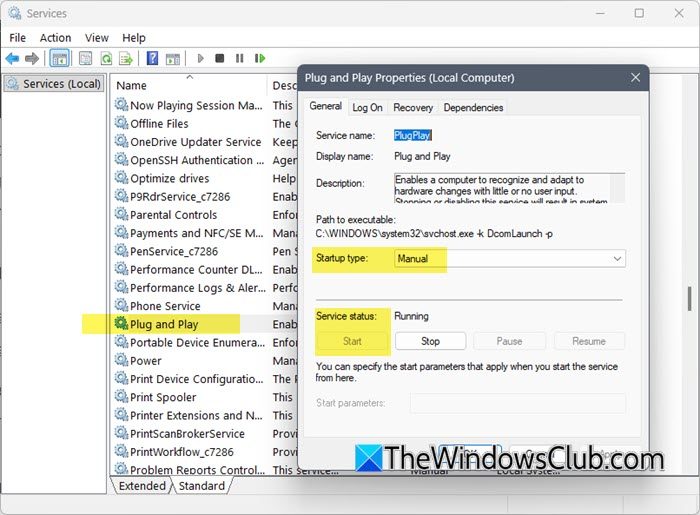
Double-click it, then ensure the Startup type is Manual (the default) or Automatic (this is fine too). Now make sure that the service is running; else click on the Start button. Click Apply/OK and exit and then try.
2] Check for problematic drivers
Now we need to make sure that there are no problematic or corrupted drivers installed on your computer. To do so, you can follow the steps mentioned below.

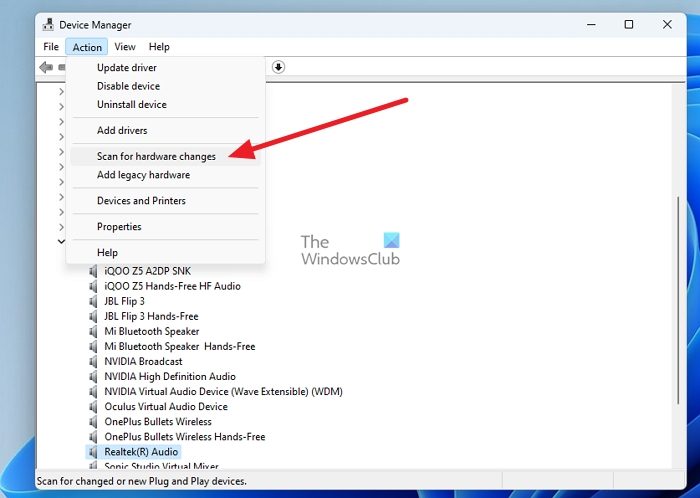
- Open the Device Manager by Win + X > Device Manager.
- Now, expand each entry and check whether any drivers have a Yellow exclamation mark.
- Once you know which driver is problematic, you can either reinstall the driver by right-clicking on the driver and selecting Uninstall device > Uninstall, and then clicking on Actions > Scan for hardware changes, or install the latest version of the driver.
- Finally, check if the issue is resolved.
Hopefully, this will do the job for you.
3] Try a different version of the HP Smart app
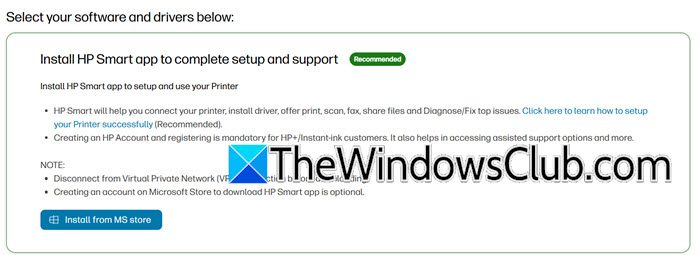
We have noticed that most people who are facing this issue are HP Printer users. They are trying to install the recommended software to print, but because their system is ARM-based, they failed to do so as the Plug and Play driver is missing. In that case, we recommend you install an older version of the HP Smart app until HP releases a fix in their new version. But for now, go to support.hp.com and download the listed version. Once done, try and see if you can print.
4] Use the Generic Microsoft Driver to print
If you can’t install the HP Smart app to print, we recommend using the Generic Microsoft Driver instead. Although it doesn’t offer all the fancy options the OEM app provides, it will get the job done. To use the Generic driver, we just need to add your printer using the Settings app, and Windows will automatically install the driver. To do so, follow the steps mentioned below.
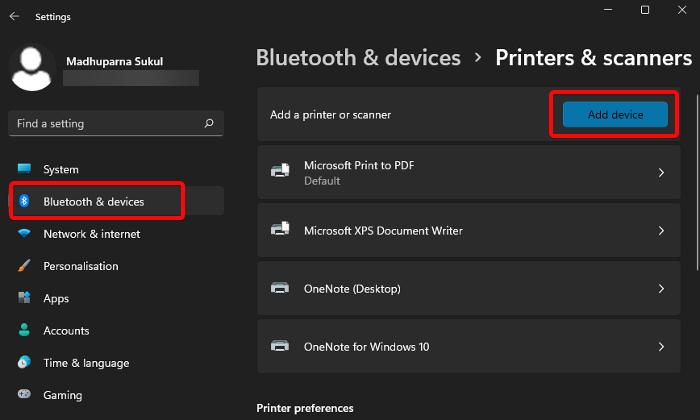
- Open the Settings app by pressing Win + I.
- Now, go to Bluetooth & devices > Printers & scanners.
- Click on Add device, let it detect your printer, and then add it.
Hopefully, this will do the job for you.
Read: HP Print and Scan Doctor will fix Printer problems on Windows PC
5] Restore your system image
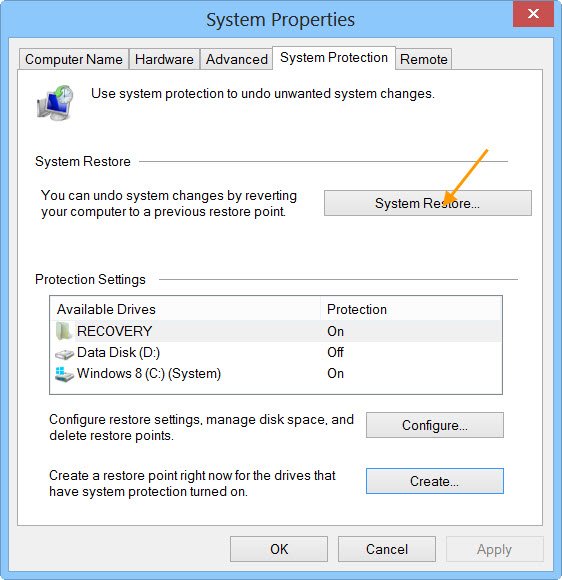
If you have recently started encountering this issue, there is a high chance that something may have happened to your computer, causing the PnP service to become unavailable. So, if you have created a system restore point beforehand, you can use that to restore your computer to a previous state where this issue was absent. This should do the job for you.
Read: Windows Services will not start
6] Repair your system files
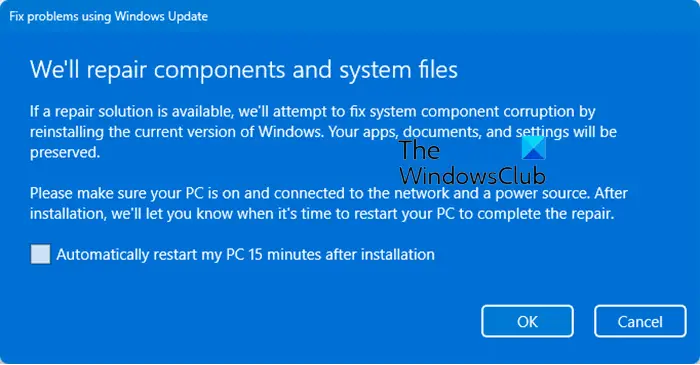
One reason the PnP service may be missing is that your system has corrupted or missing elements. Therefore, in our next solution, we are going to repair the system files, you should use all the mentioned methods to do the same.
- Scan and repair system files using the System File Checker.
- Run DISM to restore the system image.
- Reinstall Windows using Windows Update
After repairing the files, you need to check if the issue is resolved.
Hopefully, with the help of these solutions, you will be able to resolve the issue.
Read: USB printer port missing after disconnecting printer in Windows
How do I enable Plug and Play on Windows 11?
To enable Plug and Play on Windows 11, press Win + R to open the Run dialog, type services.msc, and hit Enter. In the Services window, find Plug and Play, right-click it, select Properties, set the Startup type to Automatic, and click Start. Finally, click Apply and OK to save the changes, ensuring the service runs smoothly.
Plug and Play Specified Service does not exist as an installed service
When trying to start the Plug and Play service using the command line,if you receive the The specified service does not exist as an installed service message, open Windows Services Manager, manually change the Startup type of Plug and Play service to Manual or Automatic, and then start the service. If this does not help, run the SFC and DISM scans to repair the Windows system image.
Also Read: Print to PDF is missing in Windows 11.