
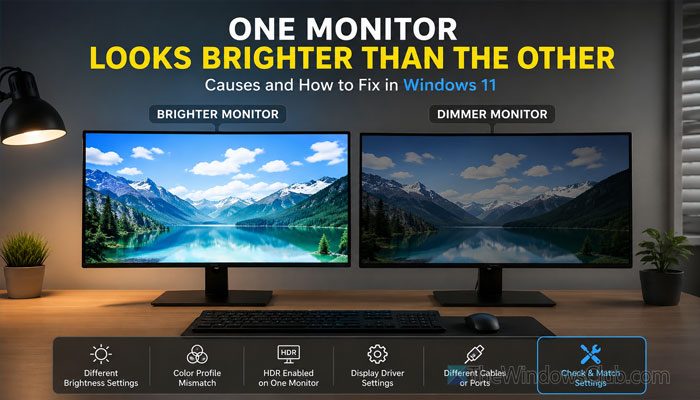
If one monitor looks brighter or duller than the other in Windows 11, here are some solutions you can try to troubleshoot the issue. We’ve consolidated the possible causes and solutions so you can match your situation and fix the problem.
Why does one monitor look brighter than the other?
If one monitor looks brighter than the other, these could be the reasons:
- Your monitors have different hardware.
- You connected the two monitors with different cable types (e.g., DVI-D, VGA, HDMI, etc.).
- The default settings of those monitors are different, and they need a tweak.
- You are using different modes for those monitors.
- Your GPU is old and can’t handle the load.
- One monitor uses the auto-brightness feature, and the other doesn’t.
- They have different refresh rates.
One monitor looks brighter than the other in Windows 11
If one monitor looks brighter than the other in Windows 11, follow these instructions:
- Make sure you have identical monitors
- Use same type of cable and port
- Use same settings
- Check your GPU
- Disable HDR and auto brightness
- Use same wallpaper
- Turn off Night Light
- Update graphics driver
- Calibrate your display
To learn more about these solutions, continue reading.
1] Make sure you have identical monitors
If you don’t have identical monitors, you cannot expect the same brightness even with the same settings and connection cable.
Many manufacturers update their hardware, so you might not get the same hardware in two monitors even if you buy them within a month. That is why it’s best to use identical monitors to ensure consistent output.
2] Use same type of cable and port
If you use an old GPU or motherboard, you might not find the same type of connection port more than once. In other words, most of them have only one HDMI, DVI-D, or VGA port. If you connect two identical monitors – one with HDMI and another with VGA, their output will be different. HDMI will provide a better, brighter output than VGA or DVI-D.
That is why it is highly recommended to use the same port type and cable for both monitors.
Read: NVIDIA graphics card not detecting HDMI on Windows 11
3] Use same settings
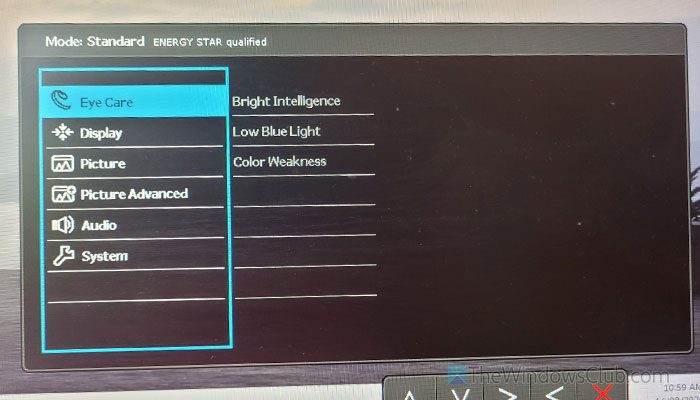
If you have the same monitor, use identical settings for both. Use the same color profile, brightness/contrast/saturation level, etc.
4] Check your GPU
If you have an older GPU, you may run into this problem because many older GPUs no longer provide the same output they did in the early days. Also, install the graphics driver and check the GPU manufacturer’s internal settings. You can use this detailed guide to check the GPU health on a Windows computer.
5] Disable auto HDR and auto brightness
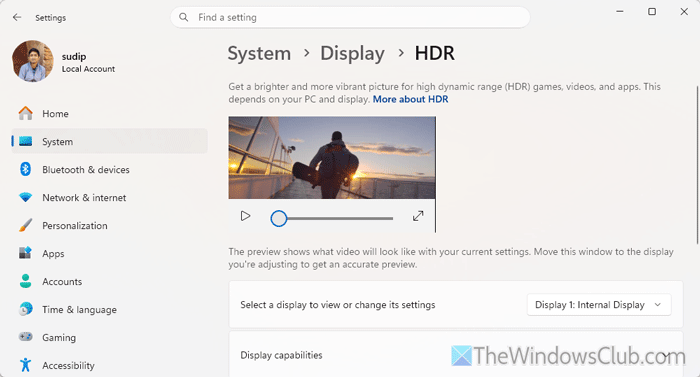
If your monitors support HDR, it might also support Auto HDR. However, it might also cause the aforementioned problem. That is why it is suggested to disable auto HDR.
For that, open the Windows Settings and go to System > Display > HDR. Toggle the Auto HDR button to turn it OFF.
For your information, you need to do this for both monitors. To select the second monitor, expand the drop-down list and choose the other monitor.
Also, if your monitors support auto brightness, we recommend disabling it as well.
6] Use same wallpaper
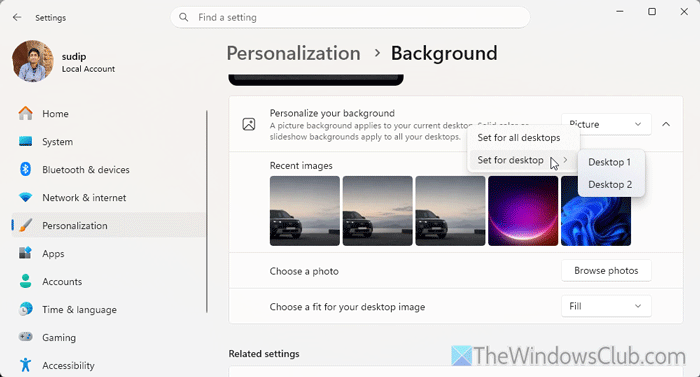
Sometimes, the same monitors may look different if you use different wallpapers on them. Monitor brightness depends on the wallpaper’s color profile in the window you have open. That is why it is recommended to use the same desktop background for all monitors.
7] Turn off Night Light
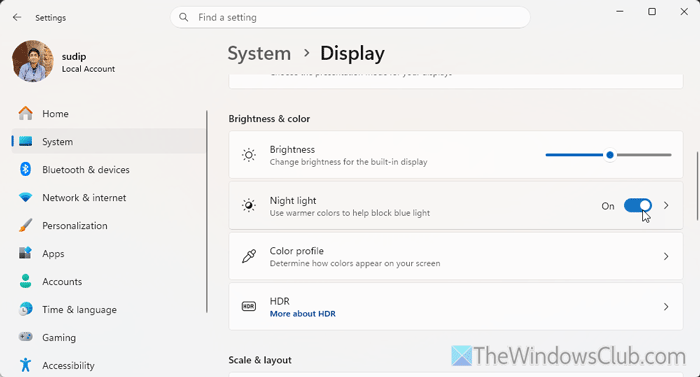
Night Light dims the color and brightness of your monitor. If you enable the same feature, you might run into this issue with a multi-monitor setup. That is why we suggest turning off Night Light. To do that, open Windows Settings and go to System > Display > Night Light.
Find the Night Light option and toggle the corresponding button to turn it OFF.
8] Update graphics driver
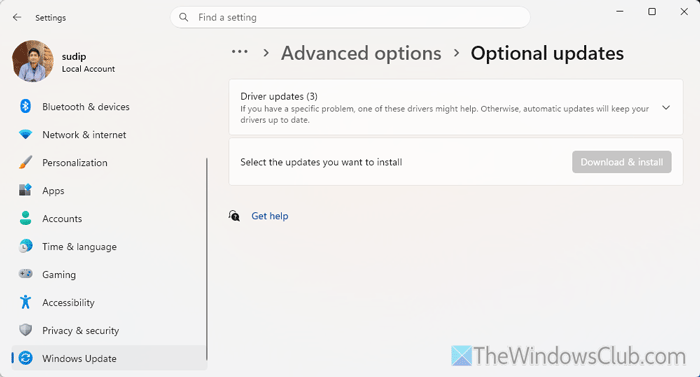
If you haven’t updated the graphics driver, open Windows Settings and go to Windows Update > Advanced options > Optional updates. Expand the Driver updates section and check if any update is available or not. If yes, tick the checkbox and click the Download & install button.
9] Calibrate your display
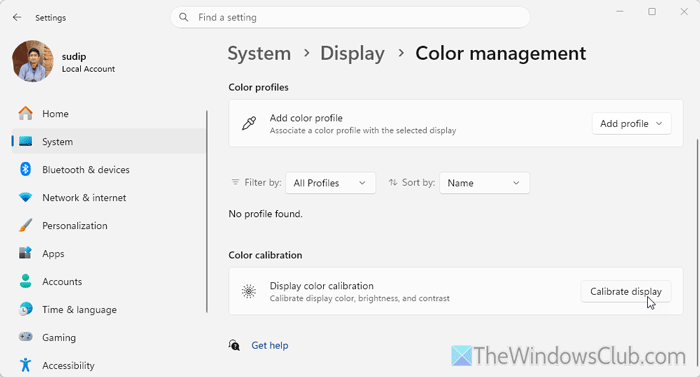
If you haven’t calibrated your displays, we suggest doing so once. To do that, open Windows Settings and go to System > Display > Color management > Color calibration.
Then, click on the Calibrate display button. Next, follow the screen’s instructions to complete the process.
Note:
- You must choose the secondary display and follow the same steps. Such an option is available in the same window.
- If you use a custom color profile, apply the same profile to both monitors.
Hope this works for you.
Why is my screen brightness changing by itself in Windows 11?
If your monitor has an auto brightness feature, it will change the brightness automatically. However, if it doesn’t have that option, check the other settings that came with your monitor.
How do I adjust the brightness on my second monitor in Windows 11?
Because the built-in settings let you change the brightness of the main display only, you must use the physical buttons to adjust the screen brightness of your second monitor. It may be included in the Color Profile, Display, or Picture section of your monitor’s settings.
