Proxmox VE has introduced a built-in wizard to simplify VM migration from VMware ESXi/vCenter. With the help of this, you can easily migrate or import VMs from VMware ESXi to Proxmox. In this post, we will discuss it in a step-by-step tutorial.
Migrate or import VMs from VMware ESXi to Proxmox
Although there is an option to manually migrate or import VMs from VMware ESXi to Proxmox, we will not discuss it in this post. We will demonstrate how to use Proxmox’s Built-in Import Wizard to perform the migration. To do so, follow the steps outlined below.
- Add ESXi Host as Storage in Proxmox
- Start the import
- Perform Post-migration steps
- Validate and troubleshoot
Let’s discuss them in detail.
1] Add ESXi Host as Storage in Proxmox

First of all, let us migrate using Proxmox’s Built-in Import Wizard. As this is a new addition, please ensure you upgrade to the latest version of Proxmox VE. Once you have that, follow the guide given below.
First of all, we need to add an ESXi Host as Storage in Proxmox. To do so, follow the steps mentioned below.
- Open the Proxmox web interface and go to Datacenter > Storage.
- Now, click on Add and select ESXi.
- In the ID Section, give a custom name, let’s Proxmox backup.
- The ESXi host IP/FQDN should be the Server.
- The username should be root or a privileged account, and then give its password as well.
- You need to skip Certificate Verification and ignore SSL warnings.
- In the Datacenter, give the name of the ESXi datastore hosting VMs.
You will see ESXi storage in the Storage section.
ESXi storage has been added and is displayed in the Storage section. Now, we can see the ESXi31 item in the storage list. This item includes all datastores connected to the selected ESXi host. You can double-click this item to see them.
UI Note: The new ESXi storage appears under ‘Storage’ with a globe icon. Expand it to browse datastores.
Once done, you need to shut down the source VM on the ESXi host to allow consistent transfer of data and avoid network conflict, and remove backup snapshots of the original VM.
Also, make sure to jot down the network settings details of the source machine, as that may be needed after migration.
2] Start the import

To start the import, follow the steps mentioned below.
- First of all, we need to locate your virtual machine. So, go to your ESXi storage, select the VM’s .vmx file, and click Import.
- In the General tab, verify VM ID/name (e.g., 101 — debian12-prod). Adjust CPU/memory if needed.
- Now, go to the Advanced tab. You need to select a Disk Controller, CD/DVD drive options, and options for network interfaces.
- You need to make sure to uncheck Live import, as it prevents premature boot during transfer.
Finally, click on Import and monitor progress in the task log.
3] Perform Post-migration steps
After migration, start the virtual machine on Proxmox and install the necessary drivers.
For Linux, open Terminal, run the following command.
sudo apt remove open-vm-tools # Debian/Ubuntu
For RHEL/CentOS, use sudo yum remove open-vm-tools.
sudo apt install qemu-guest-agent
sudo systemctl start qemu-guest-agent
Run systemctl status qemu-guest-agent to confirm it’s active.
For Windows, follow the steps mentioned below.
- First of all, you need to go ahead and uninstall VMware Tools.
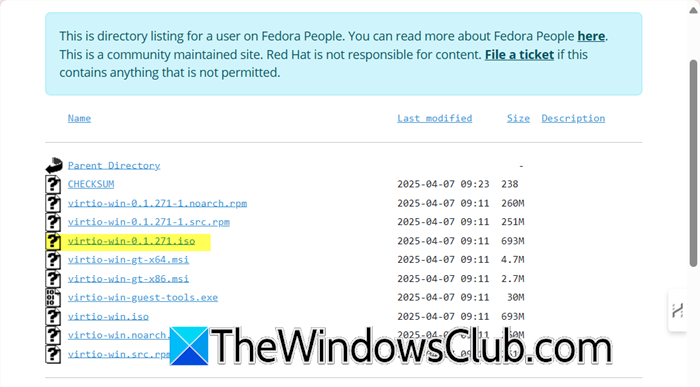
- Once done, we need to install VirtIO Drivers.
- Go to fedorapeople.org to download the ISO File.
- To attach ISO to VM via Proxmox, go to VM Hardware > CD/DVD Drive > Select VirtIO ISO.
- Run virtio-win-gt-x64.msi (or x86 for 32-bit) from the ISO
- Update network drivers and disk drivers.
Finally, reboot the machine.
4] Validate and troubleshoot
After migrating, verify that the process was successful by checking the VM’s Hardware tab in Proxmox. Ensure the disks show up as scsi0 or virtio0 in qcow2 format. Be cautious of network conflicts if the VM keeps its original ESXi IP address. It’s best to change the IP address before migration or isolate networks to avoid issues.
If you experience boot problems, first enable the Proxmox serial console for troubleshooting access. Then, check for driver conflicts, especially in Windows VMs. Ensure that VirtIO drivers are installed correctly and that VMware drivers have been completely removed. Look in Device Manager for any errors related to storage controllers or network adapters after migration.
Hopefully, by following the steps mentioned earlier, you will be able to migrate your virtual machine.
Read: How to enable AutoStart of VMs on VMware ESXi and Workstation
Can you import a VM into Proxmox?
Yes, you can import virtual machines into Proxmox VE. Proxmox provides built-in tools to import VMs from external hypervisors like VMware ESXi or from standalone disk images (e.g., .vmdk, .ovf, .qcow2). The import process typically involves adding the source storage (such as an ESXi host or NFS share) to Proxmox, shutting down the source VM, selecting its configuration file (e.g., .vmx) or disk image, and using the Proxmox import wizard to convert the VM into Proxmox’s native format (e.g., .qcow2 or .raw) while preserving hardware settings, with post-import adjustments like installing VirtIO drivers for optimal performance.
Read: How to install VMWare ESXi Hypervisor in Hyper-V Virtual Machine
Is Proxmox better than ESXi?
It is not easy to choose between Proxmox and ESXi, the answer to the question, which is better, depends on your needs. Proxmox is better for open-source fans, budget-conscious users, and those needing Linux containers (LXC) alongside VMs. It’s free with enterprise support optional. ESXi is better for enterprise environments deeply integrated with VMware’s ecosystem (vCenter, vSAN) and users prioritizing industry-standard support. Its free tier is limited.
Also Read: Host TPM Attestation Alarm in VMware vSphere.