NotebookLM is an AI-powered research assistant developed by Google Labs that makes working with documents easier. It restricts its answers strictly to the source applied and significantly reduces hallucinations to ensure responses are verifiable. So if you have been looking for a smarter way to organise notes, summarise documents, and actually understand what you are reading, Google NotebookLM is the right fit. In this article, we are going to discuss how to use Google NotebookLM on Windows 11.
How to use Google NotebookLM on Windows 11
To access Google NotebookLM on Windows 11, use one of the methods mentioned below.
- Through a Web Browser
- Install it through Edge or Chrome
- Through third-party tools like WebCatalog
Let us talk about them in detail.
1] Through a Web Browser

The simplest method for users who want to access NetbookLM immediately without a startup is through its web browser.
- Launch your preferred browser, either Edge or Chrome, on Windows 11, and navigate to the official Google NotebookLM website at notebooklm.google.com.
- Click on the Try NotebookLM or Sign in button and select the Google Account to log in.
- Once logged in, click on New notebook or +Create new to start a new project. Now add sources to your notebook by clicking on the Add source button to upload files from the PC, paste text, or add a URL.
After the source is uploaded, the AI will automatically generate a summary. To ask questions about the material, use the chat box in the centre of the screen.
2] Install it through Edge or Chrome
If you are looking for a more integrated feel, then installing NotebookLM as a Progressive Web App (PWA) using Chrome or Edge is the best option.
- Launch the browser, and go to the NotebookLM website.
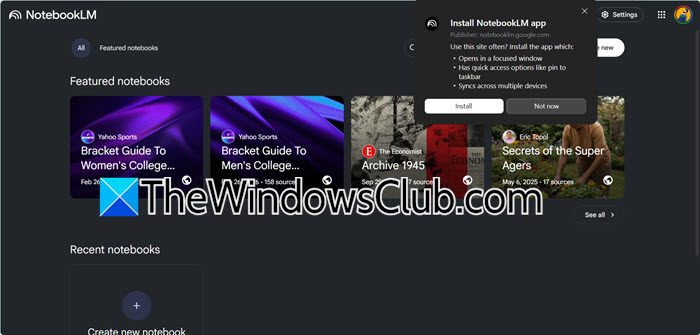
- Look for the installation icon in the address bar; it’s a small computer monitor icon or a set of boxes on the right side of the URL bar.
- Click the icon, select Install or Install NotebookLM, check the Open as Windows option once the dialogue box appears, and hit Install.
A standalone window for NotebookLM will open along with a shortcut added to the Windows 11 Start Menu and desktop. This allows users to launch it like a regular app.
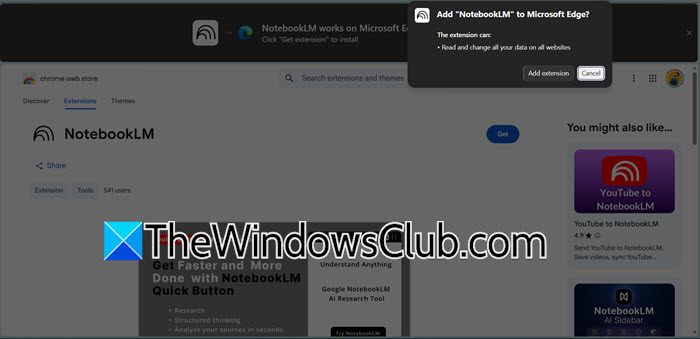
You can even add NotebookLM as an extension in your browser. Go to chromewebstore.google.com, and you will see an option to add the extension. This works for both Chrome and Edge.
3] Through third-party tools like WebCatalog

Users who want a true desktop application with features like multi-account management can opt for third-party tools like WebCatalog that convert the web service into a dedicated app.

- Navigate to the official WebCatalog website, download, and install the recent version of the WebCatalog Desktop app.
- Launch WebCatalog after installation, then use the app’s search bar to search for NotebookLM.
- Lastly, click on the Install button next to the icon to complete the process.
WebCatalog will create a dedicated isolated instance of NotebookLM that will appear as a standalone app in the taskbar and Start Menu.
Once done, start by creating a new notebook and giving it a clear, specific name so each project stays focused and organised. Then upload the sources, such as PDFs, Google Docs, notes, or links, and the best part is that NotebookLM only reads what it is provided. Once your material is ready, use the chat panel to ask questions, generate summaries, compare texts, or simplify complex ideas. It can also create timelines, provide study guides, and structured notes. Users can also use suggested prompts to help revise things. For best results, use clear questions, upload quality material, and stay organized.
Read: How to use Gemini for Education from Google for AI in School
Is Google NotebookLM free to use?
Yes, Google NotebookLM offers a completely free version that users can start using right away with just a Google account. The free plan provides generous access to NotebookLM’s core features, which makes it an excellent option for students. For users who need higher capacity, Google offers paid tiers bundled with Google AI subscriptions.
The paid plan has various versions, ranging from Plus to Pro to Ultra. Notebook LM Plus offers sources up to 100 per notebook and access to Gemini’s models. Pro offers priority access, sources up to 300 per notebook, whereas Ultra offers priority access, no watermark on generations, and sources up to 600 per notebook. For most individuals, the free plan is enough, but if you are hitting the 50-source limit per notebook or need more than 3 audio overviews daily, then upgrading to a paid plan makes sense.
Read: How to create Podcast using NotebookLM AI?
What is the best free notebook app for Windows?
Microsoft OneNote is widely considered the best free notebook app for Windows. It offers a flexible free-form canvas where users can type, draw, or add multimedia, which syncs easily across all devices via OneDrive. Joplin is an excellent open-source alternative for users seeking a privacy-focused option that stores notes locally by default.
Also Read: Best AI tools for Research Paper Writing.