An ADK or Agent Development Kit provides you with tools to build AI agents. Google has unveiled Google ADK. Google ADK integrates with various AI models, including Google’s Gemini, to offer features like modular architecture, flexible orchestration, and built-in evaluation tools. In this post, we are going to see how you can install Google ADK to build Multi Agents on Windows 11/10.
What are the prerequisites for Google ADK?
The prerequisites for Google ADK include having Python version 3.9 or above installed and properly configured. You’ll also need an IDE like VS Code or PyCharm for development and a functional terminal to execute commands effectively. Make sure your system’s PATH variable is set correctly for Python.
Install Google ADK to build Multi Agents on Windows 11/10
To install Google ADK to build Multi Agents, you need to follow the steps mentioned below.
- Install Google ADK
- Set up your environment
- Import Google ADK
- Run the agent
Let us discuss them in detail.
1] Install Google ADK
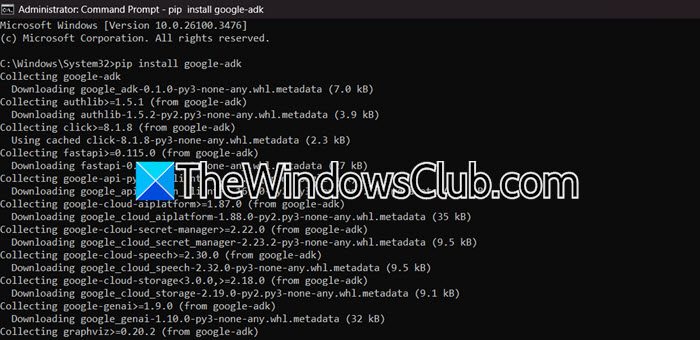
First of all, we need to install Google ADK on our system. Even though the source code is hosted on github.com, we can just take the easy route to install the application by running the following command in the elevated mode of the Command Prompt.
pip install google-adk
This will take a little time to install. Once the ADK is installed, go to the next step.
2] Set up your environment
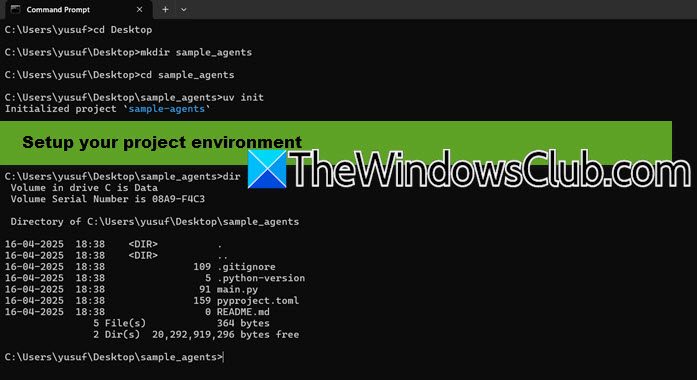
Now that we have the ADK at our disposal, let us set up the environment for our project. To do so, you need to open another Command Prompt session, this time, not in elevated mode, and go to any directory of your choice. We went to the desktop using the following command and made another directory there.
cd Desktop

mkdir sample_agents

cd sample_agents
Now, to set up the project, run uv init.
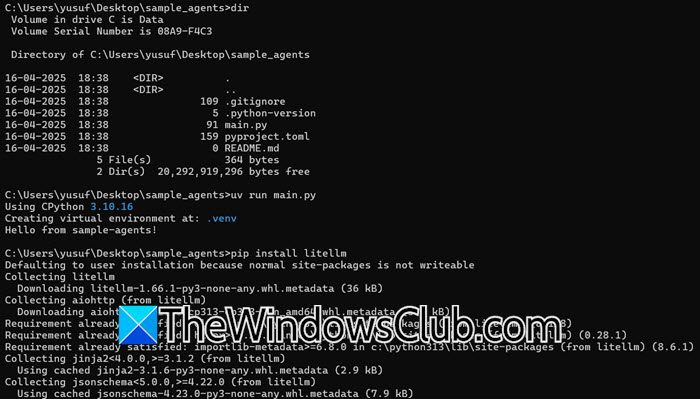
You can now run dir to see if all the files are placed inside the folder or not. You can check out the screenshot attached to know the required files. To run the program to test, execute – uv run main.py
Once done, we would need to install an LLM Model. For the sake of this tutorial, we are going with LiteLLM. Run the following command to do the same.
pip install litellm
Do keep in mind that since we are installing the service without an elevated mode of CMD, it will only be installed for the current user.
To add it to our project, run – uv add litellm.
Read: How to build AI Agent: Beginners Guide from Microsoft
3] Import Google ADK
For this step, we need an IDE. We will be using Visual Studio Code, but feel free to use any IDE of your choice. So, open VS Code, and then open your folder.
In our first method, we need to delete the main.py file as it is not required, so right-click on it and select Delete. Then create another Python file, and name it agent.py. Once the agent.py file is open, we need to import Google ADK. To get started, you can run the following line of code.
from google.adk.agents import Agent
from google.adk.models.lite_llm import LiteLLM
And then we can write our code from scratch. Make sure to specify your AI model, you can use Ollama for instance, and then add a root agent, using the following syntax.
root_agent = Agent(

Write your code here

)
You can specify the mode, description, and instructions inside the root_agent container.
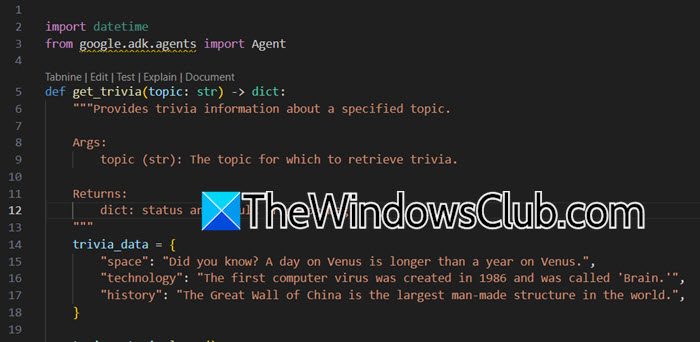
Alternatively, instead of deleting the main.py file, copy and paste the following sample code into it.
import datetime
from google.adk.agents import Agent

def get_trivia(topic: str) -> dict:
"""Provides trivia information about a specified topic.

Args:
topic (str): The topic for which to retrieve trivia.

Returns:
dict: status and result or error msg.
"""
trivia_data = {
"space": "Did you know? A day on Venus is longer than a year on Venus.",
"technology": "The first computer virus was created in 1986 and was called 'Brain.'",
"history": "The Great Wall of China is the largest man-made structure in the world.",
}

topic = topic.lower()
if topic in trivia_data:
return {
"status": "success",
"report": trivia_data[topic],
}
else:
return {
"status": "error",
"error_message": f"Trivia information for '{topic}' is not available.",
}

root_agent = Agent(
name="trivia_agent",
model="gemini-2.0-flash",
description=(
"An agent designed to answer trivia questions about various topics."
),
instruction=(
"You are a knowledgeable agent capable of providing trivia about different subjects."
),
tools=[get_trivia],
)
The sample code mentioned earlier was inspired by the code mentioned at Google.github.io.
The code creates a Trivia Agent that answers general knowledge trivia questions about a specified topic.
Read: Windows Driver Kit and Windows ADK now available for Windows 11
4] Run the agent
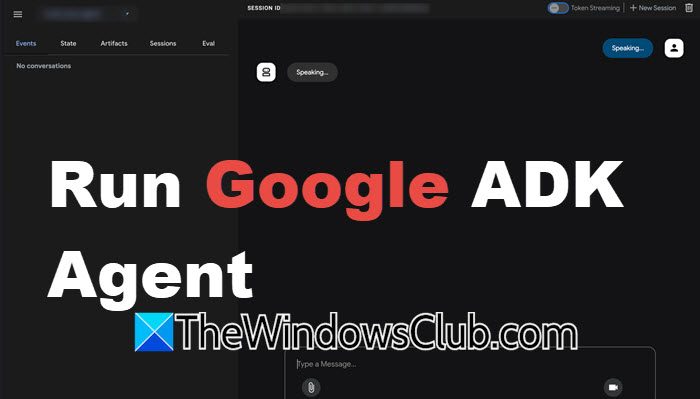
Now that we have created the agent, let us go ahead and run it. To do so, we need to open the Terminal in VS Code and run the following command.
adk run folder_name
Note: The folder_name is a variable that should be substituted by the folder in which the agent files are stored.
You can also open the agent in the web, using the following command.
adk web
This will give you a hyperlink that you need to click on to run the web server.
Hopefully, with the help of this post, you will get an idea of how to create agents using Google ADK. To learn more about this, you can go to google.adk.io.
Read: How to create Powerful AI Agents without Coding?
How to I install Google ADK?
To install Google ADK, first create a virtual Python environment using and activate it (venv\Scripts\activate.bat for CMD or .\venv\Scripts\Activate.ps1 for PowerShell). Next, run pip install google-adk to install the ADK. Once done, you’re ready to start ADK. Verify the installation with pip show google-adk.
Also Read: Create AI agents using LLMs Claude, Copilot, ChatGPT, Gemini.
Leave a Reply