
If you’re new to OpenClaw, you may have come across the name ClawHub. Both of these are related but are for different purposes.
On one side, OpenClaw is the AI agent platform that lets you run AI agents that can interact with your computer. On the other side, ClawHub is the public registry where the OpenClaw community shares skills and extensions that give your agent additional capabilities.
In other words, you can say that ClawHub is an app store where you can get skills for your AI agents. So how do you use both together? This guide explains exactly this.
What Is ClawHub?
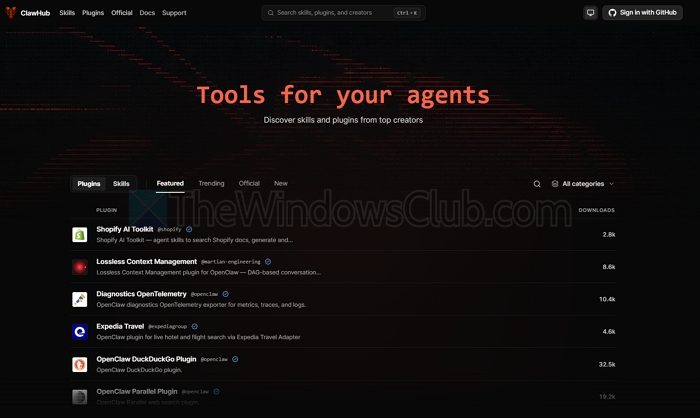
ClawHub is a public registry for OpenClaw skills and plugins. In the context of OpenClaw, a skill is basically a packaged set of instructions and supporting files that teaches OpenClaw AI agents to perform certain tasks. For example, by using a skill, you can let your AI agent work with GitHub, interact with an API, manage databases, and more.
Instead of manually building all these capabilities, you can go to ClawHub and find an existing skill.
How to Install and Use ClawHub on OpenClaw
First, note that you don’t need to install ClawHub into OpenClaw. Instead, you need to use OpenClaw’s built-in commands to search for and install skills from ClawHub.
First, ensure that you have OpenClaw installed. If you have it installed, then OpenClaw can search ClawHub directly. Here’s how:
1] Open a terminal on the computer where OpenClaw is installed. Run openclaw skills search "calendar" or openclaw skills search "github". These are terminal commands, not messages to paste into a connected WhatsApp or other chat. In chat, you can instead ask the agent in plain language to find a skill.
2] To browse trending skills without a specific query, run openclaw skills search --limit 20.
3] Also, before installing any skill, make sure to check what the skill does, who published it, its source, changelog, requirements, etc.
4] Once you have found the skill you wish to install, simply run the following command:
openclaw skills install @owner/<slug>
For example:
openclaw skills install @openclaw/demo
Once done, OpenClaw installs the skill into the active workspace’s skills/ directory by default. It also records the source for future updates. To update tracked ClawHub skills, run openclaw skills update --all; recording the source does not itself mean automatic updates are enabled.
Check that the skill is ready
Run openclaw skills list --eligible to see skills that are ready to use, or openclaw skills check to identify missing requirements such as API keys or dependencies. Installing a skill does not automatically configure the external service it uses.
To check a ClawHub skill’s registry verification information, run openclaw skills verify @owner/<slug>, replacing the placeholder with the real skill reference. Review its publisher, files, and scan results before installing. Verification is not a guarantee that a skill is safe.
These steps cover skills. Plugins use separate openclaw plugins commands. See the official ClawHub quickstart for both.
So that was a quick guide on how to access ClawHub and install skills for your OpenClaw AI agents. Now go ahead and try it by yourself and see if it works for you.
Do I need to install the ClawHub CLI?
No. OpenClaw’s built-in commands can search for, install, and update ClawHub skills. The separate ClawHub CLI is intended for registry tasks such as signing in and publishing.
How do I update installed ClawHub skills?
Run openclaw skills update --all in your terminal to update tracked skills in the selected workspace. This command updates ClawHub installations; skills installed from local folders or Git sources need separate handling.
