If you see Start PXE over IPv4 on MAC error during boot on your HP, Dell, Lenovo, etc. computers, it can happen if a bootable operating system cannot be found. This post will show you how to resolve this issue on your Windows 11/10 PC. I received this error after installing a Windows Update.
You could also see “Start PXE over IPv4” when trying to boot your computer because your system is trying to boot from PXE. So, you are computer is trying to boot over the IPv4 network and hence, you are seeing this error message.
What is PXE?
PXE or Preboot Execution Environment is used to boot a computer with a client-server interface before deploying the PC image. Both, DHCP(Dynamic Host Configuration Protocol) and TFTP(Trivial File Transfer Protocol), are used to carry out PXE network boot. Usually, PXE is enabled on your computer, but you can disable it from the BIOS(will be discussed, hereinafter).
What does start PXE over IPv4 mean?
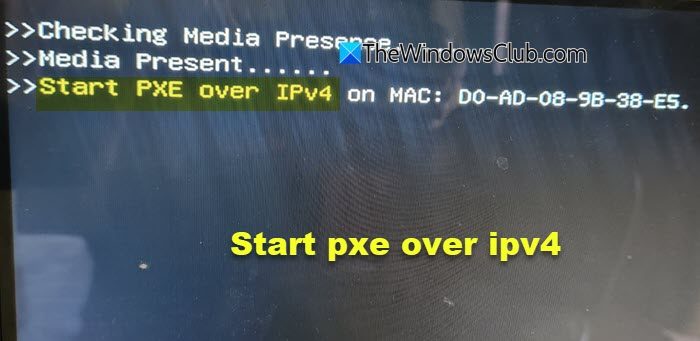
You will see a “Start PXE over IPv4″ error message when your computer tries to boot on the LAN. Your computer does this when it fails to boot from the bootable drive. This usually happens because of the wrong BIOS configuration.
How to fix Start PXE over IPv4 error
This error usually occurs because of the absence of other booting devices such as Hard Disk. So, we will be setting it as the default booting device. We will also cover other solutions that can fix the error. These are the things you can do to fix Start PXE over IPv4 in Windows 11/10.
- Reset BIOS settings to default
- Disable Secure Boot and Legacy Support
- Disable Boot to LAN
Let us talk about them in detail.
1] Reset BIOS settings to default
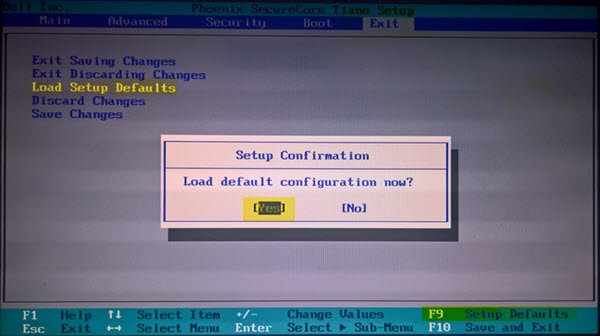
Boot into BIOS/UEFI by pressing F10, F2, etc. keys as may be applicable for your hardware. Once you enter BIOS/UEFI, reset and load the default BIOS settings.
This worked for me. If this does not help you, try the next two suggestions.
2] Disable Secure Boot and Legacy Support
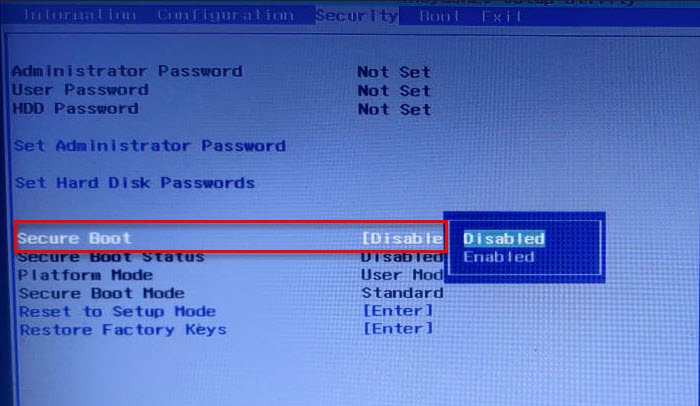
Secure Boot and Legacy Support are two of the main culprits in changing your system’s boot order. Therefore, disabling them will fix the issue. You can follow the given steps to disable Secure Boot and Legacy Support.
- Boot into BIOS of your computer.
- Go to the Security tab using the Arrow Keys.
- Now, go to Secure Boot and disable it.
- Afterward, select Legacy Support and disable it.
- Finally, save the settings and exit the BIOS.
When you restart your computer, you may see a message saying Boot Order has been changed and ask you to enter the displayed number.
If you are not seeing anything, just continue with the usual booting process. But if you do see the message, the following is what you need to do-
- Enter these numbers and hit Enter. (Note: You will not be able to see the entered number).
- Now, turn off your computer from the Power button.
- Enter BIOS, go to the Boot tab, and select Boot from Hard Drive (some settings might differ depending on the OEM).
Finally, restart your computer and check if the issue is fixed.
3] Disable Boot to LAN

Another thing you can do to fix the error is to disable Boot to LAN. Your system may have a different name, depending on the brand that your Laptop is of. However, the procedure is usually the same.
So, follow the given steps to disable the Boot to LAN option.
- Boot into BIOS
- Go to the Boot tab.
- Disable PXE Boot to LAN option.
- Save and Exit.
Restart your computer and check if the issue is fixed.
Read Next: Fix Boot Device Not Found error in Windows.
How to fix PXE boot error?
To fix a PXE boot error, ensure the network cable is securely connected, verify BIOS settings prioritize PXE as a boot option, and check for any network connection issues between the client and the DHCP server. You should also update the network card’s drivers and ensure the correct server configurations.
How to enable IPv4 in BIOS?
To enable IPv4 in BIOS, restart your computer and press F10 or F2 during boot to enter the BIOS/UEFI settings. Navigate to iDRAC Settings, then select Network. Under Network, locate the IPv4 Settings section and ensure “Enable IPv4” is selected. Save changes and exit the BIOS to enable IPv4 successfully.