This post will show you how to delete Printer Ports in Windows 11/10. When you connect a printer to your PC, it installs its dedicated drivers and ports. But if you keep changing or using different printers, the previously installed drivers and ports consume space and clutter your device. Keep reading this post if you want to delete these unused printer ports.

How to delete Printer Ports in Windows 11/10
Follow any of these methods to delete Printer Ports form your Windows 11/10 PC:
- Using Windows Settings
- Using Device Manager
- Using Registry Editor
- Using Command Prompt
Now let’s see these in detail.
1] Using Windows Settings
Here’s how you can delete printer ports from Windows Settings:

- Press the Windows key + I to open Settings.
- Navigate to Bluetooth & devices > Printers & scanners and click on the printer you want to delete.
- Here, scroll down and click on Printer properties.
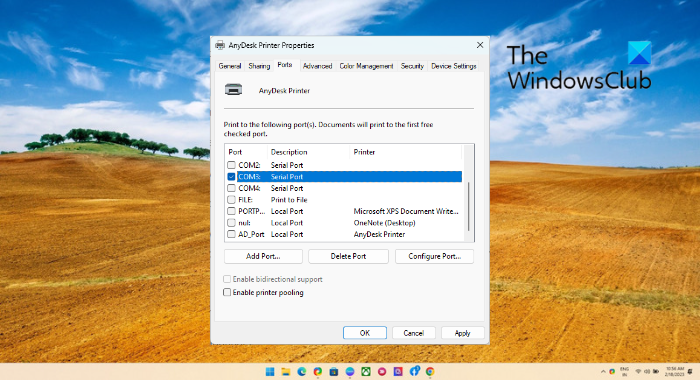
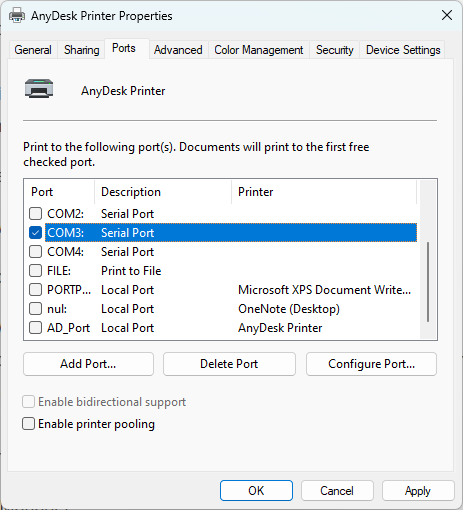
- The Printer Properties Dialog will now open; navigate to Ports.
- Select the port you want to delete and click on Delete ports.
2] Using Device Manager

Follow these steps to delete printer ports using the Device Manager:
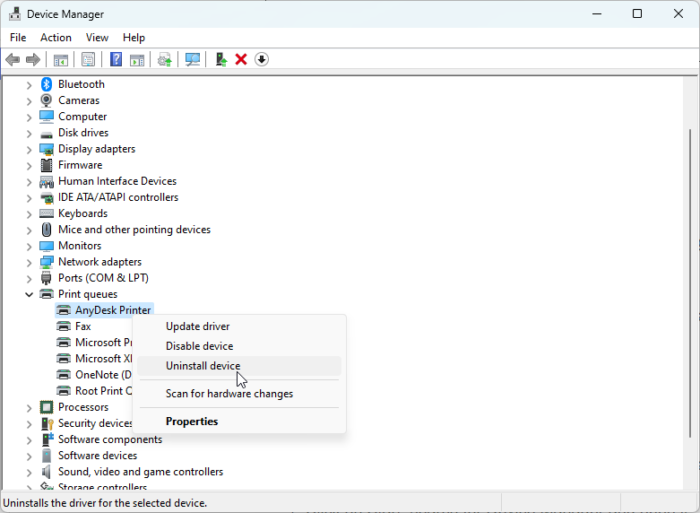
- Click on Start, search for Device Manager, and open it.
- Expand the Print queues section.
- Here, right-click on the printer you want to delete.
- Click on Uninstall device to remove the printer and its files.
3] Using Registry Editor

In this method we’ll be using the Registry Editor to delete the printer ports. Here’s how:
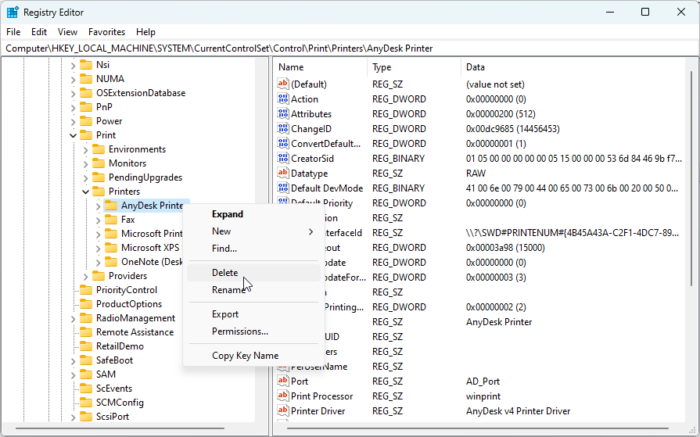
- Click on Start, search regedit, and hit Enter.
- Once the Registry Editor opens, navigate to the following path:
HKEY_LOCAL_MACHINE\SYSTEM\CurrentControlSet\Control\Print\Printers
- A subkey with your printer’s name will be present; right click on the subkey and select Delete.
4] Using Command Prompt
To remove a print port using Command Prompt in Windows, follow these steps:
- Open the Command prompt as an Admin.
- Type the following command and hit Enter. Replace the <PortName> with the port you want to delete.
printerport delete <PortName>
- Close the Command Prompt and restart your device.
You’ve now successfully deleted printer ports in Windows 11/10.
We hope this post helped you.
Read: How to change Printer Port in Windows 11/10 the easy way
How do I delete an existing printer port?
To delete an existing printer port, open Settings, navigate to Bluetooth & devices > Printers & scanners and select the printer you want to delete. Scroll down to select Printer properties and navigate to Ports. Here, select the port to delete and click Delete ports.
How do I clear a port in Windows?
Open the registry Editor and navigate to the following path:
HKEY_LOCAL_MACHINE\SYSTEM\CurrentControlSet\Control\COM Name Arbiter
Right-click on b, select Modify, set the Value data as 0, and click on OK to save the changes.