
The integration of custom AI agents into Microsoft Teams allows organizations to transform vast SharePoint document libraries into interactive, searchable knowledge bases. In this guide, we will see how you can create and setup AI agents for MS Teams.
AI agents are a more focused version of standard large language models. They are designed to work with a specific set of data. While a general AI can give broad answers from the internet, a SharePoint-based agent depends only on the files, folders, and sites you choose, like employee handbooks, price lists, or proprietary recipes. This focus helps the AI provide accurate information relevant to your business, reducing the chances of it giving irrelevant or vague answers that do not align with your internal policies. These agents are important because they connect stored data with employee engagement. In many organizations, valuable insights are hidden in complex folder structures, making it hard for staff to quickly find information about order statuses or ingredient lists.
By using an agent, you provide a virtual assistant that is available 24/7. This assistant can quickly retrieve these insights with full citations, allowing users to check the source of the information. This automation saves human staff from repetitive tasks, increasing overall organizational efficiency. Additionally, because these agents are stored as .agent files in SharePoint, they adhere to your organization’s security policies and sensitivity labels. This ensures that data governance stays in place while making information more accessible.
Create and set up AI agents for MS Teams
To create AI agents for Teams, follow the steps mentioned below.
- Select your knowledge base
- Initiate and Personalize your AI Agent
- Configure Knowledge Source and Agent Behavior
- Add the agent to MS Teams
Let us talk about them in detail.
1] Select your knowledge base
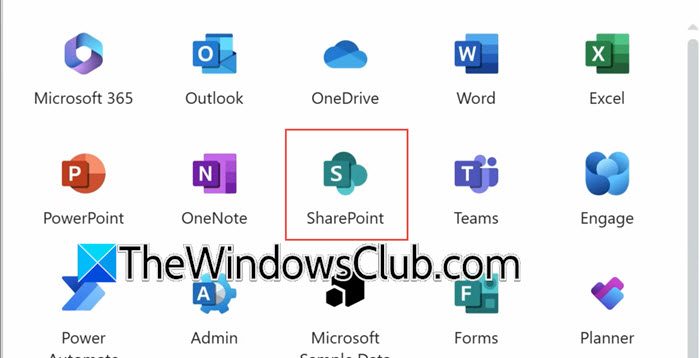
First of all, open your web browser and log in to your Microsoft 365 account. Now, from the top-left-hand corner, click on the Waffle icon (App Launcher) and then select SharePoint from the list of applications.
Now, navigate to the specific SharePoint site that contains the document you wish to use as the knowledge base for your agent. Identify and select the specific files or folders you want the agent to access. You can select up to 20 items, including formats such as PDFs, Excel files, and Word documents.
2] Initialize and Personalize your AI Agent
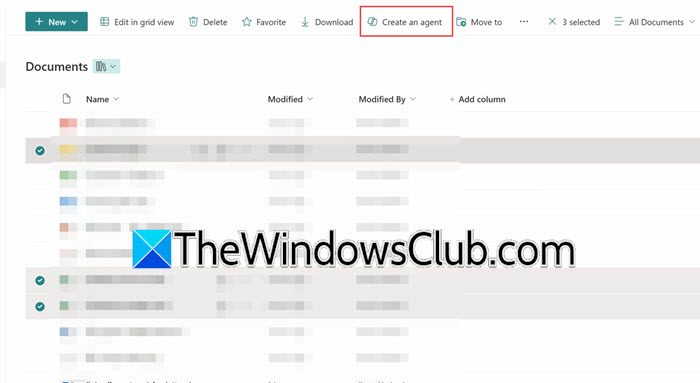
Once you have selected your files, either click on the Create an agent button at the top or right-click > Create an agent. Upon clicking this button, you will get a prompt labeled “Your New Agent”.
Click the Edit button in the bottom right-hand corner to begin customization. Under the Identity tab, enter a descriptive name in the name field, such as “Customer Order Assistant”. To update the visual representation, click Change under the Icon section to upload a custom image (like a company logo). In the description text box at the bottom, provide a brief summary of the agent’s purpose so users know what to expect when they interact with it.
3] Configure Knowledge Sources and Agent Behavior
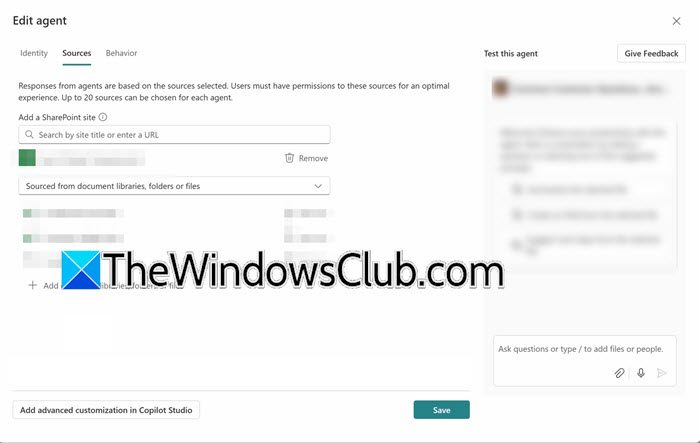
After establishing the identity, you must refine where the agent looks for data and how it speaks to your users. Switch to the Ssources tab at the top of the editor. Here, you can verify your selected files or click to add additional SharePoint sites if you need to expand the agent’s knowledge base beyond the initial selection.
Go to the behavior tab to personalize the user experience. Update the welcome message to something that fits your department and change the starter prompts to include common questions, like “What are the ingredients in our cookies?” At the bottom, you will see the instructions box. Here, you can change the default persona. For example, you can tell the agent to use a “casual tone” instead of a “formal tone” to match your company culture. After making all the changes, click the save button at the bottom of the screen to complete the agent setup.
4] Add the agent to MS Teams
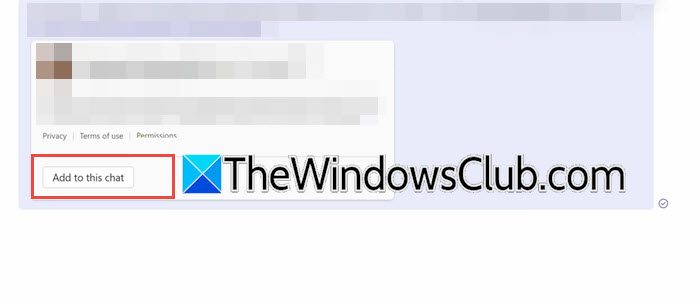
To add a SharePoint Copilot agent to your Microsoft Teams chat or channel, start by clicking on the three dots (ellipsis) in the top-right corner of the Copilot pane and selecting Copy a link for Teams. Next, head over to the group chat or channel where you want the agent to be, paste the link into the message field, and hit Send. You’ll see the agent appear as a card in the chat!
Click the Add to this chat button on the card to let everyone in the conversation access it.
To ask the agent a question, just type @ followed by the agent’s name, choose it from the list, and enter your query. The agent will respond using SharePoint data and provide citations that link back to the original documents.
Read: Microsoft Agent 365: Single place to manage all AI Agents
Can I change the agent’s tone or welcome message?
Yes, go to the Behavior tab in the editor. Update the welcome message to fit your department, and modify the starter prompts to include common questions. In the instructions box, you can change the default persona. For example, instruct the agent to use a “casual tone” instead of a “formal tone” to match your company culture. Click Save when done.
Read: How to create Copilot agents using Microsoft AI
How do I add the SharePoint AI agent to a Microsoft Teams chat?
Click the three dots (ellipsis) in the Copilot pane and select “Copy a link for Teams.” Go to your group chat or channel, paste the link into the message field, and send it. The agent will appear as a card. Click “Add to this chat” on the card to let everyone access it. Then type @ followed by the agent’s name to ask questions.
Also Read: Best frameworks to build Multi-Agent AI program.
