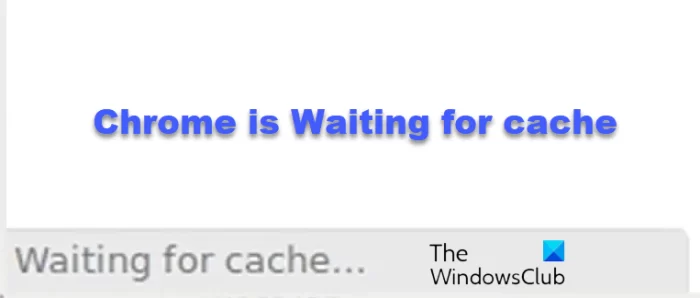
At times you may face this glitch on your Google Chrome browser on Windows, where the connection status keeps on saying Waiting for cache on the bottom left side of the web browser in the Status bar. If you face this issue, here’s how to get rid of this annoying glitch with very straightforward methods.

Chrome browser is Waiting for cache…
There can be a number of causes for this issue. The browser profile or the cache files may have become corrupt, the SSD is occupied, or the files have fragmented. Here’s what you can do:
- Hard Refresh the web page
- Clear Temporary Internet, Cookies & Cache files of Chrome
- Disable writing of Cache files to the SSD.
- Recreate a new User Profile for Google Chrome.
- Reset and Reinstall Google Chrome.
1] Hard Refresh the web page
Before you begin, hard refresh or hard reload the web page and see. To carry out a Hard Reload, press the Ctrl+F5 or Ctrl+Shift+R keys or, while holding down the Ctrl key, click on the Refresh button near the address bar.
2] Clear Chrome cache
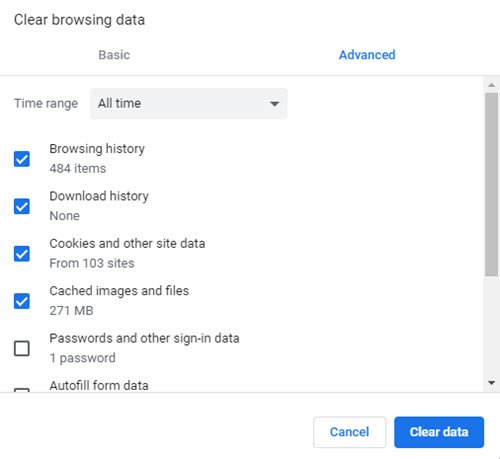
First of all, clear Temporary Internet, Cookies & other Cache files of Chrome and see if that helps.

To do this, open Chrome, press Ctrl+Shift+Del and delete all the cache files.
Restart Chrome and see.
3] Disable writing of Cache files to the SSD
You need to disable writing of Cache files to the SSD to stop the browser’s dependency on the SSD to gather all the cache files.
4] Recreate a new User Profile for Google Chrome
Kill every single process for Google Chrome from the Task Manager.

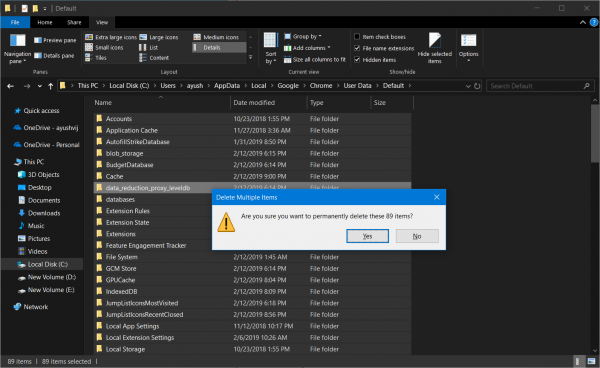
Next, navigate to the following location in Explorer-
C:\Users\<Your Username>\AppData\Local\Google\Chrome\User Data\Default
Press CTRL + A on your keyboard to select all the files inside of the location mentioned above.
Then press Shift + Delete to delete all these selected files permanently.
Now, open Google Chrome and create a new User Profile and then finally check if your issue is fixed.
5] Reset or Reinstall Google Chrome
To reset Chrome browser, make sure that Google Chrome is not running anywhere in the background using the Task Manager.
Now, hit the WINKEY + R combinations to open Run and then navigate to the following path,
%USERPROFILE%\AppData\Local\Google\Chrome\User Data
Now, select the folder named as Default and hit the Shift + Delete button combinations and then click on Yes for the confirmation prompt you get.
After deleting the Default folder, open Google Chrome and click on the Menu button denoted by three verticle dots in the top right corner.
Then, click on Settings. In the Settings section, scroll down and click on Advanced to reveal the Advanced Settings.
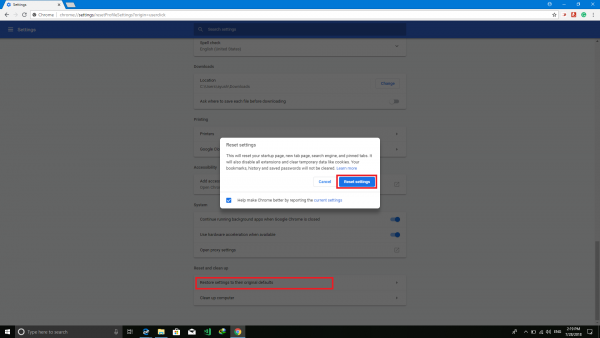
Now, scroll down to the Restore Settings to their original defaults button and click on it.
This will now give you a prompt like this-

Click on Reset, and this will reset your Google Chrome browser.
Now check if your issue is fixed or not.
If all the methods mentioned above do not work properly, the last and ultimate fix is to reinstall Google Chrome. First, you will have to Uninstall Google Chrome fully from your computer. This should also include all the leftover folders with browsing data, user data, etc. Now, make sure you download the latest version of Google Chrome from its website here.
You are all set now!
How long should it take to clear the cache in Chrome?
Clearing the cache in Chrome takes 5-15 seconds, depending on the amount of data stored. Factors like device performance may influence this duration.
How do I refresh the Chrome cache?
To refresh the Chrome cache, open Google Chrome, press Ctrl + Shift + Delete to access the Clear Browsing Data window, select “Cached images and files,” then click “Clear data.” This will remove the browser cache, ensuring pages load with the most updated content. You can also press Ctrl + F5 for a hard refresh of the current page.
Leave a Reply