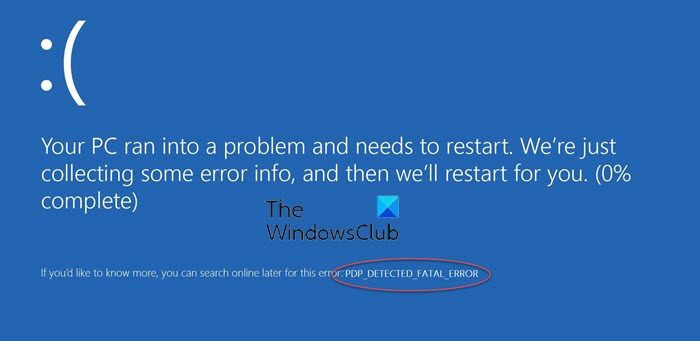
The PNP_DETECTED_FATAL_ERROR Blue Screen usually occurs when any new hardware usually of the type Plug and Play are attached. When this device is plugged, the driver for that device crashes or is not found or is eventually incompatible. There are usually a number of error codes that come under this category. Some of these errors are 0x000000CA (0x01681690, 0xEA96A7BE, 0x938A81AD, 0xF8362881). This blue screen error can occur at any time. But the only constant here is the plugging in of a PNP Device such as a USB Drive, Earphones, Microphones, etc.

The PNP_DETECTED_FATAL_ERROR bug check has a value of 0x000000CA. This indicates that the Plug and Play Manager encountered a severe error, probably as a result of a problematic Plug and Play driver.
Let us now check how to fix this stop error.
Fix PNP DETECTED FATAL ERROR Blue Screen
The following suggestions may help you fix PNP_DETECTED_FATAL_ERROR Blue Screen on Windows 10:
- Disable or Remove newly installed hardware
- Disable BIOS Memory options viz. Caching or Shadowing
- Run ChkDsk
- Update device drivers
- Run System Restore.
1 Disable or Remove newly installed hardware
You might have to disable or remove newly installed hardware because external devices are not much innocent in triggering a Blue Screen of Death error.
For that, I would recommend trying to physically disconnect any external device connected to your computer and check if that fixes the Blue Screen of Death Error.
2] Disable BIOS Memory options viz. Caching or Shadowing
To fix this error, you might need to disable BIOS Memory Options viz. Caching or Shadowing.
To do this, you will have to enter your system’s BIOS, open the Advanced page, and you will see the options there. While in the BIOS, you will have to use the Arrow and the Enter keys to select your choices.
If you can’t find it, look for specific instructions from your OEM, or in case you have a custom-built computer, look out for instructions from the maker of your motherboard.
3] Check Disk for Errors
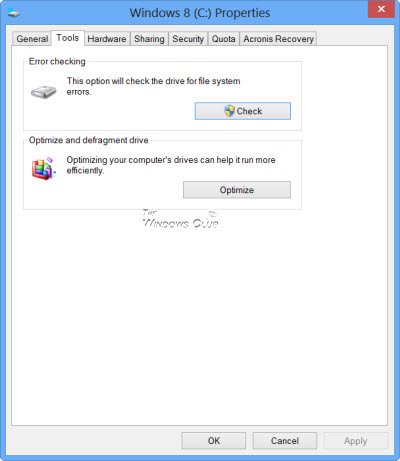
To run ChkDsk, open This PC. Right-click on your Operating System Partition for Windows.
Click on Properties. Now, navigate to the tab labeled as Tools.
Under the section for Error Checking, click on Check.

A new mini window will now pop up. Click on Scan drive.
Let it scan your disk drive partition and after that reboot your computer for the changes to take effect.
4] Uninstall or Update Drivers and other software
Start by booting your computer into the Safe Mode. You can then Uninstall, Update or Roll Back some Driver.
In case you suspect that some program may be causing conflicts, you need to uninstall it.
Start by hitting the WINKEY + R button combinations to open up the Run box. Inside it, type in appwiz.cpl and then hit Enter.
This will now open up Programs and Features section of the Control Panel. From the list of programs generated, you can select the program you want to install.
Right-click on it and click on Uninstall to uninstall it from your computer.
Reboot your computer for the changes to take effect. Check if this fixed the error.
5] Use System Restore
If you tend to create a System Restore point usually, you can try to undo any sort of intentional or unintentional modifications on your computer; you can try to perform a System Restore from the available points.
All the best!
Leave a Reply