
Recently bought a new Xbox One and cannot wait to dive in? Well, we recommend that you do. Now that you have a new gaming console to satisfy all your weekend gaming urges, the next step is getting the most out of it. Of course, you can take the console as it comes and never delves deeper in the beautiful hub of its settings that allow you to take the visuals up several notches and miss out on all the exquisite features that are inbuilt but initially. Or you can decide to find out exactly what your console offers and get the best out of it. Couldn’t agree more? Well, then this article might be tailor-made for you.
Without further ado, here are the settings you can adjust to get the best visuals from your Xbox One.
Best Graphics & Visual settings for Xbox One
1] Make sure that 4K and HDR are turned on
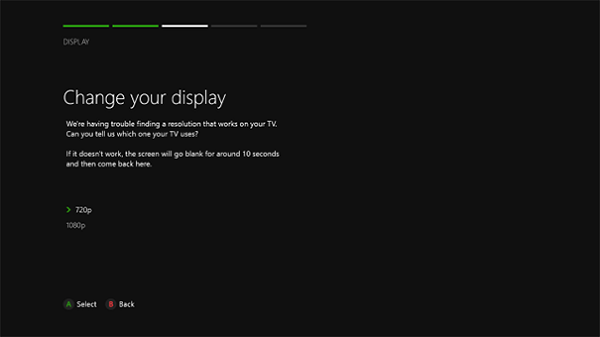
Sounds obvious, right? Well, you would be surprised at how many people miss out on this one teeny setting and stick with the bad visual quality for the entirety of their console ’s life.
Both Xbox One X and Xbox One X come preloaded with 4K features. This means your favorite games look even clearer. Imagine the visuals of The Witcher 3, but with the crispness of a 4K screen. Combine this with the HDR (High Dynamic Range), and you will have so much better contrast ratio and a color gamut that your brain might refuse to comprehend the beauty in front of your eyes for a while.
So, go to settings and make sure those features are turned on. You know you will be missing out otherwise.
2] Go for the right color depth
Another obvious one for the list. But in case you are not very familiar with the concept, here’s what it means. The color depth settings of your display represent the number of bits used to recreate the colors on the screen. So, the higher the color depth, the more vivid the colors on the screen should be. When you crank up your Xbox One’s color depth, it offers a wider range of colors, making images pop and visuals even more enticing.
But while that sounds sweet, setting it to maximum might not be a good idea either. Because your screen and the game you are playing have a say in it too. The Xbox One’s HDR10 usually goes better with a 10-bit screen, but there are ones that kinda support 8-bit ones.
Keeping those factors in mind, here’s how you change color depth on your console:
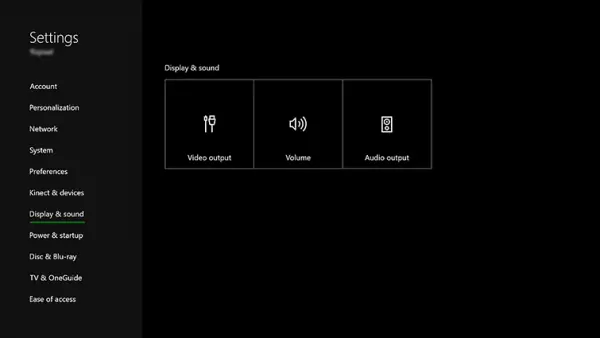
Go to Settings > Choose Display and Sound > Then go to Video Output > Colour Depth.
3] PC RGB settings
Now this one’s for you if you are specifically using a PC monitor.
Your Xbox console lets you play around with the available color space, including its recommended standard settings and PC RGB. Depending on the kind of display you are using, this determines which colors your screen covers. So you might want to switch to PC RGB when using a PC monitor.
But a word of warning. Using the full RGB range might sometimes result in a phenomenon called black crush, which means some details in darker scenes are lost or hard to see. So, while using PC monitors, this setting is recommended; you might want to steer clear of it when using a TV.
You can change these settings by going to Display and Sound settings, then to Video Output and Color Depth.
4] Calibrating
Saving the best for last, the built-in calibration tool on your gaming console helps you take your experience up several notches. Once you have followed all the previous steps, it is important to use this tool to determine whether you are using the best possible settings for your specific console and screen combo. This will take into account finer details like external lighting and checks to see whether your screen represents what you want and how you want it.
You will find this under Display and Sound, then go to Video Output, and finally Calibrate HDTV.
While calibrating, you will be asked to adjust several display settings, including sharpness, brightness, and color. When you do this, you will finally get the best that your gaming console has to offer.
Read next: How to fix Xbox One Controller Drift.
