Adobe rolled out InDesign CC successor, InDesign CC. Based on feedback, Adobe has added those features that InDesign users were looking for. Moreover, Adobe InDesign CC is a cloud-based application that offers users an update notification whenever Adobe releases a new product update.
Adobe InDesign CC new features
InDesign CC ships with new features, including Seamless Update, a What’s New dialog, Color Groups, EPUB enhancements, an Improved Packaging option, Enhanced Data Merge for QR codes, Footnote enhancements, HiDPI support for Windows, Scalable effects, Modernization changes to panels, Improvements to tables, and more.
Before we begin working with InDesign, you must have InDesign CC preinstalled. We have already covered how to install Adobe CC application in our previous article.
Adobe InDesign CC beginners’ tutorial
Create a New InDesign File
Once you have installed InDesign CC, launch the application. Now, go to File > New > Document, enter the number of pages that you want in InDesign file and hit OK.
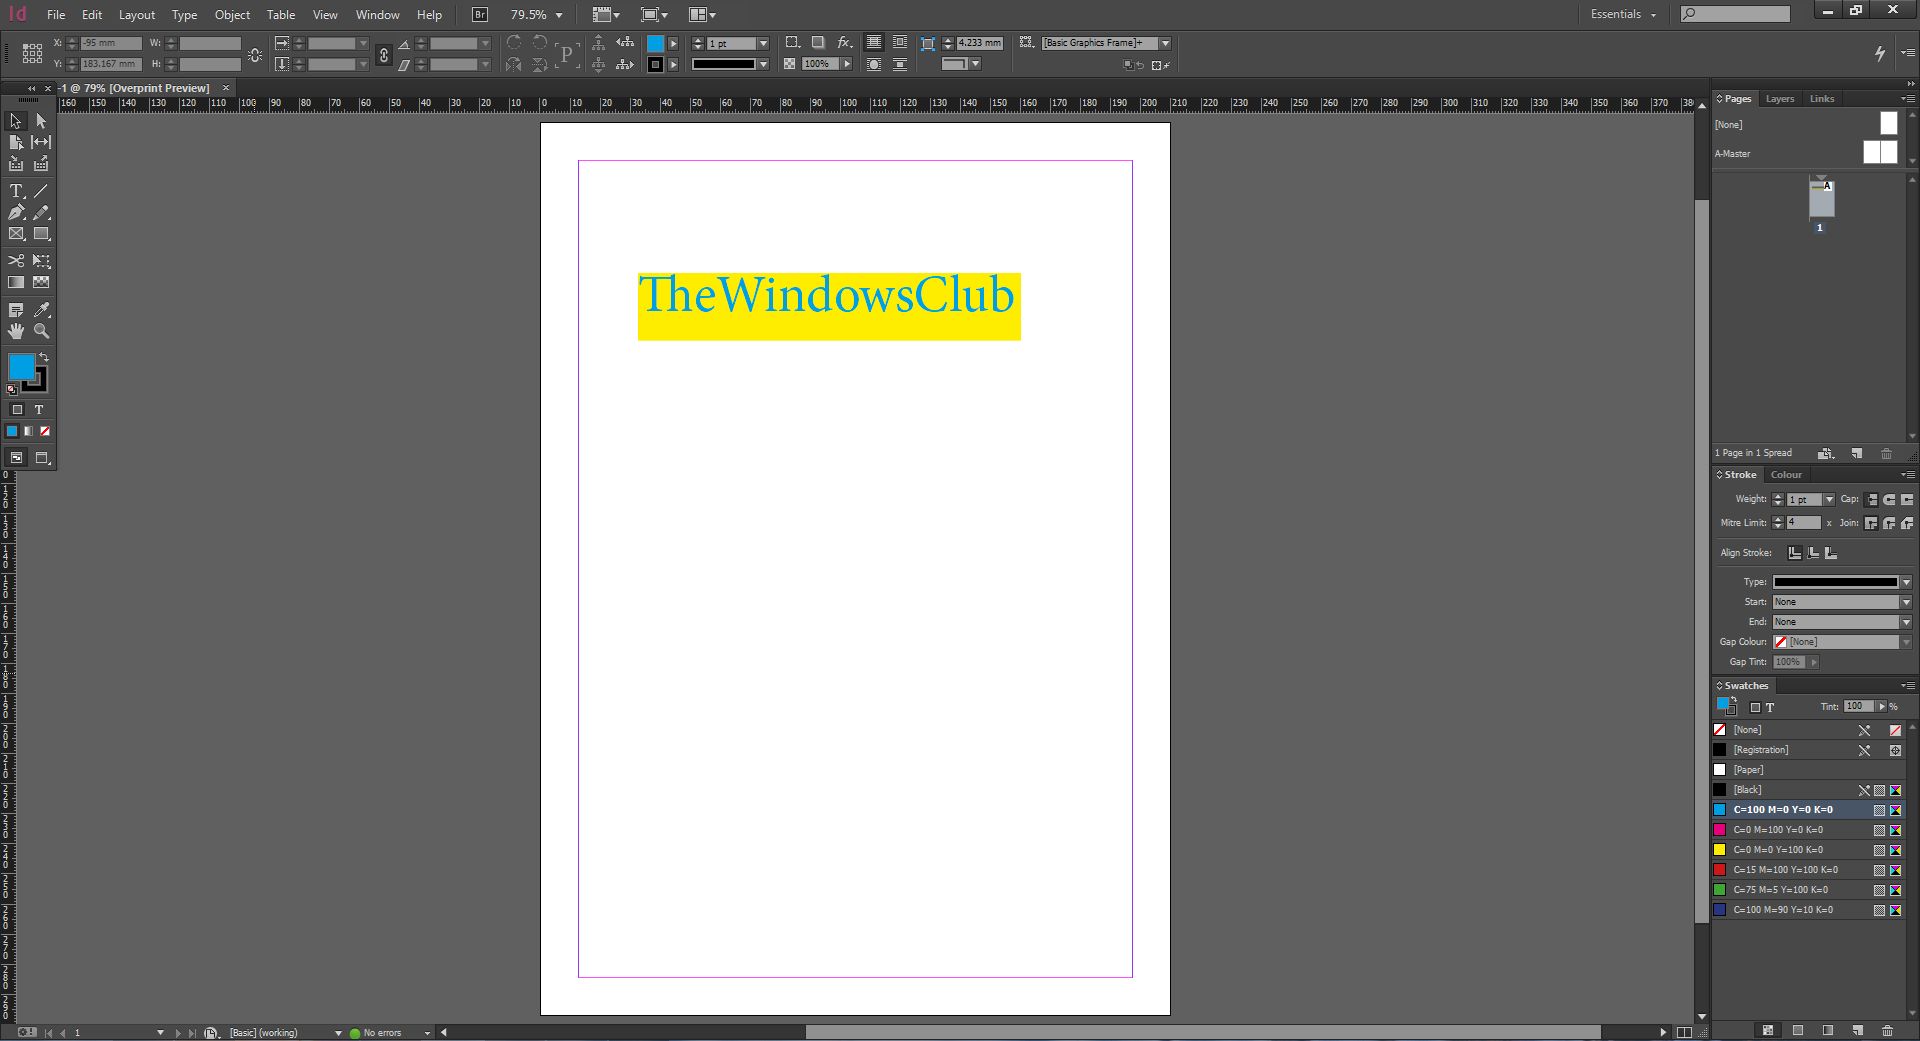
After you create a file with the number of pages you have selected, use the Tools option that appears on the left-hand side, to create a text box, a rectangular box, and add values to it – like we have added TheWindowsClub.
Then, add colors using the Color Panel, which usually appears on the right-hand side in the program. If you are unable to see the color panel, then click on the window menu which appears on the top > Select Color. This option will enable the panel and it will appear on the right-hand side.
After you are done working in InDesign, now to save the file, go to File > Save as. Give the file a name and click Save.
How to Enable Hidden Panels
By default InDesign CC loads up with all panels, tools option but if in case you do not see any options like tools, layers, stroke, swatches or folio option, then simply navigate to Windows menu > select the respective options that you are looking for. It will start appearing on the screen.
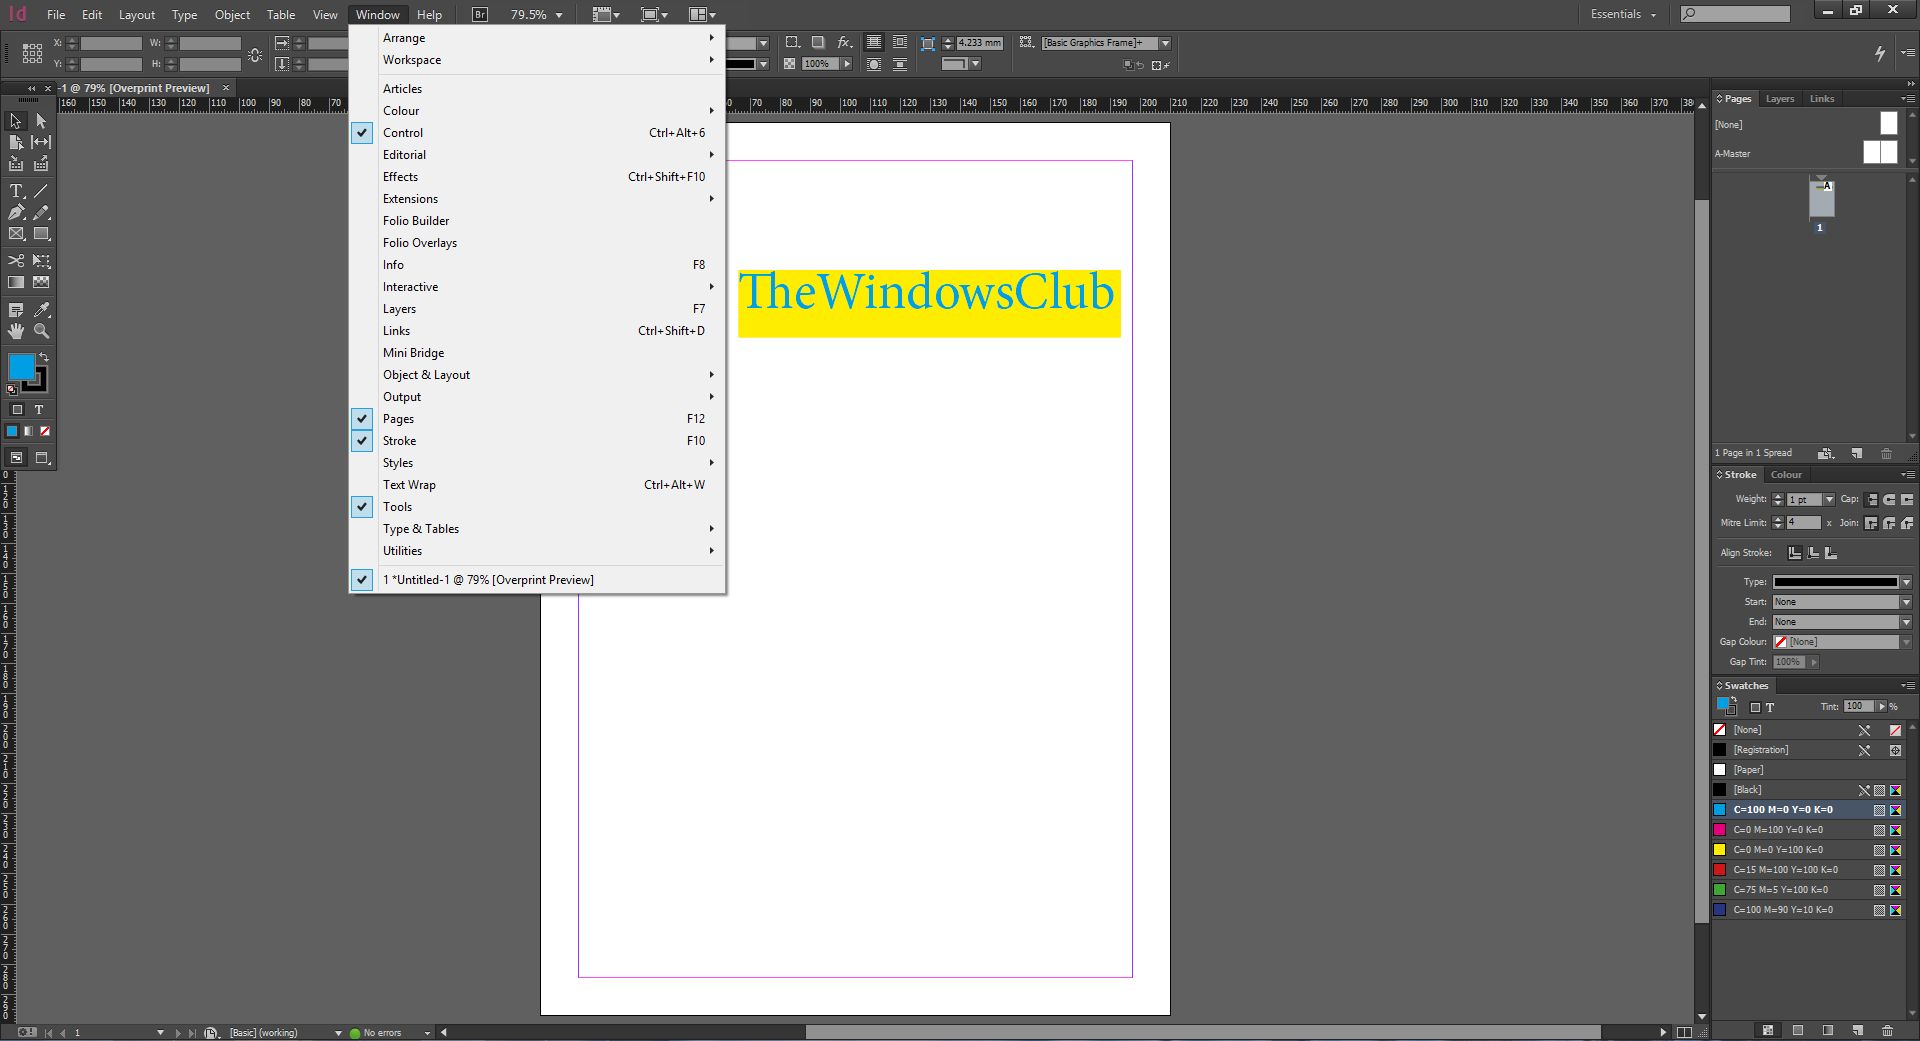
Just drag those panels/tools to their places to arrange, by default, all tools options appear on the left-hand side and panels options appear on the right-hand side, irrespective of the Operating System, i.e., it will remain the same on both Mac and Windows platforms.
How to Print InDesign File
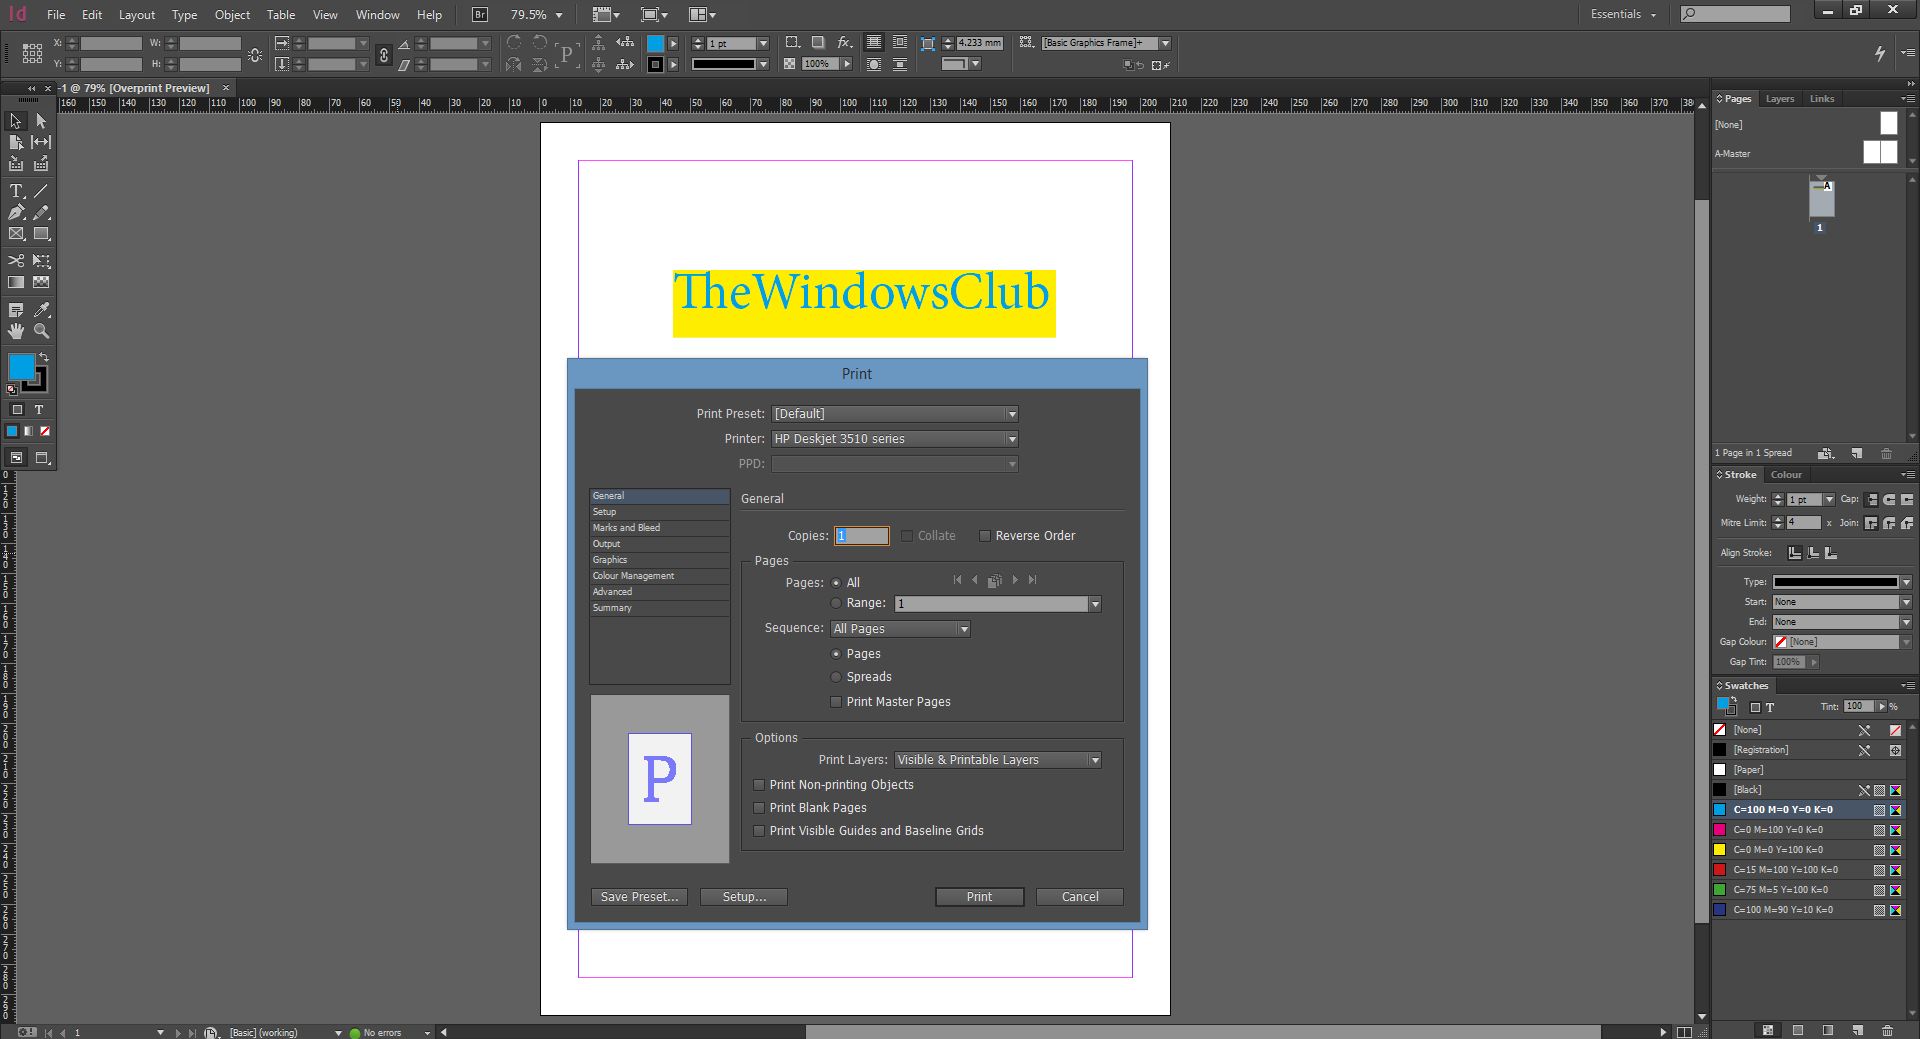
InDesign offers many options to print a file. To print a file, go to File > Print, a window will appear on the screen asking for different customization options. Make appropriate selections. Once you are satisfied after inspecting the output using Print preview option, then hit Print, and it will start printing that InDesign file for you.
InDesign CC is a very popular program developed by Adobe for all designers, magazine creators, application developers for Windows, iPad and it is used worldwide.
Do check out our Adobe Creative Cloud Getting Started Guide too… and check this post for Adobe Photoshop CC tutorial for beginners.