With Voice Access in Windows 11, you can tell your computer what to do. It’s a super handy tool that lets you control your entire PC and type out text using nothing but your voice. Fluid Dictation, introduced in Windows 11 recently, aims to improve your grammar and correct your punctuation. In this post, we’ll explore how to enable or disable Fluid Dictation in Voice Access on Windows 11.
Turn on or off Fluid Dictation in Voice Access on Windows 11
Fluid Dictation is a new feature for Copilot+ PCs that makes speaking to your computer smoother and smarter. As you talk, it automatically fixes grammar, adds punctuation, and removes filler words like “um” or “ah”. So, your speech turns into clean, polished text without extra effort. It runs right on your PC for fast performance and privacy. It’s on by default, works in most text boxes, and stays off in sensitive areas like password fields. Right now, it supports all English languages on Copilot+ PCs.
To turn on or off Fluid Dictation in Voice Access on Windows 11, follow one of the methods mentioned below.
- From Fluid Dictation settings
- From Voice Commands
- Make changes to registry
Let us discuss in detail.
1] From Fluid Dictation settings

If you want to adjust how your dictation works, changing the Fluid Dictation setting is a quick and easy process. It’s enabled by default to make your life easier, but you can toggle it on or off anytime right from the Voice Access toolbar.
You can follow the steps mentioned below to do the same.
- First of all, turn on Voice Access.
- Then, click on the gear (Settings) icon on the right side of the voice access toolbar at the top of the screen.
- Then, click on Manage options from the drop-down menu.
- Finally, tick Fluid dictation to turn it on and then uncheck it to turn it off.
Hopefully, this will do the job for you.
2] From Voice Commands
One of the easiest ways to disable Fluid Dictation is to tell it to do so. When Voice Access is active, tell it to disable or enable Fluid Dictation, and that will be done.
3] Make changes to registry
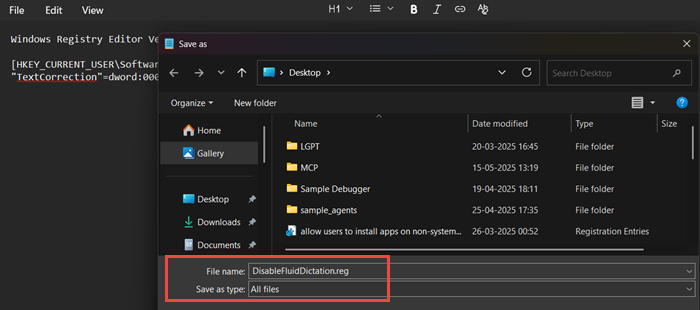
If you want the changes to deploy to all the users attached to your domain controller, try making changes to the registry. We will create a script and run it to make these changes. First of all, take a backup of your registry. Then, open Notepad and create two files.

DisableFluidDictation.reg
Windows Registry Editor Version 5.00

[HKEY_CURRENT_USER\Software\Microsoft\VoiceAccess]
"TextCorrection"=dword:00000001
EnableFluidDictation.reg
Windows Registry Editor Version 5.00

[HKEY_CURRENT_USER\Software\Microsoft\VoiceAccess]
"TextCorrection"=dword:00000002
Go to the location where you have stored these files and double-click on one of them depending on your requirement. You will get a UAC prompt, click on Yes to continue.
That’s it!
Read: How to set up and use Speech Recognition in Windows 11
How do I turn on dictation in Windows 11?
To turn on dictation in Windows 11, press the Windows key + H keyboard shortcut when your cursor is in a text field. This will open the voice typing interface, click the microphone icon that appears and start speaking to convert your speech to text. Ensure you have an internet connection for initial setup and that online speech recognition is enabled in your Settings > Privacy & security > Speech > Online Speech Recognition.
Read: How to enable Voice Typing Everywhere in Chrome
How to enable voice access in Windows 11?
To enable Voice Access in Windows 11, open the Settings app, navigate to Accessibility, and then select Speech. Under the “Voice access” section, toggle the switch to On. You will then need to complete a one-time setup process, which includes downloading a speech model and enabling microphone access for the feature to work.
Also Read: Use Voice Typing Tool in Windows 11.