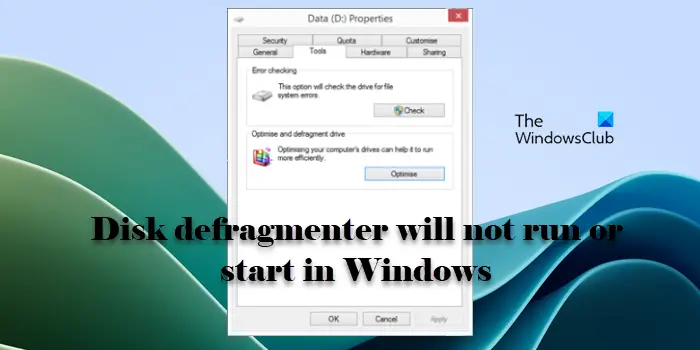
The Disk Defragmenter in Windows is automatically scheduled to run at 1.00 am, by default, which means that you don’t really need to run it manually. But if you find that you are unable to manually run the Windows 11/10 in-built defragmenter utility and you may be, get an error like:
- Disk defragmenter could not start
- Failed to initialize or Optimization not available
- Analyze and Defrag buttons may be grayed out.

Disk defragmenter could not start or Failed to initialize
This may happen if you uninstalled a 3rd party defragmenter, and the uninstallation may not have gone correctly or been incomplete. You may try these suggestions in any order you wish; these are just some options you may want to try.
- Run System File Checker
- Check the status of a Service
- Run ChkDsk
- Ensure that Page File is not disabled
- Use System Restore.
1] Run System File Checker
Click Start > Search Menu Bar > cmd > right-click on the result > Run As Administrator > Type sfc /scannow > Hit Enter. This will run the System File Checker. This will examine all your system files and replace them if any are found to have been corrupted.
2] Check the status of a Service
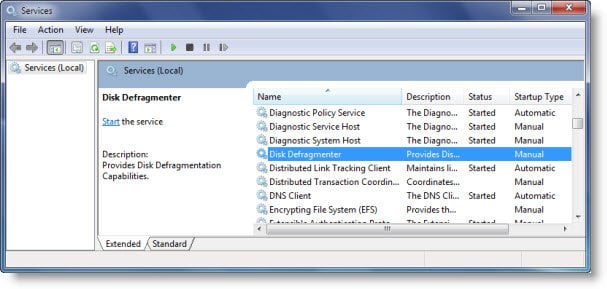
Type services.msc in start search and hit Enter.

In Windows 11/10 ensure that:
Disk Defragmenter service is not Disabled but set to Manual.
This service, defragsvc, is new one starting from Windows 7 and is used to defragment disks on a schedule. It does not run at start-up but starts & stops, as required on its own.
Also, ensure that the following services are running and set to Automatic.
- Remote Procedure Call (RPC)
- DCOM Server Process Launcher
- RPC Endpoint Mapper
3] Run ChkDsk
Run chkdsk /r on the drive you plan to defragment. The /r switch identifies bad Sectors and attempts recovery of information.
4] Ensure that Page File is not disabled
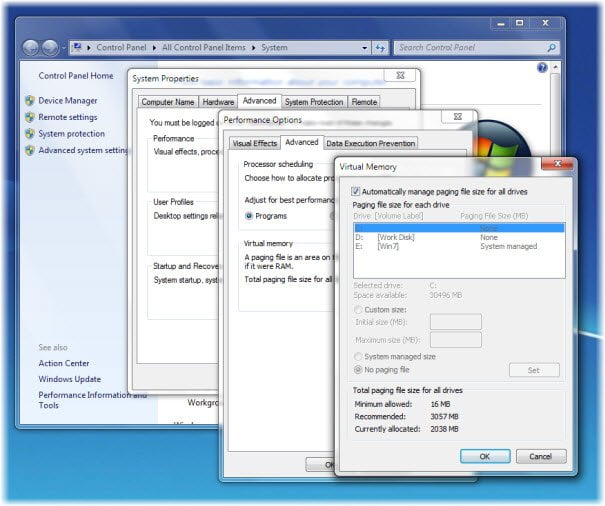
Verify that the Page File isn’t turned off.

To do so, right-click Computer > Properties > Advanced system settings > Advanced tab > Performance > Settings > Performance Options > Virtual Memory > Change > Ensure that Automatically manage Paging file size for all drives is checked. Make sure that No paging file is NOT selected.
5] Use System Restore
Try a System Restore. To perform a System Restore, you can use a restore point created before the issue occurred, if available.
I hope something helps!
This post on free defragmentation software for Windows may also interest you.
Why is my defrag not opening?
If the Disk Defragmenter tool is not running or opening on your Windows 11/10 PC, it could be due to several factors, such as a disabled or improperly configured service, registry issues, or system file corruption. Conflicts with third-party software, especially antivirus or disk management tools, can also prevent the defragmenter from opening. The tool might also not open if your user account does not have the necessary (administrative) rights for running the Disk Defragmenter.
How do I run Disk Defragmenter on Windows 11?
The Disk Defragmenter is automatically scheduled to run on a weekly basis by default. The default scheduled time is 1:00 AM on Wednesdays. If you prefer to manually run the optimization, open the Settings app and go to System > Storage. Scroll down to the Advanced storage settings section and click Drive optimization. In the Optimize Drives window, you’ll see a list of drives connected to your computer. Select the drive you want to defragment and click the Optimize button. If you want to adjust the schedule, select the drive, click the Change settings button, and adjust the frequency (how often) and the time of day when the optimization should occur.
Read Next: How to defragment Hard Drive using Batch file in Windows.