In this post, we will see how to install PostgreSQL on your Windows client computer and how you can connect and use it. PostgreSQL, commonly called Postgres, is an open-source relational database management system that prioritizes extensibility and adherence to SQL standards. Usually, you see PostgreSQL installed and used on a server, but you can do the same on a client device.

How to install PostgreSQL in Windows?
To install PostgreSQL on a Windows computer, first download the installation media from the official website. Then run the installer to install the application and all its components on your computer. We have provided a detailed guide below.
- Download PostgreSQL
- Run the PostgreSQL installer to install Postgres on your computer
- Connect to your PostgreSQL using PgAdmin
Let us talk about them in detail.
1] Download PostgreSQL
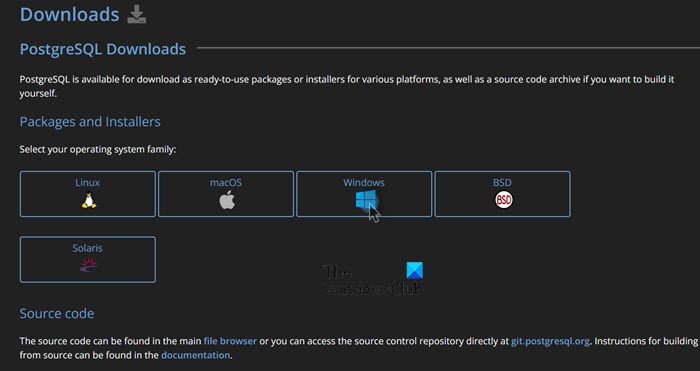
First, we need to install PostgreSQL on your computer. Since it is an open-source service, we can download it for free. To do the same, open a browser, navigate to postgresql.org, click on the Download button, then from “Packages and Installers”, click on the Windows icon, and click on Download the installer link. You will be redirected to enterprisedb.com, where you need to download the PostgreSQL version of your choice. I went for 14.11, but you can go pick anyone from the list. The PostgreSQL installation package will start downloading to your system.
Read: How to Download and Install MySQL in Windows?
2] Run the PostgreSQL installer to install Postgres on your computer
Now that we have the installation media for PostgreSQL, let us now go ahead and run the installer. We recommend you go through the entire guide mentioned below and not skip anything.
First of all, open the File Explorer, navigate to the Download folder, and run the installation media. It will trigger the PostgreSQL installation, and you will see the Setup wizard; click Next.
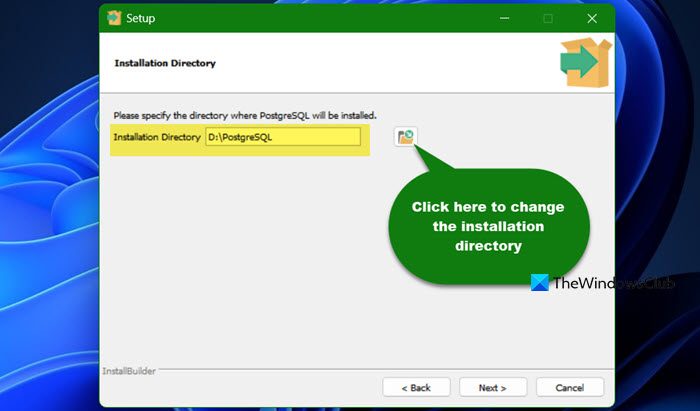
You will be asked to specify a directory where you need the application to get installed, most go with the default option, but since I don’t have enough space in my C drive, I will install it in the D drive. If you too, want to change the directory, just click on the Browse icon and change the default location.
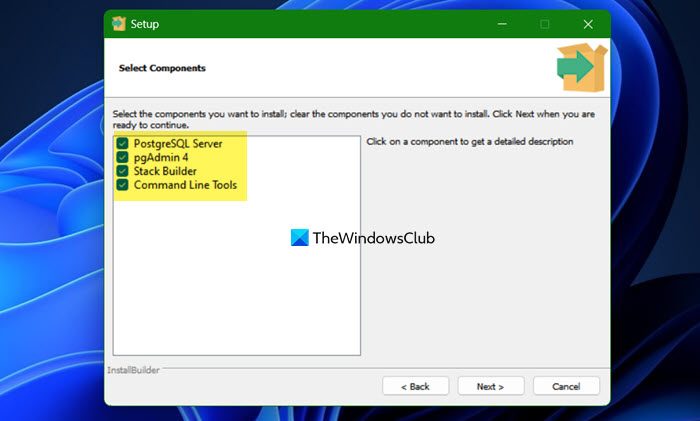
Next up, we need to select the components we need to install. The more components you wish to install the more space it will take. Depending on your needs, you may choose to skip using Stack Builder, which is a graphical interface that simplifies the process of downloading and installing modules that complement your PostgreSQL installation. However, do not uncheck the other. We will install all of them.
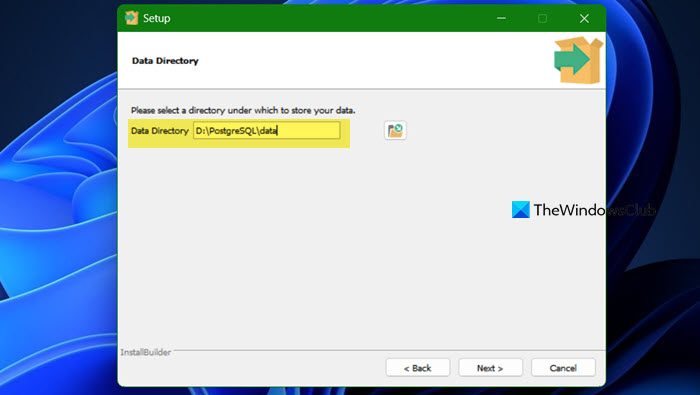
Now, you need to select the directory where you want to store all your data. Based on what you intend to do on your database, select a local storage directory. By default, the data folder will be located inside the directory you intend to install PostgreSQL in, however, it can be altered. To change the directory, click on the Browse icon, navigate to the location where you want to store your data, and select a folder. Once done, click on Next.
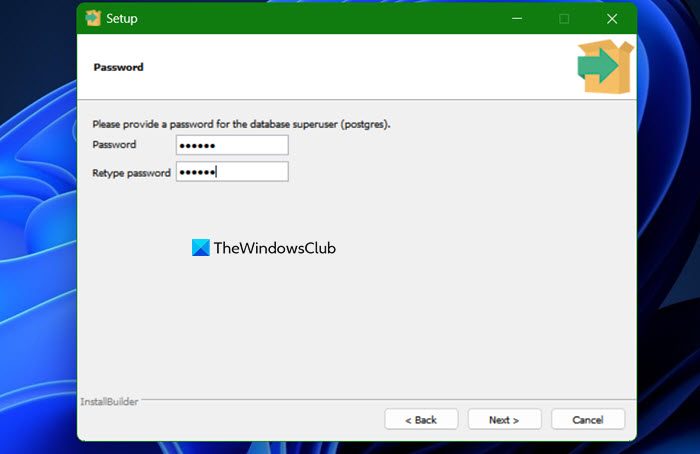
Set a password of your choice, since it is a local DB, there are no rules that you need to adhere to. Just pick a number that you can easily remember and click on Next.
Now, enter the port number if you have one, or leave it to the default number and click on Next. Then, you will be asked to select a language and location, do that from the Locale drop-down menu, and click on Next.
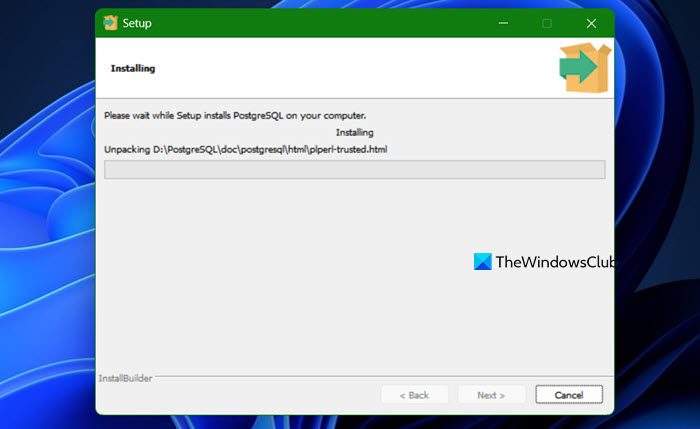
Finally, review the summary. Once satisfied, click Next, then start the installation process. It might take some time, so, wait for the installation to complete and then move to the next step.
Read: Open Source Database Software Comparison and Features
3] Connect to your PostgreSQL using PgAdmin
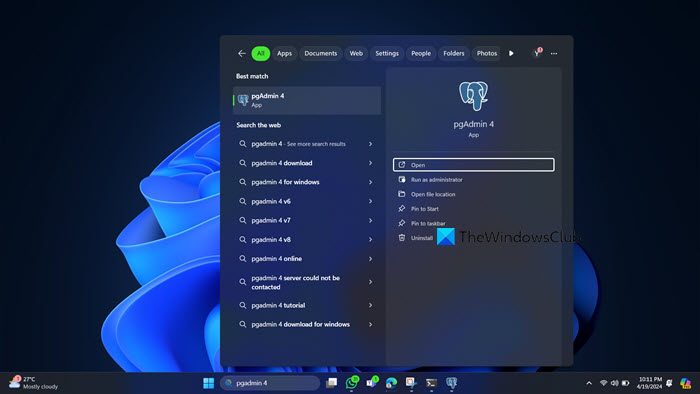
Finally, we are going to connect to your PostgreSQL using PgAdmin. So, search out “PgAdmin” from the Start Menu and open the application. To check your database, go to Servers, expand it, enter your password when asked, and then access your DB.
Now you can practice creating the database, user, tablespace, and fiddle with all the options to get accustomed to the environment.
Read: How to install Oracle Database on Windows?
How do you install postgres in Windows using CMD?
You can create a new Postgres user in Windows and give the administrative privileges, we recommend you follow the steps mentioned below.
- Reboot your Windows computer.
- Then, open Command Prompt with administrative privileges and then run –
runas /user:postgres cmd.exe. - This will trigger the installer so that you can follow the on-screen instructions to complete the process.
This will do the job for you.
Also Read: Difference between SQL and MySQL: Comparision.