A day might come when you may need to find out which one of your Windows 11/10 applications is using the internet in the background. Instead of checking each app individually, there is an easier way to accomplish this task.
Why would someone want to know which app is using the internet in the background?
There are situations where users experience slowdowns with their internet connection, and this is usually caused by apps running in the background. If the user can identify which app is the culprit, then it’s easy to determine the next steps.
How to check Background apps using Internet in Windows 11/10
Let us see how to check the background running apps that are using the internet in Windows 11/10.
When it comes to Windows 11, things are a bit different compared to Windows 10 and others that came before. To solve this problem, we first need to open the Task Manager, but doing so without hotkeys is different, surprisingly.
- Open the Task Manager
- Choose the Processes tab
- Look at Network column to see the apps using data
- Check how much data each individual app has used.
The first thing you need to do here is to fire up the Task Manager. We can do this by pressing Ctrl + Shift + Esc.
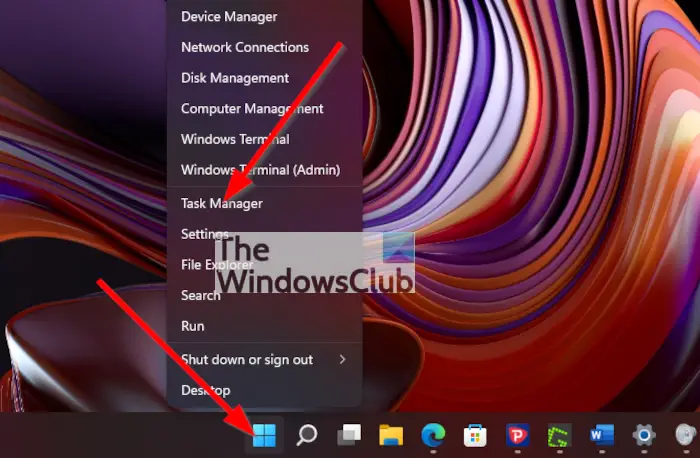
Alternatively, you can right-click on the Start Menu button located on the Task Bar, and from there, select Task Manager from the context menu to open it.
After you’ve opened the Task Manager, you should waste no time by clicking on Processes. If you do not see that option, then chances are Task Manager is showing the simple mode. Just click on More Details to reveal additional features, then click on Processes when done.
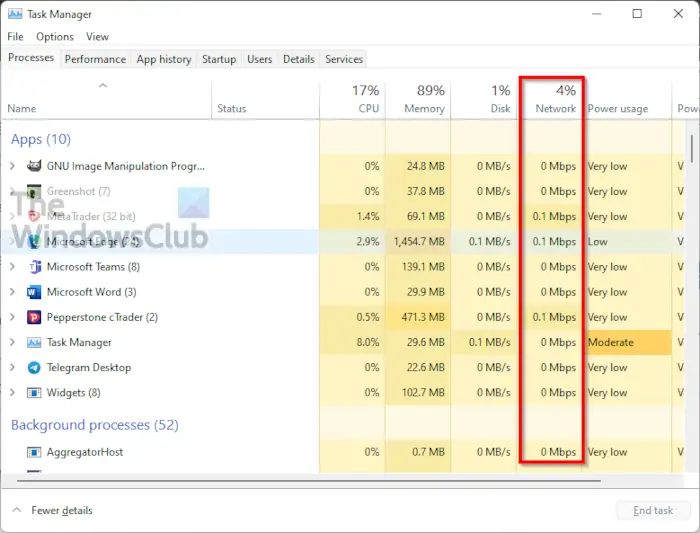
Now, if you look to the right within the Task Manager, you should see several detailed information. Ignore them all and focus on Network instead. Here, you should see the network usage of all open applications running on your Windows 11 machine.
If you’re interested in knowing how much data one or more apps have used since installation, then the Task Manager is not where you want to be.

The Task Manager only shows data relating to the time the app was opened and connected to the internet.
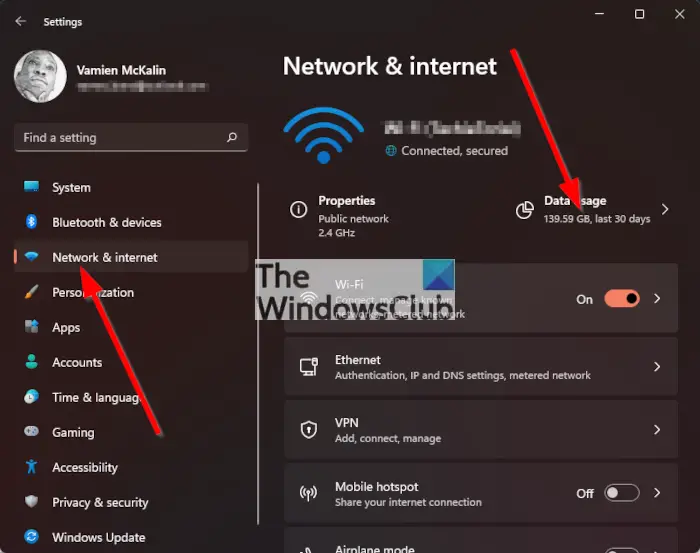
To check the overall data usage of apps, you must open the Settings app by pressing the Windows key + I, then look for Network & Internet via the left pane and click on it. After you have done that, please click on Data Usage, then wait for the list to load.
After it has loaded, you should see a list of apps that have used the most data since their installation.
How to know which application is using internet in Windows 11?
To know about the apps that are using the internet in Windows 11, you can take the help of the Windows Settings panel. For that, press Win+I to open the Windows Settings panel and go to Network & internet > Advanced network settings > Data usage. Here you can find all the apps that have been using the internet on your computer.
How do you check which apps are using internet in background?
To check which apps are using the internet in the background, you have several options available. For example, you can use Task Manager to get the job done. To do this, navigate to the Processes tab and locate the Network column. Here, you can find the data in real-time.
Read: Microsoft Teams cannot open files in Desktop app in Windows 11.