
In this guide, we will show you how to rotate the Ruler in Snipping Tool with or without Mouse on a Windows 11/10 PC. The Snipping Tool in Windows is no longer just a basic screenshot utility. It now includes several handy annotation features, such as a Virtual Ruler that helps users draw straight lines when marking up screenshots. Many users use the ruler only to draw straight horizontal lines, but it can also be rotated at different angles for more accurate annotations and markings on screenshots.
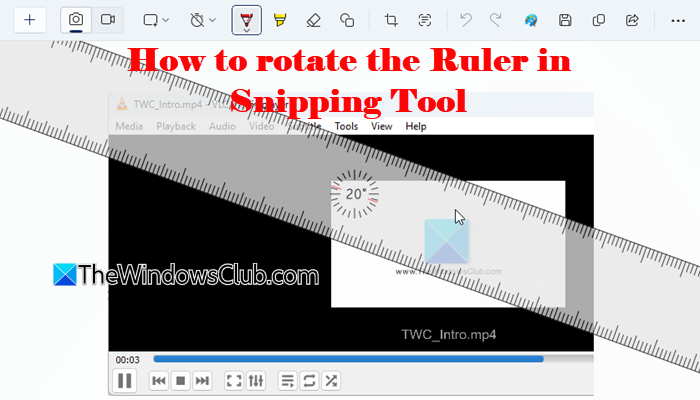
How to rotate Ruler in Snipping Tool of Windows 11
To rotate the Ruler in Snipping Tool on Windows 11/10, follow these steps:
- Open the Snipping Tool.
- Capture or open an image.
- Select the Pen or Highlighter tool.
- Click the Ruler option.
- Use the mouse wheel to rotate the ruler.
- Draw along the ruler’s edge.
- Hide the ruler when finished.
Let us now see the process in detail.
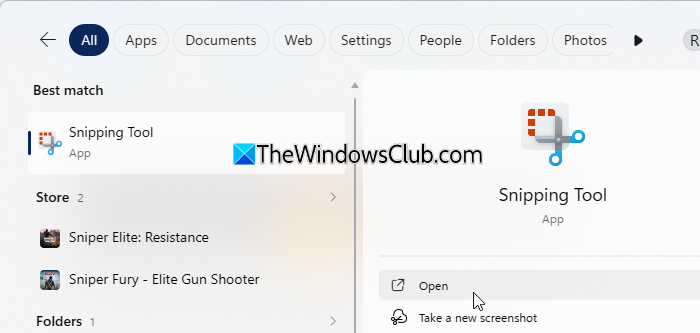
Click the Windows Search bar and type ‘snip’. Sniping Tool will appear on top of the search results. Click Open to launch the tool.
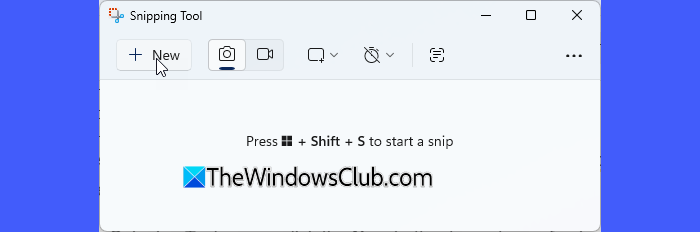
Once the Snipping Tool opens, click the New button to capture a fresh screenshot. If you already have an image or screenshot saved on your computer, you can also open it directly inside the Snipping Tool for editing.
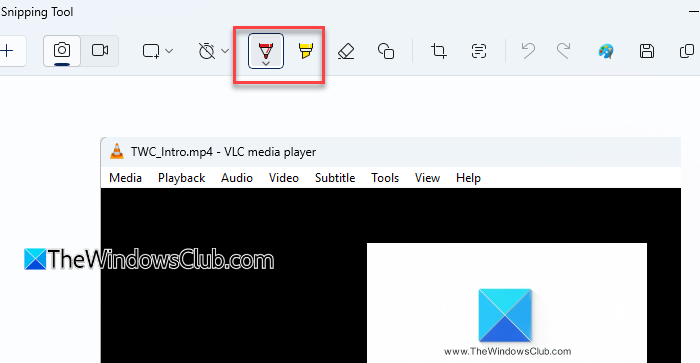
After the screenshot opens in the Snipping Tool Editor, select either the Ballpoint pen or the Highlighter tool (to draw) from the toolbar at the top.
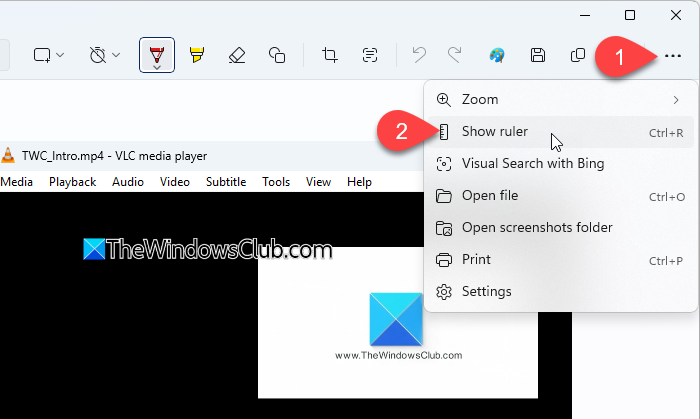
Next, click the three dots in the top-right corner and select Show ruler from the menu. You can select the ruler by pressing the Ctrl + R keyboard shortcut.
A transparent ruler will appear over your screenshot. By default, the ruler appears in a straight horizontal position. You can drag and position it anywhere on the image, depending on where you want to draw the line.
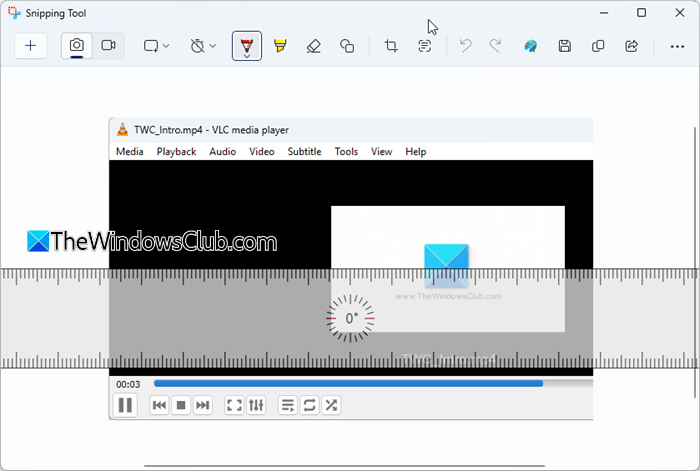
To rotate the ruler, place the cursor over it and move the mouse scroll wheel upward (to rotate the ruler to the right) or downward (to rotate the ruler to the left).
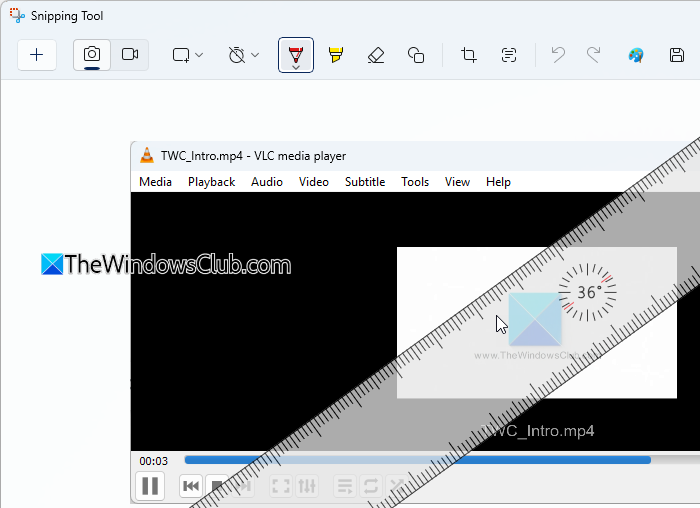
As you scroll up or down, the ruler will gradually rotate, allowing you to align it exactly the way you want. On touchscreen devices, you can rotate the screen more naturally with two fingers.
After adjusting the angle, carefully draw along the edge of the ruler using the Pen or the Highlighter tool. This helps create clean and professional-looking annotations without shaky or uneven lines.
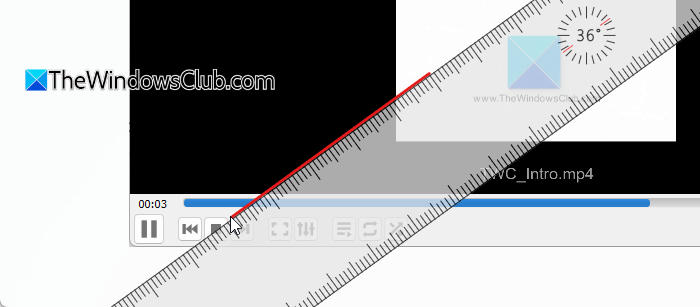
Once you are done, click the three dots again and select Hide ruler to remove it from the screen.
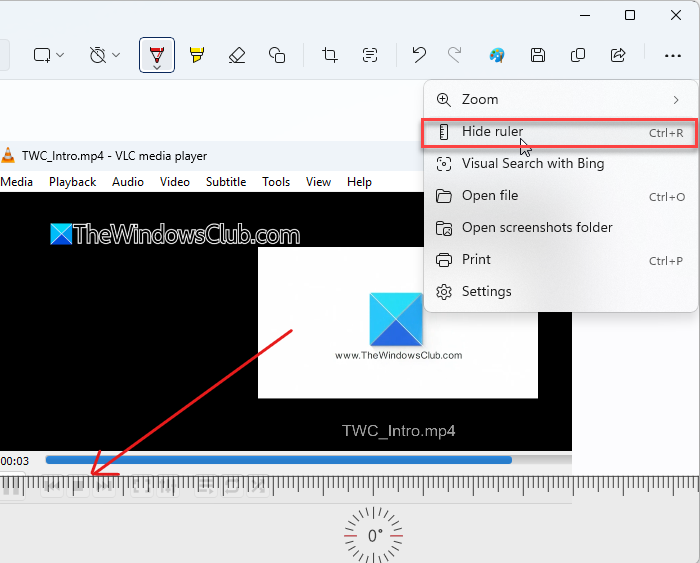
You can then continue editing the screenshot, save the image, or share it directly from the Snipping Tool.
Key features of the Ruler in Snipping Tool
- Helps draw perfectly straight lines on screenshots and images
- Can be rotated to different angles for more precise annotations
- Allows accurate marking of diagrams, arrows, and visual instructions
- Makes screenshot annotations look cleaner and more professional.
That’s all! I hope you find this useful.
How to rotate the Ruler in Snipping Tool without mouse?
Many users look for a keyboard shortcut to rotate the Ruler in Snipping Tool, especially on laptops without a mouse or when relying primarily on keyboard shortcuts for navigation. A keyboard shortcut could also be helpful for users with mobility or accessibility needs who find mouse-based interactions difficult. However, Microsoft has not provided a dedicated keyboard shortcut for rotating the ruler. If you do not have access to a mouse, you may still be able to rotate the ruler using touchpad gestures on supported laptops. On touchscreen devices, you can adjust the ruler’s angle with a two-finger rotation gesture. If neither option is available, there is currently no built-in way to rotate the ruler in Snipping Tool without using a mouse, touchpad, or touchscreen.
Mouse wheel not rotating the ruler
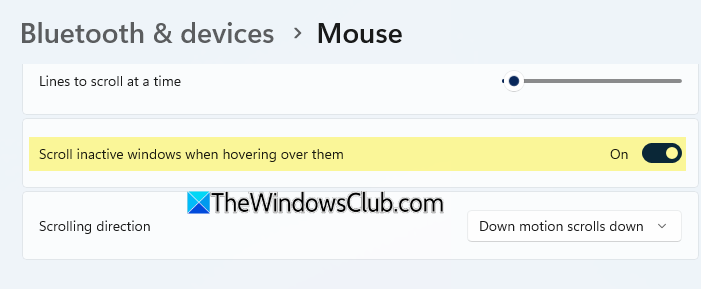
If the ruler does not rotate when you use the mouse scroll wheel, check whether the “Scroll inactive windows when I hover over them” setting is enabled in Windows. To do so, open Settings > Bluetooth & devices > Mouse and turn on “Scroll inactive windows when I hover over them”. After enabling this option, place the cursor over the ruler and try using the mouse wheel again.
Read: Snipping tool missing in Windows 11.
Can you rotate something in a Snipping Tool?
While you cannot freely rotate individual annotations or objects after drawing them, you can rotate the built-in Ruler tool in Snipping Tool to draw straight lines at different angles. If you want to rotate the entire screenshot, click the Edit in Paint option. Once the image opens in Microsoft Paint, you can use the Rotate feature to rotate or flip the image.
How to enable Horizontal ruler?
To enable the Ruler in Snipping Tool, you must first select either the Pen or Highlighter tool from the toolbar. The Ruler feature only works with these annotation tools. If you select another tool (such as Shapes or Scan Text), the Ruler option may appear disabled or dehighlighted.
Read Next: How to get Snipping Tool on Taskbar in Windows.
