
In this post we are going to see how to install VMware ESXi on VirtualBox VM. This guide is for Windows 11 users, but if you are using a different OS, you can still go through the steps, as most of them are similar.
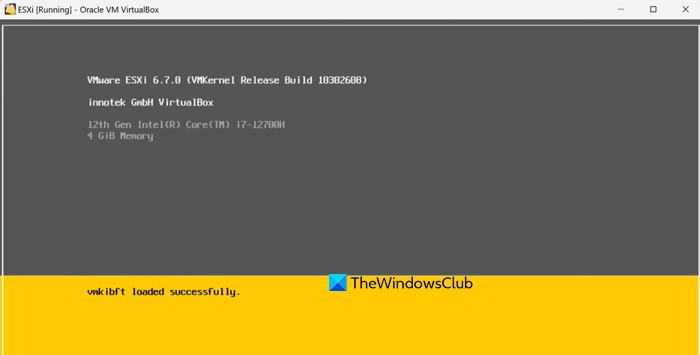
Install VMware ESXi on VirtualBox VM
If you want to install VMware ESXi on VirtualBox VM, you need to follow the steps mentioned below.
- Get the ISO and VirtualBox
- Create the virtual machine
- Configure your VM
- Install ESXi
- Fix HARDWARE_VIRTUALIZATION WARNING
Let us talk about them in detail.
1] Get the ISO and VirtualBox
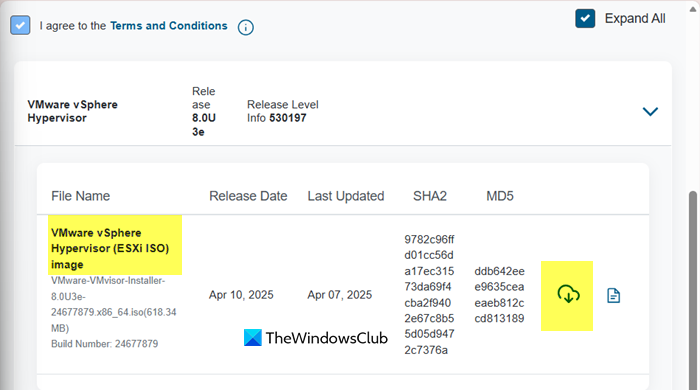
Before we go ahead with the installation we need the VMware vSphere Hypervisor (ESXi iSO) image from support.broadcom.com. You need to create or log in to your account to download it. Once you have that, go ahead and download Oracle VirtualBox from virtualbox.org. Since this tutorial is for Windows, we downloaded the one that says Windows hosts, but you need to download yours depending on your OS.
2] Create the virtual machine
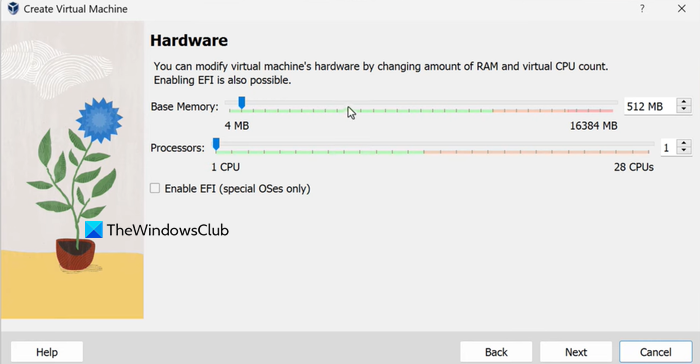
First of all, we need to create a virtual machine in VirtualBox upon which we are going to install ESXi. Follow the steps mentioned below to do the same.
- Open VirtualBox.
- Then, click on New.
- Enter the Name of your VM, set Folder, click on drop-down menu next to ISO Image > Other, navigate to the location where you have stored the ISO file and select it.
- In Type, select Linux.
- Click on Next.
- Set Base Memory, Processors, tick Enable EFI (special OSes only), and click on Next.
- Set hard disk details, click on Next > Finish.
3] Configure your VM
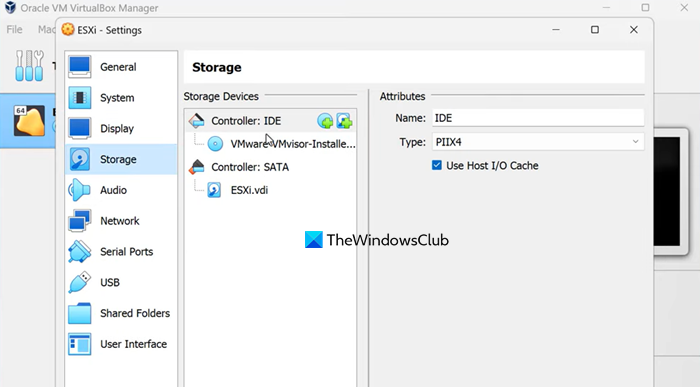
After creating your virtual machine, we need to make some changes.
- Right-click on the virtual machine and select Settings.
- Go to System, untick Floppy, and use the arrow key to make Optical your primary boot device in Boot Order section.
- Make sure Chipset is set to ICH9.
- Go to the Processor tab (in System) and tick Enable Nested VT-x/AMD-v.
- Now, go to Storage > Controller: SATA, and tick Use Host I/O Cache. You will also see ESXi.vdi option there, tick Solid-state Drive there.
- Click on the Network tab, in the Adapter 1 tab, set Attached to Bridged Adapter.
- Set Promiscuous Mode to Allow All.
- Finally, click OK.
We have configured the machine here, let us get started with the installation.
4] Install ESXi
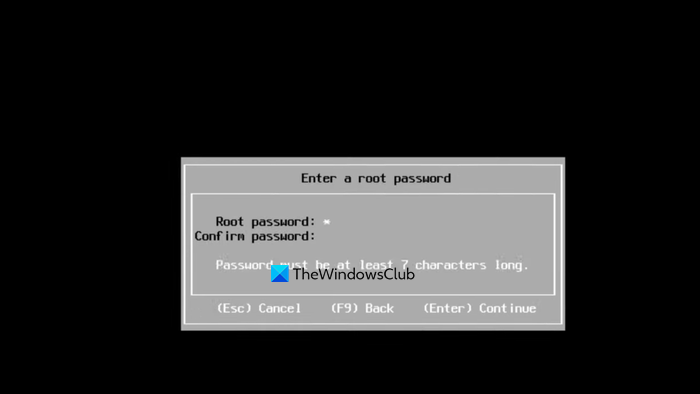
Since we already have the ESXi ISO file on our machine and changed the boot order to boot using it, we are all set to get started with the installation. To do that, follow the steps below.
- Select your newly created virtual machine and click on Start.
- Wait for it to initialize the setup, then hit Enter to continue.
- Hit F11 to accept the agreement and keep on hitting Enter until you reach the “Enter a root password” page.
- Enter the Root password, confirm it, and hit Enter.
- Keep on hitting Enter until you reach the Confirm Install page. Hit F11 to start installation.
- Finally, follow the on-screen instructions to complete the installation process.
Hopefully, with this, you will be able to install the VMware ESXi on VirtualBox using the guide presented here. However, we have noticed a recurring error that we will discuss in the next point.
After installation, you will see an IP address, copy and paste it to a browser and log into your ESXi account.
5] Fix HARDWARE_VIRTUALIZATION WARNING
If you encounter the following error message, the virtual CPU presented to the ESXi installer does not have hardware virtualization features exposed, which ESXi absolutely requires to run.
<HARDWARE_VIRTUALIZATION WARNING: Hardware Virtualization is not
a feature of the CPU, or is not enabled in the BIOS><UNSUPPORTED_DEVICES WARNING: This host has unsupported devices
[<PciInfo ‘ [8086:100e 8086:001e]’>]>
We need to ensure Hardware Virtualization is enabled on your HOST PC to resolve the issue. Next up, we need to disable Hyper-V & other Windows Hypervisor Platform features as there is a high chance that both are competing for resources.
Read: How to install VMWare ESXi Hypervisor in Hyper-V Virtual Machine
Can I install VMware and VirtualBox on the same machine?
You can install both VMware and VirtualBox on Windows 11, but they can’t run at the same time. VMware Workstation and VirtualBox are “Type 2” hypervisors that run on top of the OS, while Hyper-V is a “Type 1” hypervisor that controls hardware directly. Since only one tool can use the CPU’s virtualization extensions (Intel VT-x or AMD-V), enabling Hyper-V or related security features will block VMware and VirtualBox until those features are turned off.
Read: How to run Hyper-V, VirtualBox and VMware on same computer
Can I install ESXi on a virtual machine?
It’s possible to run VMware ESXi as a virtual machine inside another hypervisor like VirtualBox, a setup called nested virtualization. This approach is useful for test labs, training, or experimenting without dedicated hardware. However, Broadcom does not support it for production use, requires specific CPU features, often suffers from performance overhead, and can trigger errors, especially on AMD systems.
