
Pixa (earlier called PixelCut) is an AI-powered image editing tool, designed to make tasks simple, like background removal, photo enhancement, and content creation for social media or e-commerce. Individuals, creators, and businesses widely use it to produce clean, professional-looking visuals, and the best part is that it doesn’t require advanced design skills or heavy software. In this article, we will show you how to use Pixelcut on Windows 11 to easily edit images and achieve high-quality results.
How to edit Images using Pixa (PixelCut)?
To edit images using Pixa, follow one of the methods given below:
- For Web users
- For Emulators users
Let us talk about them in detail.
1] For Web users
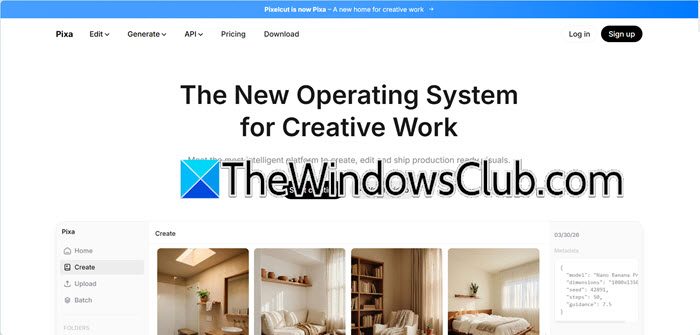
The web version of Pixa is the simplest and most direct way to edit images on Windows 11. It requires no installation and allows users to access core features instantly through the browser. You can follow the steps mentioned below to access PixelCut.
- Launch the browser, and navigate to the official Pixa website.
- Now, start by dragging and dropping an image into the editor, or try a prompt to generate one.
- To access specific tools such as background removal, upscaling, or the magic eraser, use the top menu.
- After editing, download the final image directly to the device.
The web version is ideal for quick edits, background removals and AI creation. However, some advanced features available in the mobile app version may be limited. For the full AI toolset, we recommend using the emulator method.
2] For Emulators users
If you need the complete Pixa mobile version, including batch editing and access to the full mobile-optimised experience on Windows 11, using an Android emulator is the most reliable way. BlueStacks and LAPlayers are the most commonly used emulators for this. To use Pixa on an emulator, follow the steps mentioned below.
- First and foremost, to ensure smooth operation, ensure that the system requirements are met:
- RAM: Minimum 4 GB (8 GB recommended for smooth performance)
- Storage: At least 5 GB of free space for the aumlator and app files
- Virtualization: Enable Virtualization Technology (VT) in BIOS for better emulator performance
- Operating System: Windows 11
- Next, go to the BlueStack official website and download the Windows version. Run the installation and follow the on-screen procedure to complete the process. Alternatively, download LDPlayer from its official website and follow a similar installation process.
- Launch the emulator after installation, and sign in with your Google account to access the Google Play Store.
- Open the Google Play Store, search for Pixa AI editor, and click Install and wait for the download to complete.
Users can also install the app by dragging and dropping a downloaded .xapk file directly into the LDPlayer window if one prefers manual installation. Once downloaded, users can start editing images.
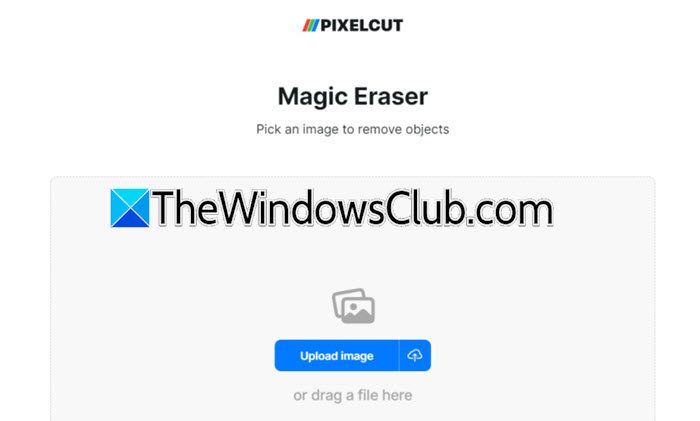
Below are step-by-step instructions for the most often used features:
- To remove and replace the background, tap the Remove BG button to instantly detect the subject and remove the background. After removal, choose a solid colour, upload a custom image, or use AI background to generate a new background using a text prompt.
- To remove the object, click on Magic Eraser from the toolbar, use the mouse to brush over the text, watermark, or object. The AI fills the removed area contextually, or users can access the Generate button to replace the object with something specific.
- For business and content creators, features like Batch editing and Templates come in really handy. In the app, look for the batch edit option, upload up to 100 images at once, and let the Pixa automatically remove the background from all of them.
- Users can choose from ready-made templates for ads, banners, or social media. They just need to replace the image and texts to create more professional content quickly.
- To enhance quality with AI upscaling, use the upscaling tool often labelled as Enhanced or Upscale. To make it sharp and HD, double or quadruple the image resolution.
That’s it!
Read: Best Free Online Photo Editors and Image Editing Tools
Is Pixa better than Canva?
The answer to this question depends on what a user needs and their preference. They serve different purposes. Pixelcut or Pixa is a specialised AI photo editor, while Canva is a comprehensive graphic design platform.
The former option specialises in background removal, removing unwanted images, editing 100 images at once, and generating infinite product images. It also provides ghost mannequins and virtual try-on, specifically for fashion and apparel brands. Canva, in contrast, offers Magic Studio tools, which include Magic Resize, Magic Design, and Magic Write for copy generation, over 250000 professionally designed templates, and brand kit functionality to store logos, colours, and fonts for consistent generation. Both offer free tiers, so to make your decision, test both platforms to see which fits your expectations.
Read: How to edit AI files using online tool or free Windows software
What is the best software to depixelate images?
For Windows 11, the best free option is Upscayl. It is an open-source app that runs locally on the GPU for privacy and batch processing. For professional-quality results, Topaz Gigapixel AI delivers superior detail recovery, whereas Let’s Enhance is the option for users who prefer a browser-based tool for online upscaling.
Also Read: Top AI Image Extender available for free.
