When using VPN software on Windows 11/10, you may encounter an error – Error 720, Error connecting to a VPN Connection, A Connection to the remote computer could not be established. This guide will tell you how to get away with this VPN error.
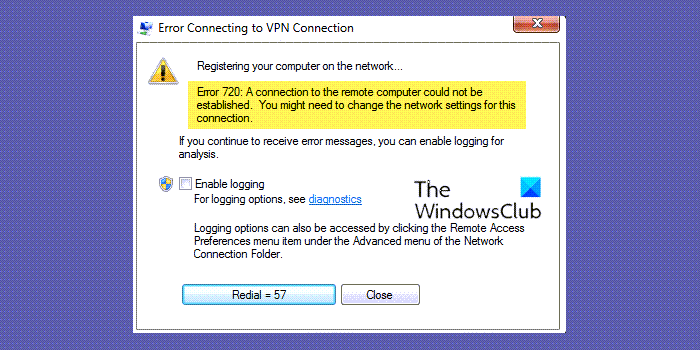
Error 720, Error connecting to a VPN Connection, A connection to the remote computer could not be established. You might need to change the network settings for this connection.
According to many users, this error could be caused by the following reasons; however, the cause isn’t fully known:
- WAN Miniports are corrupted
- The issue with VPN server IP address, which is not working properly
- Hardware changes.
To diagnose this problem, follow these steps:
- Ensure the Remote VPN Server is functioning and working perfectly from other locations
- Verify you have unrestricted internet access. If your internet service provider blocks certain VPN Ports like as 1720 for PPTP, the VPN will fail to work
- Verify if the Firewall on your local router in the office/home is not blocking VPN Traffic and is set up to allow VPN Pass-Through.
- Verify the Firewall on your own computer is not blocking network traffic. You will have to temporarily disable Windows Firewall or any other Internet Security Program to perform this check.
- Verify your internet speed is ok. Very slow internet access or one that intermittently dropping will fail to connect to VPN
- Update your Network Adapter to the latest driver version
- Ensure TCP/IP IPv4 is enabled (has a checkmark) under the VPN Connection
If all these checks are alright, then you may need to perform some repairs. Let’s move to the possible fixes for this error.
Fix VPN Error 720: Error connecting to a VPN Connection
To fix VPN Error 720: Error connecting to a VPN Connection, follow these steps:
- Assign valid VPN server IP address
- Allow WAN Miniport adapters to re-create themselves
- Reset TCP IP Protocol.
Let’s look at these three options in detail.
1] Assign valid VPN server IP address
You need to assign a valid VPN server IP address to fix the issue. For that, do the following:
- Open ‘Network and Sharing Center’ and hit ‘Change Adapter Settings’
- Find ‘Incoming Connection’ and right-click on it and hit ‘Properties’
- Click ‘Networking Tab’ and find ‘Internet Protocol Version 4 (TCP/IPv4)’
- Now double-click on ‘Internet Protocol Version 4 (TCP/IPv4)’ to go to ‘Properties’
- Now Click ‘Use the following IP address’ and enter your router IP address, for example, 255.255.255.0 or 192.168.11.XX
This hack for error 720 works on Windows 11 and Windows 10.
2] Allow WAN Miniport adapters to re-create themselves
Here, we only need to delete and have Windows recreate some items in the Device Manager. Follow these steps:

- Open ‘Windows Device Manager’
- Navigate to ‘Network adapters’
- Uninstall all of the WAN Miniport (XXXX) devices or at least the ones linked to your VPN connection
- Right-click on any item and select ‘Scan for hardware changes’. It will populate with new WAN Miniport adapters.
The WAN Miniport adapters should have re-created themselves. Try reconnecting to your VPN again.
3] Reset TCP/IP Protocol
Try resetting TCP/IP Protocol by entering the following command in Command Prompt window:
netsh int ip reset resetlog.txt
Reboot your system and reconnect to the VPN.
Final thoughts
VPN Error 720 is one of the most common VPN-related errors, where a remote computer connection fails to get established. The above hacks have worked for many users, but if you still face it contact your router support as there could be an issue with your router settings.
Do let us know which hack worked for you. Also, if you have another fix for this error, please share it with us.
Related errors:
- VPN Error 789, The L2TP connection attempt failed
- VPN error 812, Connection prevented because of a policy configured on RAS/VPN server
- Error 13801, IKE authentication credentials are unacceptable
- VPN Error 609, A device type was specified that does not exist.
How do I fix VPN error 720?
To fix VPN Error 720 on Windows 11 and Windows 10 PC, you must follow the solutions above. You must assign a valid VPN server IP address, allow WAN Miniport adapters to re-create themselves, etc. However, if none of these solutions work on your computer, you need to reset the TCP/IP protocol.
Why does my VPN fail to connect?
There could be numerous reasons why your VPN fails to connect to a server on your Windows 11/10 computer. From a network problem to an internet connection issue, anything can be responsible for this problem. You need to start troubleshooting this problem by checking if you have a working internet connection or not. Then, check if the VPN servers are up and running.