This post will show how to fix NSIS Errors – Error launching installer or Installer integrity check has failed on Windows 11/10. Nullsoft Scriptable Install System (NSIS) is a tool that allows programmers to create installers that are capable of installing, uninstalling, setting system settings, extracting files, etc. But recently, some users have complained about the NSIS error on Windows devices. The complete error message reads:
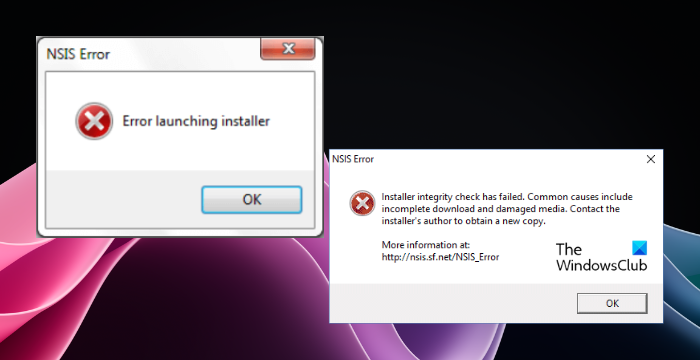
Error launching installer
OR
Installer integrity check has failed. Common causes include incomplete download and damaged media. Contact the installer’s author to obtain a new copy.
Fortunately, you can follow some simple suggestions to fix the error.

How to fix NSIS Error on Windows 11/10
If the NSIS Error – Error launching installer or Installer integrity check has failed keeps appearing on your Windows computer, follow these suggestions to fix the issue:
- Move the Setup File to a Different Location
- Rename the Setup File
- Run NSIS Installer as an Admin
- Install NSIS using Windows Powershell
- Try Installation in Clean Boot Mode
- Re-Download the Installer
Now, let’s see these in detail.
1] Move the Setup File to a Different Location
Start by moving the NSIS setup file to a different location or drive. This is because sometimes the directory where the setup file is initially located may be corrupted, causing NSIS errors.
2] Rename the Setup File
Next, rename the installer file to a simple, one-word name without special characters or spaces. Once done, try rerunning the NSIS installer and see if the error’s fixed.
3] Run NSIS Installer as an Admin

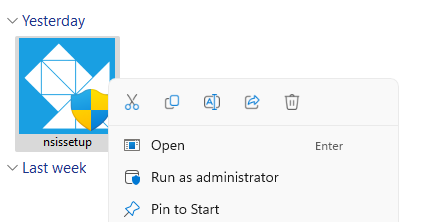
The NSIS errors can occur due to a lack of permissions. Try running the installer as an admin and see if the error gets fixed. To do so, right-click on the executable file and select Run as Administrator.
4] Install NSIS using Windows Powershell

If the error occurs when installing the service, force install it using Windows Powershell. Here’s how:
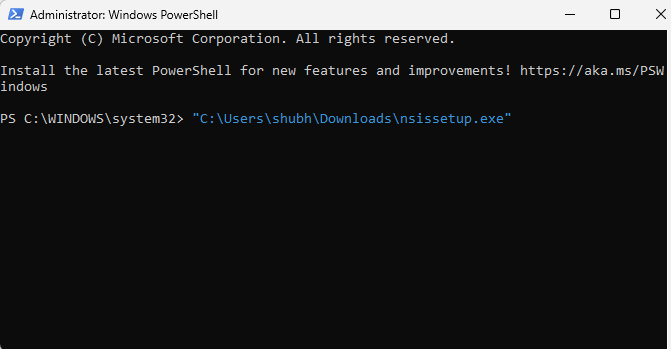
Navigate to the downloaded NSIS file, right-click, and select Copy as path. The file’s path will now be copied.
Now open Windows PowerShell as an admin, paste the path, and hit Enter.
5] Try Installation in Clean Boot Mode

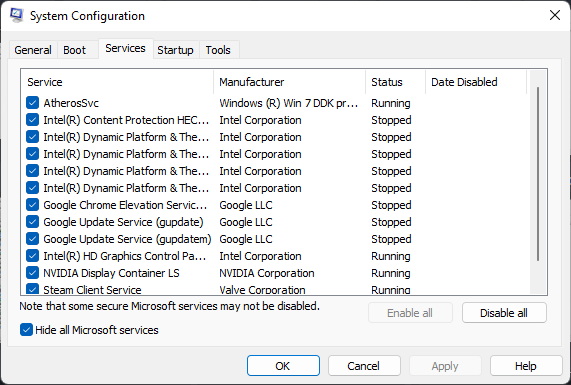
Third-party apps and programs installed can cause NSIS error on Windows devices. Installing the NSIS installer in Clean Boot State can help fix the issue, as only required drivers and programs will run. It should eliminate most causes and fix the error.
6] Re-download the Installer
If none of these suggestions helped you may consider re-downloading the NSIS installer. The downloaded installer file may be corrupted, causing the error. Re-download and install the file and see if the error occurs.
Read: Local Security Authority database contains an internal inconsistency
I hope these suggestions help you.
How do I get rid of NSIS error in Windows 11?
To fix NSIS errors on your Windows device, rename the installer file and move it to a different location. Also, try running the NSIS installer in Clean Boot mode or force install it using Command Prompt/PowerShell.
Why is NSIS error randomly appearing?
If the NSIS error randomly keeps appearing, it could be if the installer file is corrupted or incomplete. It’s an indication that the installer data is modified and is no longer valid. You can fix it by re-downloading the installer from a reputable source.
Leave a Reply