It is very important to always keep the important files on your Windows 11 or Windows 10 computer backed up in some shape or form. Creating a backup is not hard; in many cases, it relies much on the File History feature to work properly.
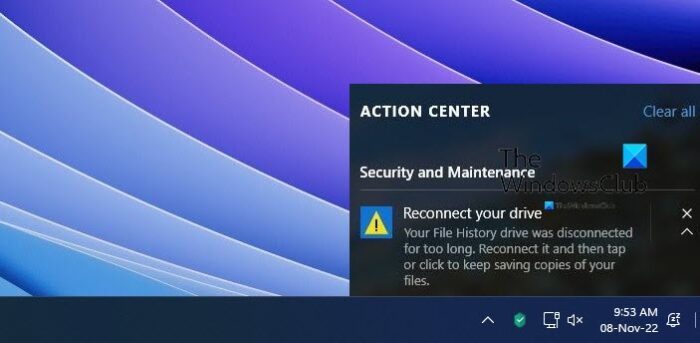
Your File History drive was disconnected for too long
There may come a time when File History is disconnected from the drive for some strange and unknown reason. You may see an error that says:
Reconnect your drive.
Your File History drive is disconnected.
Reconnect it and try again.
Alternatively, you could very well see:
Reconnect your drive.
Your File History drive was disconnected for too long.
Reconnect it and then tap or click to keep saving copies of your files.
Or even-
Your files will be temporarily copied to your hard drive until you reconnect your File History drive and run a backup.
In most cases, these errors show their ugly head when a backup is scheduled, but because the File History is disconnected, the system fails to go through with the arranged plan.
We explain what to do in Windows 10 first and then in Windows 11.
Windows 10
To fix this problem on Windows 10, you will be required to reconnect the File History to the drive. As usual, we will explain how to do it in as much detail as possible.
- Open the Settings app
- Select Update & Security
- Backup Using File History
- Back up files to OneDrive
Let us talk about this in greater detail.
1] Open the Settings app
To begin the process of reconnecting the File History to the drive, please open the Settings app by clicking on the Windows key + I. After the app is loaded, you should see several options to choose from.
2] Select Update & Security
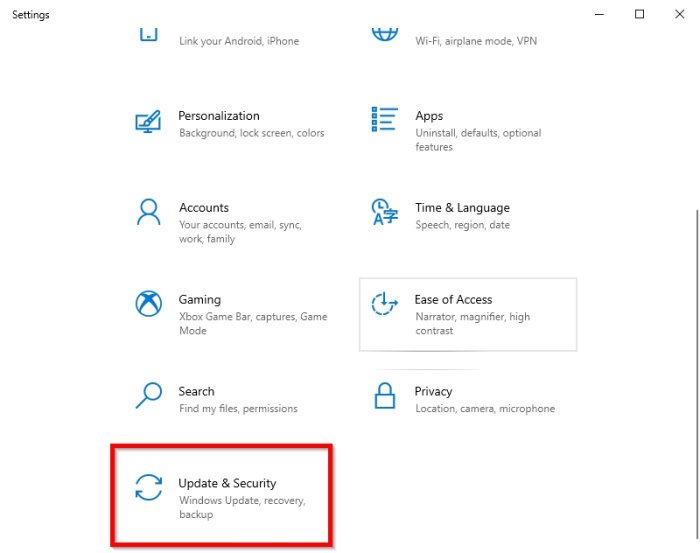
Moving on, you will want to click on Update & Security from the Settings menu section.
3] Backup Using File History
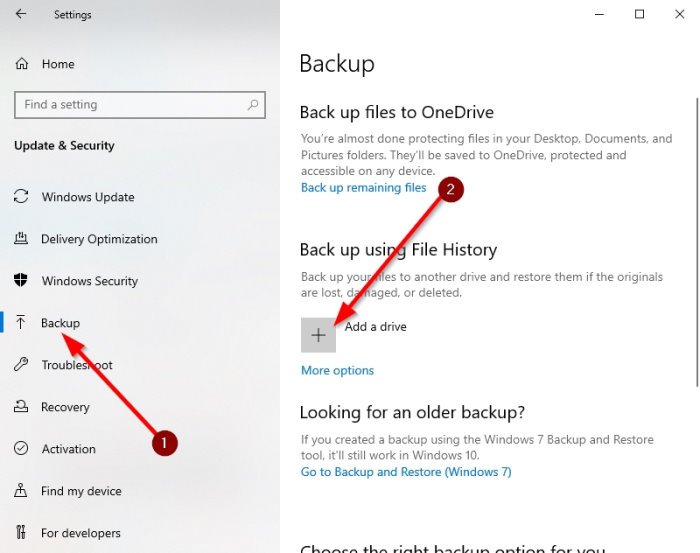
The final step is to click on Backup, which is located via the left-pane. Right away, you should see a section that reads, Backup using File History. From there, select Add Drive, and that’s it.
Just make sure to have a second hard drive installed on your computer or a USB thumb drive before clicking on the Add Drive button.
Related: We found errors in your File History settings
4] Back up files to OneDrive
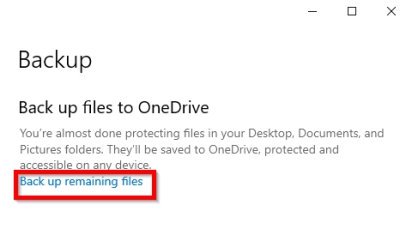
Another backup option to take is to connect everything to OneDrive instead of using File History.
To do this, follow the instructions above, but instead of using the Backup using File History option, you will instead select Back up remaining files under Back up files to OneDrive.
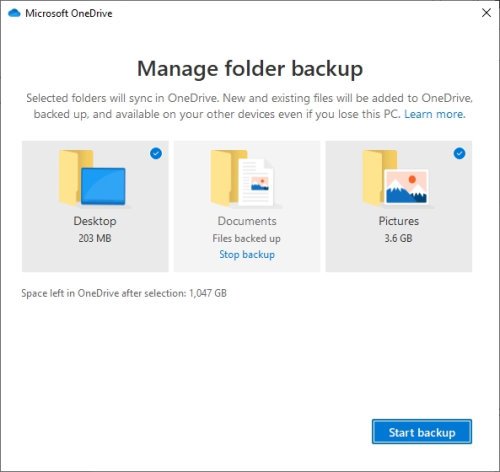
A new window will appear, giving you the ability to select the folders for backup.
Once that is completed, finish the task by choosing Start Backup.
Windows 11
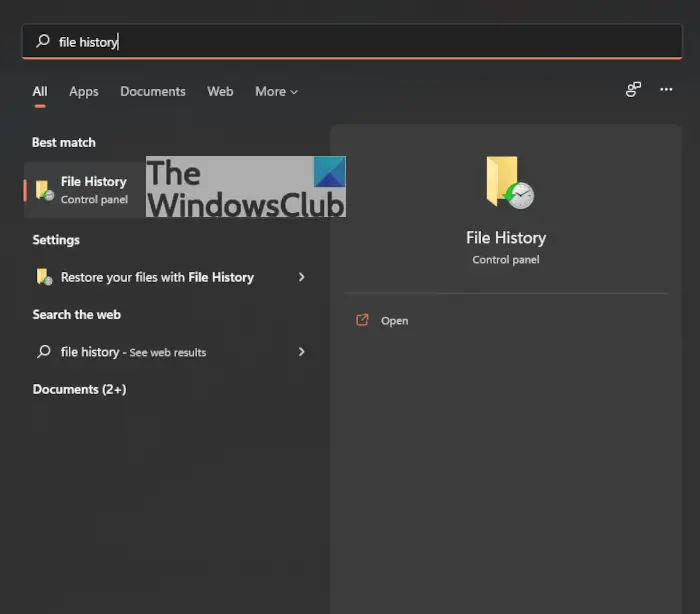
OK, so in Windows 10, you could access the File History section via the Settings app, but that is not the case with Windows 11, interestingly enough. The removal of this function from the Settings app could mean Microsoft is looking to push OneDrive for backups instead. However, all is not lost because you can still access the File History feature via the Control Panel.
First, you must click on the Search icon on the Task Bar, then type, File History. When it appears in the search results, click on Open to fire it up.
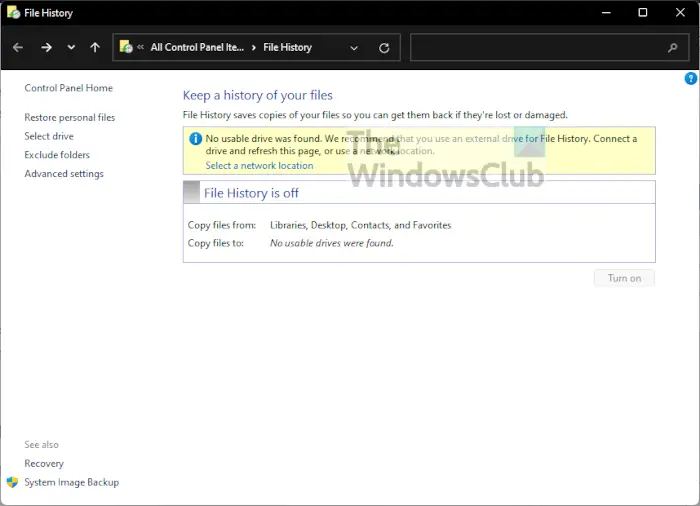
If the File History function is set to Off, you need to click on Select a Network Location, and from there, you should see a list of available drives. If none is available, please click on Add Network Location to add a drive to the list.
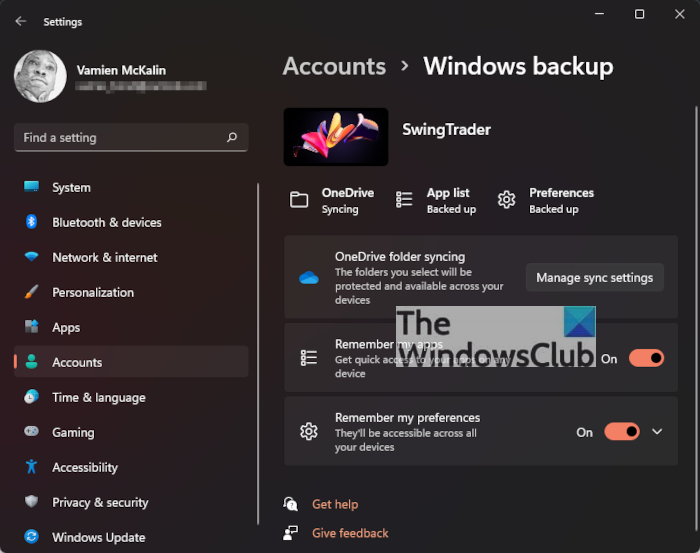
Maybe you have no interest in backing up your files via the File History feature, and that’s fine. So, how about doing so with OneDrive? It’s super easy to get done, so let us look at how to do this in the simplest ways possible.
First, you must launch the Settings app in Windows 11 by pressing the Windows key + I. From there, navigate to Accounts, and waste no time by selecting Windows Backup. You should now see OneDrive Folder Syncing. Please click on Manage Sync Settings right away to open the Backup section in OneDrive itself.
You’ll be required to choose a folder, so do that. After you’ve completed this simple task, go on ahead and click Start Backup, and that’s it.
Read next: How to delete File History files manually in Windows.
What happens if I turn off File History?
File History is a built-in application in Windows 11/10 that copies your files from Libraries, Desktops, Contacts, and Favorites to the selected hard drive so that you can get them back if they are lost or damaged. If you turn off File History, Windows will not be able to back up your data automatically. However, you can manually back up your data to an external hard drive.
How to fix File History cant save copies of all your files?
To fix File History cant save copies of all your files because of limitations of your File History drives file system error message, you can Reset File History and disable and enable it. If nothing helps, change the Save location.
