There are times when you want to convert your videos and audio files to different formats. Maybe you are moving your files to some other device or trying to save up storage. While there are many software tools to do this job, PowerShell comes across as a powerful, scriptable, and straightforward solution. Here is how to convert videos and audio files using PowerShell in Windows 11/10.

How to convert videos and audio files using PowerShell in Windows 11/10
Well, PowerShell itself doesn’t come with a feature to allow you to convert your files. Instead, you will need to use third-party popular tools like FFmpeg and HandBrakeCLI.
- FFmpeg
- Handbreak
A lot will also depend on the hardware. The better the hardware, the faster the conversion, and the less time you need to wait.
1] FFmpeg
FFmpeg is an open-source multimedia framework that allows users to convert, stream, and manipulate audio and video files. Plus, it supports a wide range of formats and codecs, and here’s how to use it:
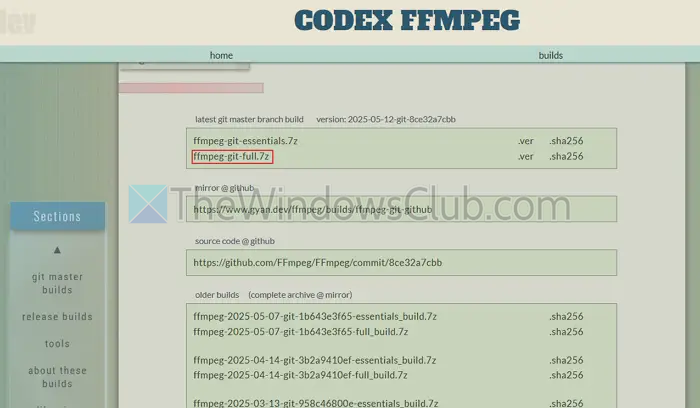
- First, download FFmpeg Windows builds from the gyan.dev/ffmpeg website. Make sure to download ffmpeg-git-full.7z.
- Once downloaded, extract the file, open the folder, and look for a folder named bin. Make sure to copy the path of this bin folder.
- Next, press Windows + S, type Edit the Environment Variables, and launch it.
- Go to the Advanced tab and click on Environment Variables.
- Over here, from the System Variables, look for Path > select it and click on Edit.
- Click on the New button and paste the extracted FFmpeg folder Bin path.

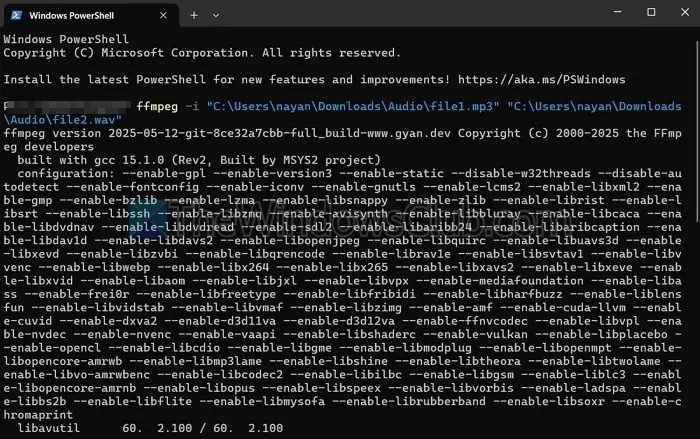
- Now, to check the FFmpeg installation, open PowerShell and run the following command to see if you get any result:
ffmpeg -version - Next, to convert a video from one file to another, open PowerShell and run the following command:
ffmpeg -i "C:\Path\To\Input\video.mp4" "C:\Path\To\Output\video.mkv" - And to convert an audio file from one format to another, open PowerShell and run the following command:
ffmpeg -i "C:\Path\To\Input\audio.wav" "C:\Path\To\Output\audio.mp3"
In the commands make sure to update the file name and path, also you can convert your files between .wav, .mp3, .aac, .flac and other formats.
Read: How to Resize a Video using Command-line with FFmpeg
2] HandBrakeCLI
HandBrakeCLI is another popular open-source video transcoder. However, unlike FFmpeg, it is only meant for videos. And here’s how to use it:
- First, download HandBrake from its official website at handbrake.fr. (Make sure to download the zip version)
- Extract the ZIP file and copy its path, then add an Environment Variable path for it. (The steps are given above.)
- Once done, open PowerShell and run the following command to convert your existing video to another format:
HandBrakeCLI -i "C:\Path\To\input_video.mkv" -o "C:\Path\To\output_video.mp4"
So, those were two open-source tools to help you convert your audio and video files. If you don’t want to use PowerShell and want more control over your file conversion job, then HandBrake also comes with a GUI version. Additionally, both FFmpeg and HandBrakeCLI can convert multiple files at once using batch processing. So, check both tools out and see which one meets your needs.
Can I batch convert multiple files at once using FFmpeg or HandBrakeCLI in PowerShell?
Yes, both FFmpeg and HandBrakeCLI support batch processing via PowerShell scripting. You can loop through a folder of files and convert each one with a simple script.
What should I do if PowerShell says ‘ffmpeg’ or ‘HandBrakeCLI’ is not recognised as a command?
This typically means the system can’t find the executable because the Path environment variable hasn’t been set correctly. To fix this, check that you’ve added the full path to the `bin` folder (for FFmpeg) or the folder containing HandBrakeCLI.exe to the system’s Environment Variables > Path.