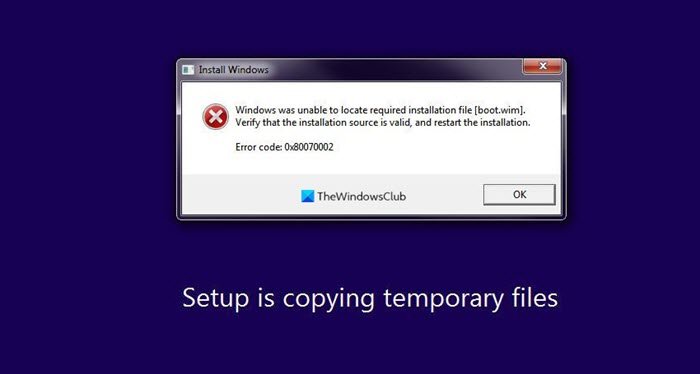
When you try to install or upgrade Windows 11 or Windows 10 using setup.exe from C:\$Windows.~BT, you may see an error message:
Windows was unable to locate required installation file [boot.wim]. Verify that the installation is valid and restart the installation. Error code: 0x80070002.
This post will show you how to resolve the issue.
What is a boot WIM?
A .wim file is short for a Windows Image File. These files are used to store all the boot images on a Windows computer. Examples of boot images include Windows Setup images, Operating System images, etc. There have been incidents of users reporting the absence of a boot.wim file. This error generally appears when the user tries to upgrade his/her Windows setup from one OS to another. In the presence of this error, upgrading can become irksome, and thus, today we will discuss some of the workarounds that users can implement in case Windows is unable to locate the boot.wim file.
Windows is unable to locate the required install file [boot.wim]
The first thing you should do is check if your computer has an Antivirus application installed and running at the time of Windows installation. It is possible for the presence of this Antivirus file to be hindering the procedure and resulting in the error in question.
If you do have an Antivirus running on your PC, you are advised to disable it before beginning the installation process. You should note that this is a temporary measure and that they should enable their Virus Protection back on as soon as the installation process is over to ensure that their computer isn’t affected by any Malware in the future.
Having done that, we also recommend that you change this Registry setting
Much like for any other bug or error out there, it is the Registry Editor that has the answer. Certain tweaks and modifications in the Registry Editor should get you back on track.
If not executed properly, changes made in the Registry Editor can cause irrevocable damage to a computer. This is why users should act cautiously and back up their existing Registry before making any changes to it.
Now open Registry Editor and navigate to the following key:

HKEY_LOCAL_MACHINE\SOFTWARE\Microsoft\Windows\CurrentVersion\WindowsUpdate\OSUpgrade
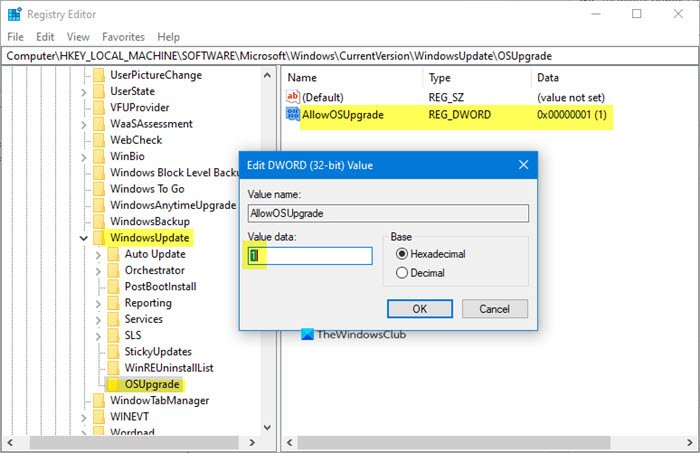
The OSUpgrade key should exist but if is missing, you need to create it.
Now select OSUpgrade and right-click on the blank portion on the right side of the window and from the ‘New’ option, create a new D-WORD (32-bit) value.
Name it as AllowOSUpgrade and set its value as 1.
Restart your computer and try and see if it works.
We hope that the above-mentioned solution was able to help you solve your problem and that you are now able to successfully install or upgrade your Windows OS. If it did not help you, you could try to use Media Creation Tool and create bootable media. This would allow you to download and install Windows 11/10 onto your flash drive that you can then use to install on your computer.
Related: An error 0x80070002 has occurred while running the setup
Where is the WIM file located in Windows boot?
In Windows, the .wim file for the default 64-bit boot image is typically located at <ConfigMgr_Install_Directory>\OSD\boot\x64\boot.wim. Microsoft Configuration Manager generates this path, and it is essential for boot operations and deployment tasks. Ensure the directory path corresponds to your specific configuration setup.
How to convert Windows install ESD file to install WIM?
To convert a Windows ESD file to an install.wim file, first move the ESD to a working directory. Open Command Prompt as an administrator and navigate to the directory. Use the DISM tool with the command DISM /Export-Image /SourceImageFile:install.esd /SourceIndex:1 /DestinationImageFile:install.wim /Compress:maximum /CheckIntegrity to complete the conversion.