
In this guide, we are going to see how you can install and use AWS CLI or Command-Line Interface on Windows. So, if you are interested in cloud computing or want to manage EC2 or RDS instances from your Windows machine, this article is for you.
Install and use AWS CLI on Windows 11
If you want to install and use the AWS CLI on Windows, follow the steps below.
- Download and install the MSI Installer
- Create interactive user
- Configure AWS
Let us talk about them in detail.
1] Download and install the MSI Installer
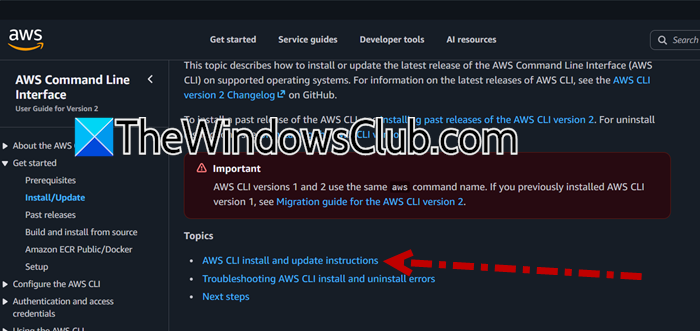
We are going to use the MSI installer to download the AWS CLI on on your computer. First of all, go to docs.aws.amazon.com and then click on the hyperlink – AWS CLI install and update instructions.
Now, click on Windows and then click on https://awscli.amazonaws.com/AWSCLIV2.msi. This will start downloading the .MSI file, which is basically the installer you need to use AWS.
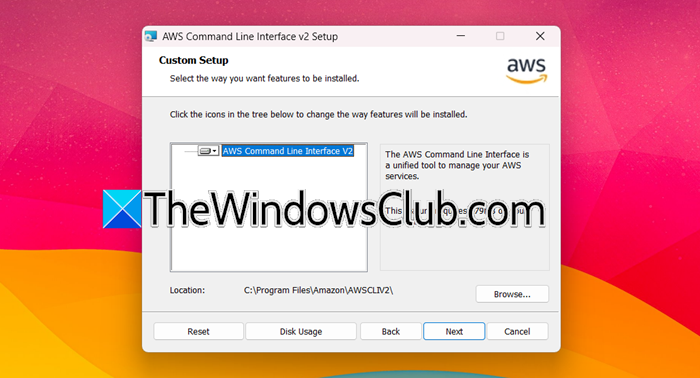
Once downloaded, click on the file, let is open and prepare for installation. Follow the on-screen instructions, select the CLI module, and go ahead with the installation.
Wait for the installation to complete. You will get UAC prompt, click Yes whenever the pop appears.
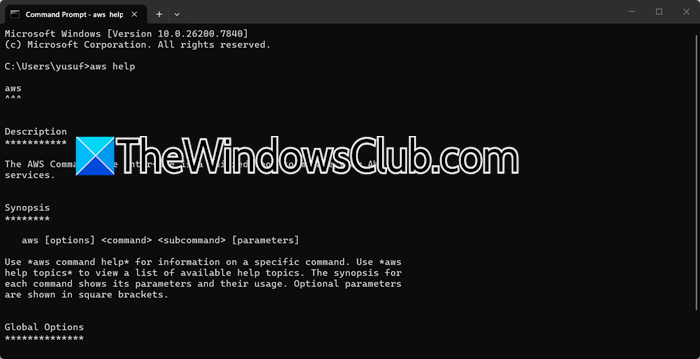
Now, if you open Command Prompt (open a new instance) and type aws help, you will notice that your system recognizes the command, signifying that we have successfully installed the AWS CLI on your computer.
2] Create interactive user
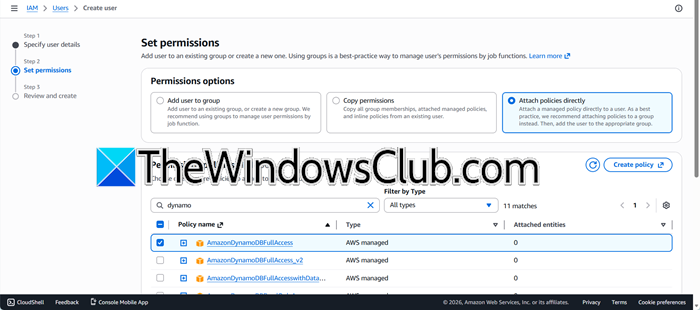
Even though we have installed AWS CLI on our computer, we won’t be able to do much if we don’t configure it properly.
So, let’s first create a user with enough privileges from the AWS Console. Follow the steps mentioned below to do the same.
- Open AWS Console and sign in using your account.
- Then, go to IAM.
- Navigate to Access Management > User > Create user.
- Give it a name, then click Next.
- Grant it a permission; click Next.
- Finally, create your user.
To access this user, we need to get our Access Key ID. To fetch that, click on user once it is created, click on Create access key, select Command Line Interface (CLI) in the Use Case window, and follow the on-screen instructions to create your ID.
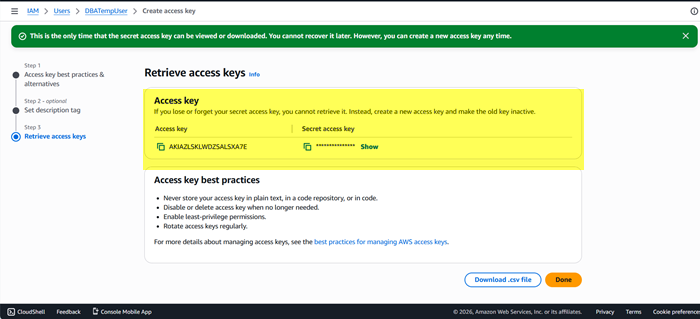
We now have two entities – Access Key and Secret Access Key.
3] Configure AWS
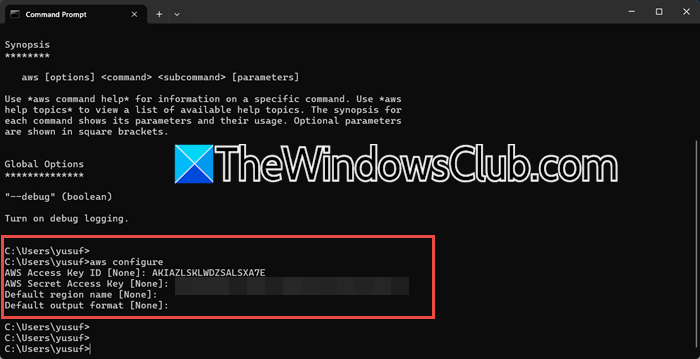
Now, open your Command Prompt or CLI on Windows and type the following command.
aws configure
You will be asked to enter your Access Key and Secret Access Key; the ones that we generated. Finally, select your region and output format.
With this, you will be able to connect to AWS CLI from your local Windows Machine. Now you can access the items this user has access to. So, since I granted this user access over DynamoDB, it can run commands that on my existing Dynamo DBs.
Read: Infrastructure as a Service – Definition, Explanation and Examples
How do I install AWS CLI on Windows?
To install AWS CLI on Windows, download the MSI installer directly from the official AWS documentation page. Locate the Windows option and click the link for AWSCLIV2.msi to start the download. Once the file is downloaded, open it and follow the on-screen instructions to complete the setup.
Read: How to use Windows Server Migration Tool
Where can I find my AWS Access Key for CLI configuration?
To locate your AWS Access Key, sign in to the AWS Management Console and navigate to the IAM dashboard. Go to Access Management and select Users, then click on the specific user you want to configure. Under the Security credentials tab, find the option to create an access key. When prompted, choose Command Line Interface as the use case and complete the steps. The system will generate an Access Key ID and Secret Access Key, which you will need to enter when running the aws configure command in your terminal.
Also Read: Five facts about Cloud Computing.
