Windows 11/10 is making our lives easier every day by adding every feature desired by the users. One of the most useful functions it offers is to import and export VPN in no time to the system. A Virtual Private Network, or VPN, offers a protected network connection to the user while working with the public network. VPN secures the private data by keeping the user’s IP address confidential, and therefore no one can put their hands on the user’s data even if the system is connected to a public network. This post will guide you on exporting and importing your VPN connections to another computer on Windows 11/10.
VPN redirects the user to a remote server, making the user a source network. This restricts the service provider or any third party from viewing the data transferred or web history of a VPN-assisted system. The easiest part of VPN connections is that they allow the user to export and import data from or to a removable drive. Let us learn how to export and import this useful program on a Windows PC.
How to Export VPN connections on Windows 11/10
To export the VPN connection from your system, follow these steps:
- Press the Windows+E keyboard shortcut to launch the File Explorer.
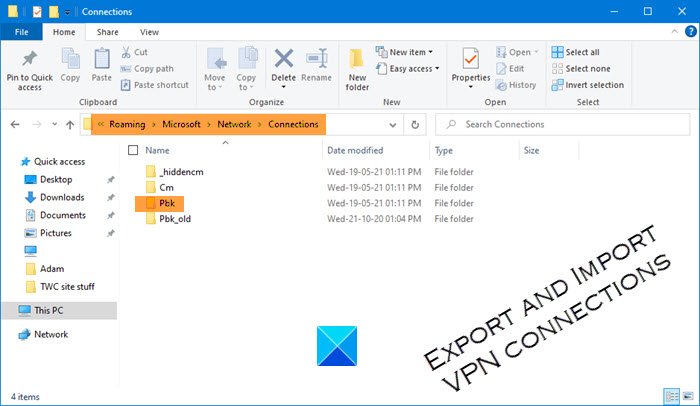
- In the File Explorer window, browse the following path – %AppData%\Microsoft\Network\Connections
- Inside the Connections folder, right-click on the Pbk folder and select the Copy option from the context menu.
- Now go to the place you want to export the VPN setup and paste it.
The first and foremost step is to connect a removable disk or drive, where you want to export it to. Then open the File Explorer using the Windows+E keyboard shortcut.
In the File Explorer window, browse the following path:
%AppData%\Microsoft\Network\Connections
Alternatively, you can just copy and paste the path in the address bar and press Enter.
Pressing the Enter key will take you to a folder named Pbk. Now simply right-click on the Pbk folder and select to copy. Then go to the removable space where you want to export the VPN setup and paste it.
After completing the above steps, you have successfully exported the VPN connection. You can now take the removable media to another device to import the settings.
Once you complete the steps, you can take the removable media to a different computer to import the settings.

How to Import VPN connections on Windows 11/10
The method of importing the VPN folder is similar to that of export. Make sure that you have connected the removable drive from where you wish to import the files. So, to import VPN connections on your Windows PC, follow these steps:
- First of all, connect the removable disk to your computer.
- Right-click on the Pbk folder and select Copy.
- Now open the File Explorer window.
- Then browse the following path – %AppData%\Microsoft\Network\Connections.
- Right-click on the free space and select paste.
Let’s see the above steps in detail:
Once the removable disk is connected, open it and copy the Pbk folder from it.
Then open the File Explorer window using the Windows+E keyboard shortcut and then browse the following path:
%AppData%\Microsoft\Network\Connections
Alternatively, simply copy and paste the path in the address bar and press Enter.
Right-click on the free space and select the Paste option from the context menu. After completing the above steps, the VPN is imported to your system.
Related: Fix VPN not working problems and issues,
How do I copy a VPN profile in Windows 11?
To copy a VPN profile in Windows 11, open ‘Settings’ and navigate to ‘Network & Internet.’ Select ‘VPN,’ then choose the VPN connection you want to copy. Click ‘Export’ to save the configuration file, which can then be imported on another device, ensuring the VPN settings are easily transferable.
Where are Windows VPN credentials stored?
Windows VPN credentials are typically stored in the %AppData%\Microsoft\Network\Connections\Pbk folder. This folder contains the configuration files for all VPN connections, including credentials. To access it, enter the path in File Explorer or use Windows search. Always ensure your credentials are secure and regularly update them for enhanced security.