File History is a useful feature in the Windows 11/10 operating system. This feature makes automatic backup versions of important files on a computer to internal or external storage. These files can also be backed up on drives connected via a network. It mimics the System Restore Point feature for specific sets of files. You can create a desktop shortcut for opening File History by following the steps laid out in this tutorial.
Create a shortcut for File History on Windows 11/10
To create a desktop shortcut for opening the File History Control Panel applet on Windows 11/10:
Right-click on the empty space and select New > Shortcut.
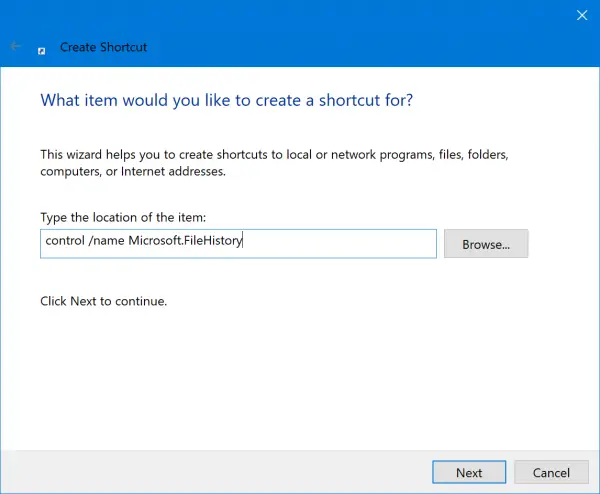
In the mini window that appears, type the following:
control /name Microsoft.FileHistory
Select Next.
Type an appropriate name to label your new shortcut.
Select Finish.
You will have the shortcut created on your Desktop. You can now move it anywhere and use it to launch File History immediately.
Read next: How to Backup and Restore files in Windows 11.
What is the shortcut for Windows Activity History?
To access Windows Activity History, use the shortcut Win + I to open Settings, then click on ‘Privacy’ and choose ‘Activity History’ from the sidebar. This allows you to view and manage your activity data, making it easy to track and control your information across devices.
How to get File History in Windows?
To enable File History in Windows, go to Control Panel > System & Security > File History. Turn it on to automatically back up files. Ensure your PC is connected to an external or network drive for backups. This feature helps restore past versions of files, providing added data security.