
In a world with tons and tons of free software for literally anything the mind can think of, a few good ones can get swept under the rug without being noticed. Taking screen grabs or screenshots is a very elementary purpose and we are surrounded by apps that can perform the task in a very professional capacity, but that’s just it. Most functionalities and applications are limited to simply grabbing a section of your computer screen. Any further customizations to your screenshots require you to resort to other apps, and this is where Flameshot comes into play. Not only does this software allow you to take screenshots effortlessly, but it also lets you customize them with a myriad of features.
Flameshot screenshot software for Windows PC
Flameshot is a simple, convenient, yet powerful tool that helps you take customizable screenshots. The software is available for Windows, Linux, and macOS (here, its functionality will be demonstrated on a Windows OS device). It is available in 32 and 64-bit versions for the Windows OS, and for this review, I will be using the 64-bit version.
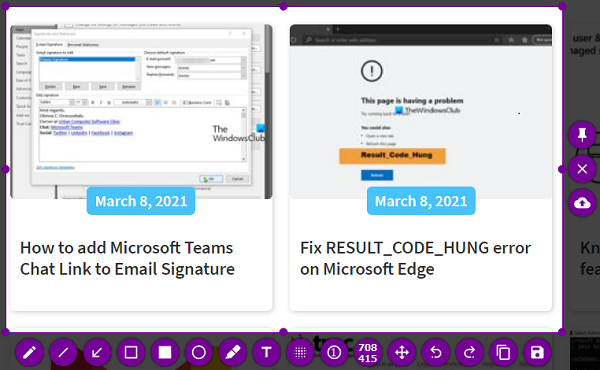
The installation process is straightforward, as with any software. It doesn’t take a huge chunk of your storage, unlike its counterparts, so it’s speedy, too.
Once you click the app after installation, it will take you to the screen-capturing mode. Although the freeware offers a bunch of tools to play around with and make them look the way you want, I will be talking about a few of my favorites below.
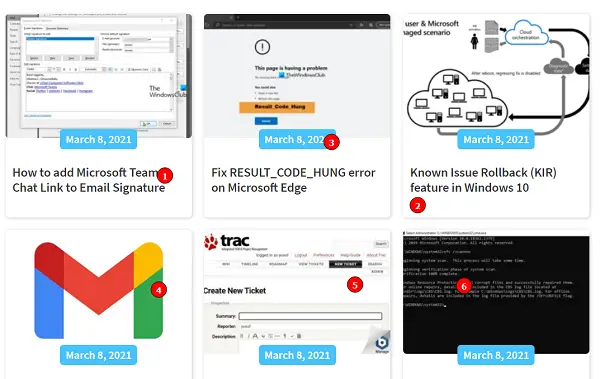
Incrementing count bubbles – You may sometimes want to document a screen where the elements shown are ordered in some way that isn’t very evident. Using the count bubbles, you can paste numbers on these elements as shown in the picture below. You can customize the bubble’s color by right-clicking and selecting your preferred color.
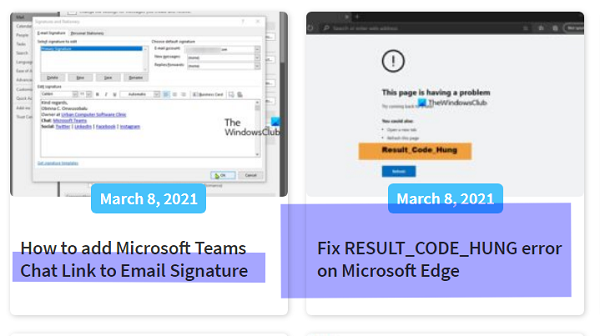
Markers – Computers are increasingly used by students for all sorts of purposes, including studies. Using Flameshot, you can place a marker on important subject matter in your screenshot. The default thickness of a marker is too high, as you can see in the picture, but it can be adjusted using your computer’s Mouse Wheel. Again, the marker color is customizable and not limited to the options you can pick from after right-clicking. You can choose anyone out of the spectrum of colors offered in the tool settings. Similar to the marker are other settings, such as a paintbrush, rectangles and circles.
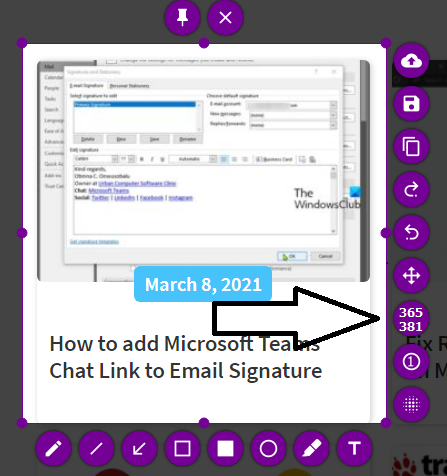
Configurations related to the selected area – Most screenshots apps only give you one shot at getting the required portion of the screen (the one that you want to crop out) right in one go, but not Flameshot. After having selected an area, you can either choose to expand it, shrink it, move it or perform all of them at the same time.
Size Counter – In the settings array is a counter which shows the dimensions of the screenshot you have taken. At first, this may seem like a menial, pointless addition to the toolkit, but it can be really useful. Often on the web, we come across pages where the required photo must conform to specific dimensions or size requirements. This counter comes in handy in these scenarios, and, as mentioned above regarding picture size configurations, it helps ensure the dimensions of your screenshot are exactly what you want.
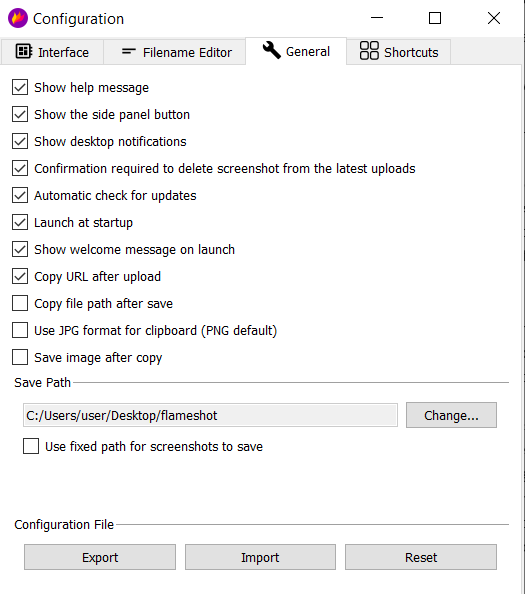
There are several more features, such as the ability to add text to a screenshot, copy it to your keyboard, or undo customization. You can also configure the Flameshot software settings. To do this, right-click the Flameshot icon in the system tray and click Configurations. Here, you have several things you can deal with if you don’t like their default settings, like the opacity of the area outside the selection, the standard name by which your files are saved, shortcut keys for the various settings that the app has to offer, and a bunch of other things, as shown in the picture below.
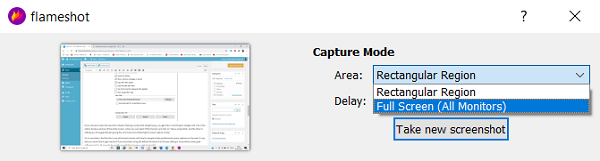
If you choose to open the launcher instead of taking a screenshot straight away, you get a few more things to dangle with. One is the option to take a picture of the entire screen, where you can select ‘Entire Screen’ and click on ‘Take a screenshot,’ and the other is setting up a time gap between giving the command and initializing the screen capture mode.
So, to conclude, I feel like this is one of the best choices out there for people to take professional screen captures on the web.
It may take you some time to get used to it if you have been using the default Windows Print Screen setting or some other screen grab software, but it will prove to be a really powerful tool once you get a hang of it. You can download it from flameshot.org.
