Encountering command-line errors while configuring system boot settings can be intimidating, especially when the error message is cryptic. The following error is a common hurdle when using bcdedit, the Windows Boot Configuration Data (BCD) editor.
The element data type specified is not recognized, or does not apply to the specified entry

You may see this error when you try to change a Boot Configuration Data (BCD) entry using the bcdedit /set command. This error happens if you provide a value that doesn’t match what the entry expects or if you mention an element that doesn’t exist for that entry.
For example, the command bcdedit /set {bootmgr} defaultdisplaymode 1366 768 does not work because the defaultdisplaymode element may not apply to the {bootmgr} entry or may require a different format, such as just one display mode identifier instead of separate width and height values.
This error often occurs when users manually change boot settings, such as boot menus, display resolutions, or timeout values. Mistakes can include spelling the element name incorrectly, using the wrong syntax, or trying to set a value that the bootloader cannot accept.
The element data type specified is not recognized, or does not apply to the specified entry
If you get the error message saying The element data type specified is not recognized, or does not apply to the specified entry, follow these solutions.
- Verify the correct Element name for the Target Entry
- Check the required Data Format for the Element
- Ensure you’re targeting the correct Entry Identifier
- Verify that the element is supported by your Windows Version
Let us talk about them in detail.
1] Verify the correct Element name for the Target Entry

The element defaultdisplaymode might not be applicable to the {bootmgr} object. Use bcdedit /enum all to list all entries and their supported elements. For boot manager settings, you may need to use elements like displaybootmenu, timeout, or bootsequence. Check Microsoft documentation or run bcdedit /? types to see which elements are valid for each entry type.
2] Check the required Data Format for the Element
You’re seeing this error because you’re trying to set a resolution with an element called defaultdisplaymode, which doesn’t accept width and height values; it needs a specific display mode identifier instead. The boot manager uses a different element called graphicsresolution, which is meant to take a resolution string formatted as WidthxHeight. By using graphicsresolution, you clearly specify the resolution for the boot menu, enabling the boot loader to apply it right away.
Open Command Prompt as Administrator and run the following command.

bcdedit /set {bootmgr} graphicsresolution 1366x768
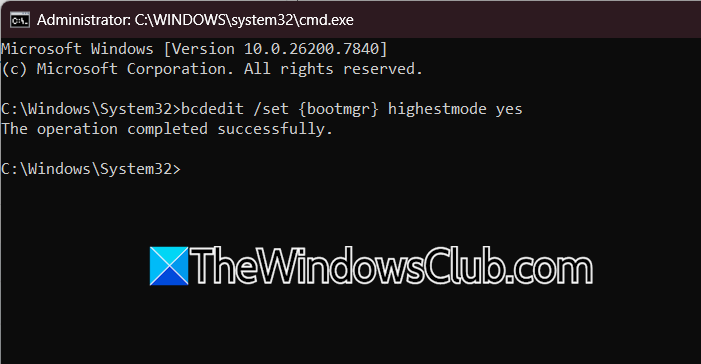
This sets the boot menu resolution to 1366×768. If you want to enable the high‑resolution mode as well, you can add.
bcdedit /set {bootmgr} highestmode yes
Then restart your PC to see the new boot menu resolution.
3] Ensure you’re targeting the correct Entry Identifier
The error can occur if you apply a setting to the wrong boot entry. Each entry, like boot manager {bootmgr}, a specific OS {default}, or a legacy installer, supports different elements. For example, description works with OS entries but not {bootmgr}, while displaybootmenu applies to {bootmgr} but not to OS entries. Applying unsupported settings results in an error from Windows.
You need to first identify all available boot entries by running bcdedit /enum all.
Look at the output and find the entry you actually want to modify. Common identifiers include:
- {bootmgr} – controls the boot manager menu
- {default} – the default operating system
- {current} – the operating system you’re currently using
Once you’ve identified the correct entry, apply your command to that identifier. For example, to change the timeout for the boot menu (which belongs to {bootmgr}), use bcdedit /set {bootmgr} timeout 30.
To rename an operating system entry, run the following command.
bcdedit /set {default} description "Windows 11 Pro"
Hopefully, this will allow you to run the bcdedit command successfully.
4] Verify that the element is supported by your Windows Version
Some BCD elements were introduced in newer versions of Windows and simply don’t exist in older ones. For example, graphicsresolution and highestmode are available only in Windows 8, 10, and 11. If you’re running Windows 7 or Vista, these elements won’t be recognized, and you’ll get the “data type not recognized” error even if your syntax is perfect.
Check your Windows version by typing winver in the Run dialog (press Windows + R). If you’re on an older OS.
Consult Microsoft documentation or run bcdedit /? set to see which elements are available in your version.
For boot menu resolution on older systems, you may need to rely on BIOS settings or third‑party boot managers. If you’re on a newer version but the element still isn’t recognized, run Windows Update to ensure you have the latest boot components.
For example, on a supported Windows version, enabling high‑resolution boot menus correctly would look like something as follows.
bcdedit /set {bootmgr} graphicsresolution 1920x1080

bcdedit /set {bootmgr} highestmode yes
Hopefully, with the solutions mentioned earlier, our issue will be resolved.
Read: Dual Boot Repair Tool: Repair BCD Boot Configuration Data
How do I turn on BCDEdit?
BCDEdit is a built-in Windows command-line tool, so you don’t need to turn it on separately. Simply open Command Prompt as Administrator (right-click the Start button and select Command Prompt (Admin) or Windows Terminal (Admin)), then type bcdedit and press Enter to view or modify your boot configuration.
Also Read: Rebuild BCD or Boot Configuration Data file in Windows 11.