For Microsoft Office documents, templates are given more preference. Better the background of the template, better the appreciation you get after your presentation. In Office, its programs like Word, PowerPoint, etc., have built-in templates. These components are also integrated with an online search, so that you can find the template exactly you’re looking for, from the web.
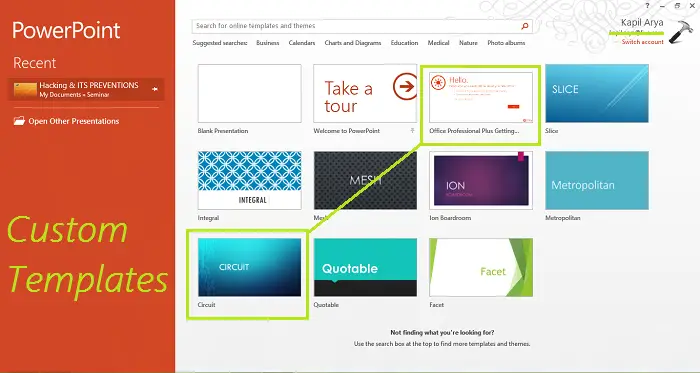
In this article, we’ll show you the way to configure Office components to install custom templates.
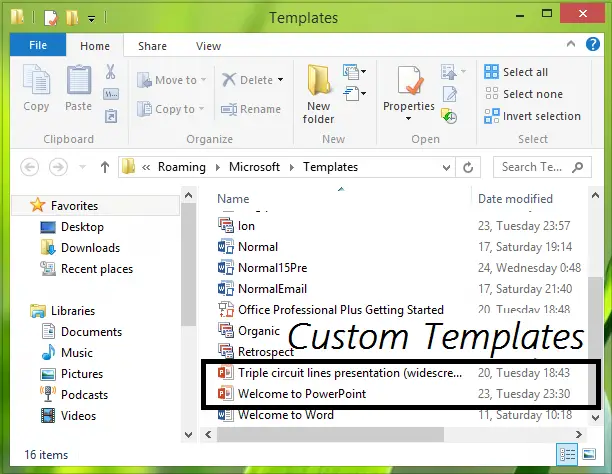
By default, Office installs the custom templates at the same location, where the predefined templates are. The default User Templates location is:
C:\Users\UserName\AppData\Roaming\Microsoft\Templates
In other words, this article will let you know, how to set the default personal templates location for Office components.
Configure Custom Templates Installation Location for Office
1. First, of all, create a Customs Office Templates named folder in the Documents folder. However, mine was created already by Office, but Office didn’t bother to install any custom template which I had downloaded from the web; instead, it used the built-in folder to do that.
2. Press Windows Key + R combination, type put Regedt32.exe in Run dialog box and hit Enter to open the Registry Editor.
3. Navigate to the following location:
HKEY_CURRENT_USER\Software\Microsoft\Office\15.0\Word\Options
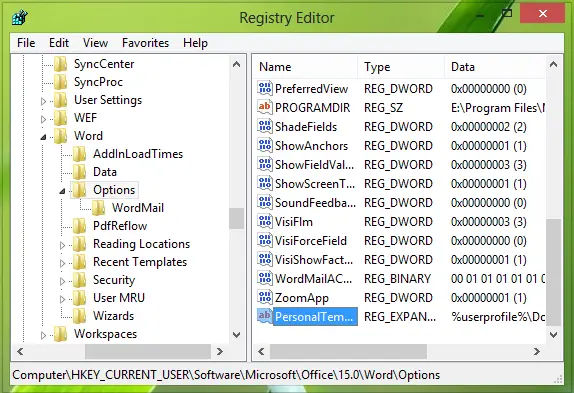
4. In the right pane of this location, create a new string (REG_EXPAND_SZ) named PersonalTemplates, using Right-click -> New -> Expandable String Value. Double-click the string so created for modifying its Value data:
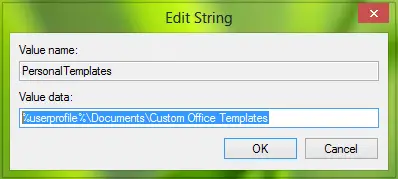
Put the Value data as the location of Customs Office Templates folder which we’ve created in step 1. Click OK.
You may close the Registry Editor now and reboot to get changes you’ve made effective.
So now, Office should start saving custom templates to the folder we’ve created in step 1.
That’s it!
Related post: Download free Word, Excel, PowerPoint, Access, Visio templates.
