This tutorial comes in handy for those users who want to know how to set a DEFAULT User Logon Picture for ALL users in Windows 11/10/8.1. It could be the case of an office computer, where you may want to display the default company logo on a small number of computers. This can easily be achieved by making small changes in the Windows Registry or the Group Policy.

Set a default User Logon Picture for all Users
To change the default User Account Picture in one go, get a picture that you want to display as the default logon picture. The image can be in .JPEG, .BMP, .DIB, .RLE, or .PNG format.
The image size should be 125x125px, in order to display properly. If the image used is bigger than this size, then it will be automatically cropped to fit the logon frame – or the image could be cut off.
Now, enable Show hidden files via Folder Options in order to change the default logon image, as Program Data stores default account pictures – and it is hidden by default.
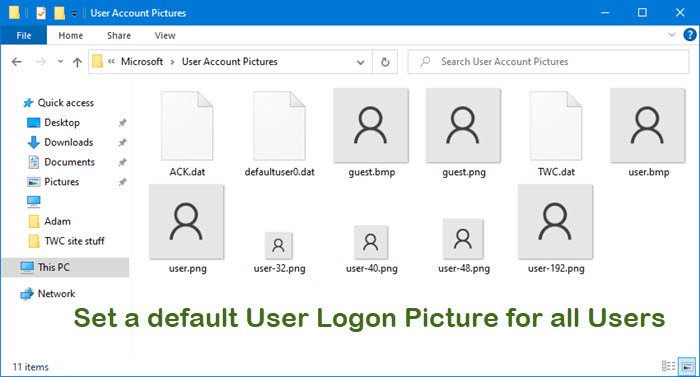
Next, navigate to the following folder:
- Windows 10: C:\ProgramData\Microsoft\User Account Pictures
- Windows 8.1: C:\ProgramData\Microsoft\Default Account Pictures
Here rename guest.bmp and user.bmp as guest.bmp.bak and user.bmp.bak respectively.
Once you have done this, copy-paste the image that you want to show as the default logon picture, here.
Close the Account Picture folder.
Now let us see how to set a default User Logon Picture for all users!
Using Windows Registry

Open the Registry Editor. To do so, press Win+R to open Run dialog box, type regedit and press Enter.
Navigate to the following key:
HKEY_LOCAL_MACHINE\SOFTWARE\Microsoft\Windows\CurrentVersion\Policies\Explorer
In the right panel, right-click and select New > DWORD (32-bit) Value. Give it the name UseDefaultTile.
Click on Modify. Enter Value data as 1 for this DWORD (32-bit) and hit OK. A new registry entries will be added.
Once done close the Registry Editor and restart the computer to apply the changes.
After the system restart, this new default user logon picture will appear for all users.
In case you don’t want to keep the default logon image then simply go to registry editor and navigate to this same key
HKEY_LOCAL_MACHINE\SOFTWARE\Microsoft\Windows\CurrentVersion\Policies\Explorer
and delete UserDefaultTile.
Using Group Policy
If you have a basic understanding of how to work on group policy in a domain environment then these kinds of changes can be done in just a few clicks. The changes will affect all the computers connected to that domain controller in real-time. The Group Policy can be easily applied or removed without going deep into the registry.
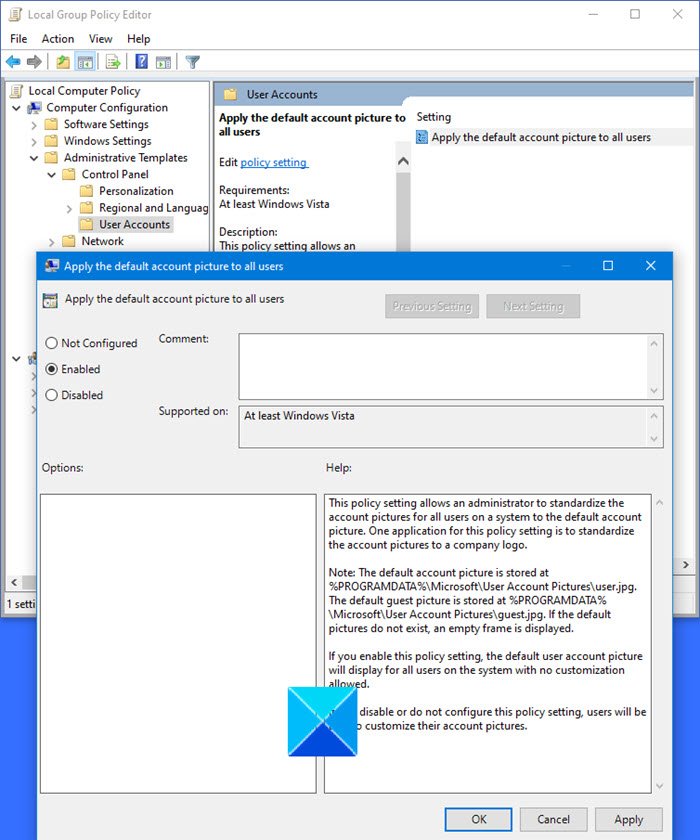
If your version of Windows includes Group Policy, then Run gpedit.msc and navigate to the following setting:
Computer Configuration > Administrative Templates > Control Panel > User Accounts.
This policy setting allows an administrator to standardize the account pictures for all users on a system to the default account picture. One application for this policy setting is to standardize the account pictures to a company logo.
Note: The default account picture is stored at %PROGRAMDATA%\Microsoft\User Account Pictures\user.jpg. The default guest picture is stored at %PROGRAMDATA%\Microsoft\User Account Pictures\guest.jpg. If the default pictures do not exist, an empty frame is displayed.
If you enable this policy setting, the default user account picture will display for all users on the system with no customization allowed.
If you disable or do not configure this policy setting, users will be able to customize their account pictures.
Double-click Apply the default user logon picture to all users, and enable this setting. Click OK/Apply and Exit.
Hope this works for you.
See this post if you want to remove old User Account Pictures in Windows.