Windows 11/10/8.1 has simplified file sharing, and allow users to easily share files and folders with other users on a public network as well as Homegroup. While the method remains the same as what it was in Windows 7, navigating to the settings is a bit different.
Share files in Windows
To share your files and folders, Windows 11/10 users can open the WinX Menu and proceed. In Windows 8, you will have to first bring up the Charms bar by pressing Win+C.
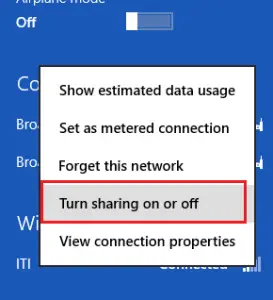
Next click on the Settings menu. Now click on Network, and from the results which appear above, select your network and right-click on it. From the options displayed, select the ‘Turn sharing on or off‘ option.
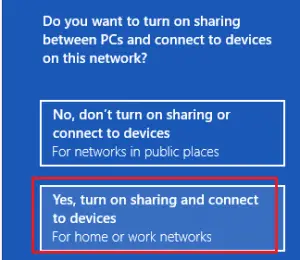
When prompted if you want to turn on sharing and connecting, select the second option that says ‘Yes turn on sharing and connect to devices‘.
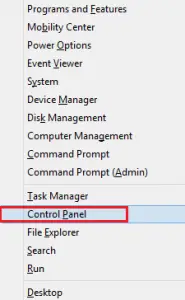
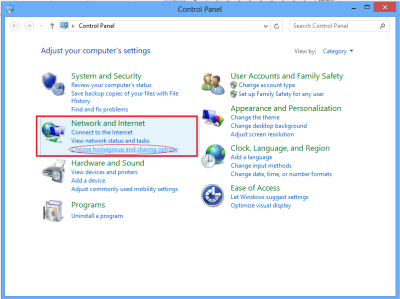
Next, go back to the Desktop mode, press Win+X to bring up the Power Tasks Menu and from it choose ‘Control Panel‘.
Go to the ‘Network and Internet‘ menu. Just under it, you will find ‘Choose Homegroup and sharing option‘ link. Click on that link.
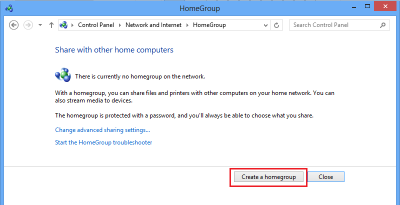
The ‘Homegroup’ screen will open, and you will be requested to create a Homegroup if you haven’t created any yet. To create a Homegroup, click on the ‘Create a Homegroup‘ button and select the files/devices you would like to share and set the permission levels for them.
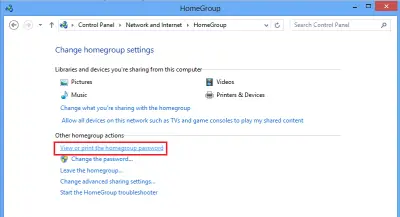
When the next screen appears on your computer, specify other Homegroup actions. Here, I chose ‘View or print the Homegroup password‘.
Once you specify this Homegroup action, the password screen will appear displaying a long password in a block. This password is automatically generated by Windows for you.
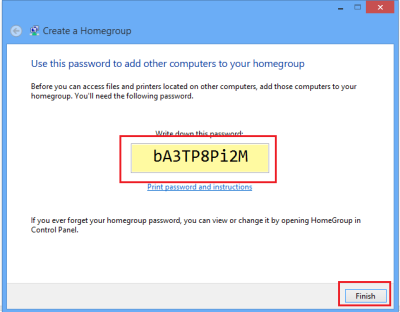
Just below it, the steps to connect other computers to the Homegroup are highlighted. Remember the password for this purpose, and note it down in a safe place, if you wish.
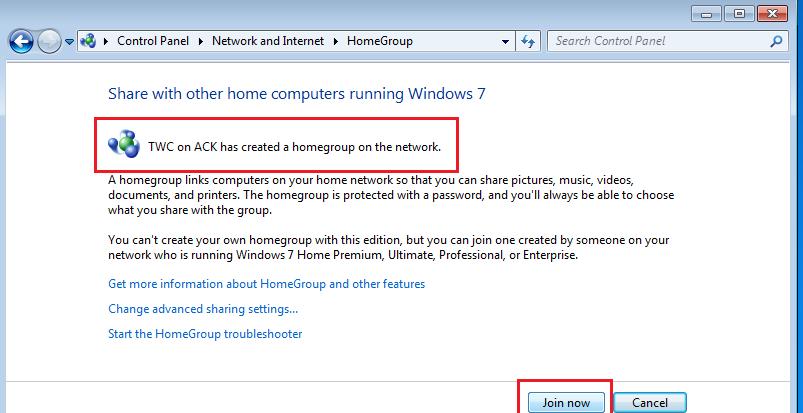
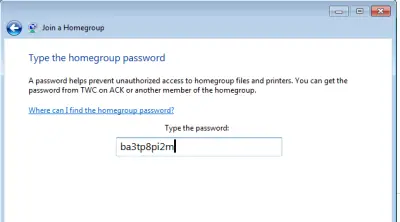
I tried connecting one Windows PC with this Windows computer. I chose the homegroup option and clicked ‘Join now‘ button.

Immediately, I was prompted for entering the password that I was provided earlier for sharing and connecting purposes, which I did.
Now select the files you would like to access on the other PC.
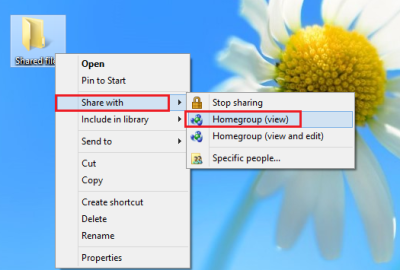
To do this, first, create a folder on the desktop and give it a suitable name such as shared files. Then, right-click that folder and select the ‘Share With’> Homegroup View option.
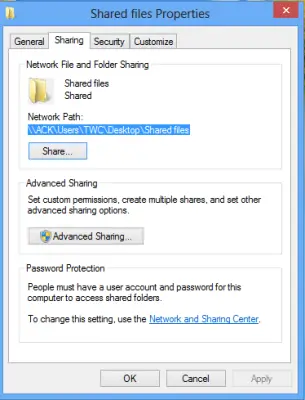
Next, specify the path for sharing. For this, again right-click on the folder and this time choose ‘Properties’. Then click on the ‘Sharing tab’ to locate the path.
Now, go to your other computer, and click the ‘Start’ menu. In its ‘search programs and files’ field, type the path you located earlier and hit ‘Enter’.
That’s it! You will be directed directly to that folder.
Now read: