Blogging is a necessary part of our life these days, and tools like WordPress make it even easier. WordPress is nowadays the most used platform for blogging and creating websites. But setting up WordPress is slightly difficult for newcomers. The non-geeky people prefer to host their blogs on Wordpress.com, as this takes care of many of your other problems too when hosting your blog. But what if you need lots of space want to host a blog or a website on your PC?
We have seen how to create a WordPress site on Windows easily with Microsoft WebMatrix. In this two-part tutorial, we will see how to install or host a WordPress site using Microsoft IIS.
Host WordPress blog with Microsoft IIS
To get started your Windows PC should meet some system requirements. In this is the two-part tutorial, we will talk about setting up IIS7 and MySQL to work with your blog and learn about configuring and creating the MySQL server and configuring WordPress later on.
Download WordPress
- Click here to visit the WordPress.org download page.

- Download WordPress’ latest version.
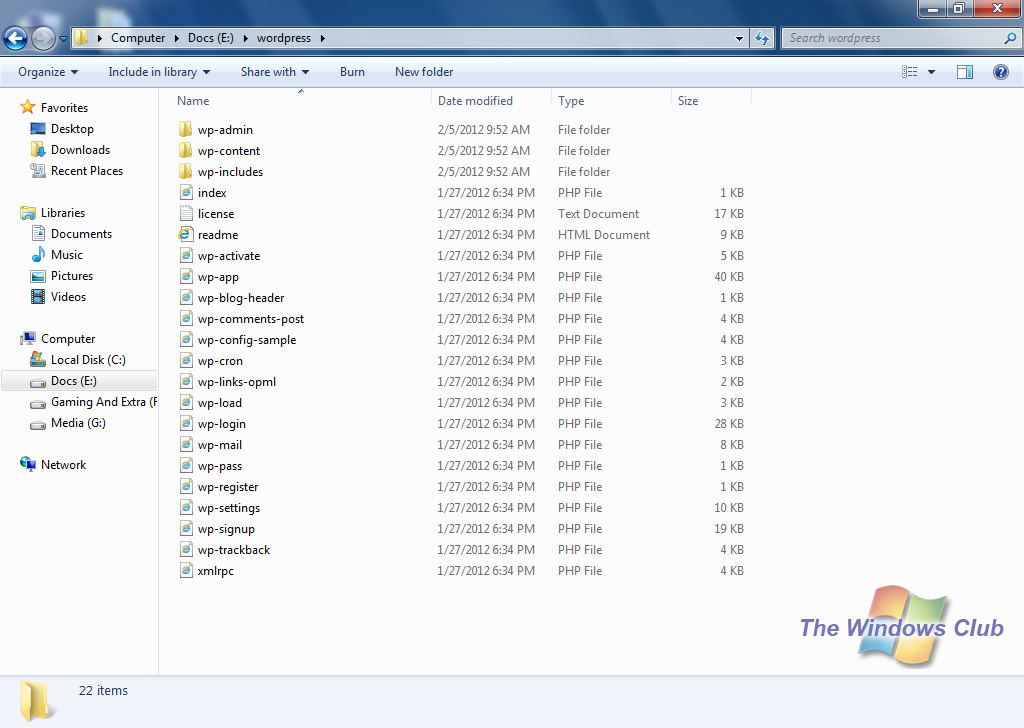
- Extract the contents of the file in one folder.


Setting up MySQL and PHP
- Click here to download PHP (download the installer only).
- Install PHP. The setup will guide you through the installation.
- Click here to download My SQL. (Download My SQL installer only)
- Run the downloaded file
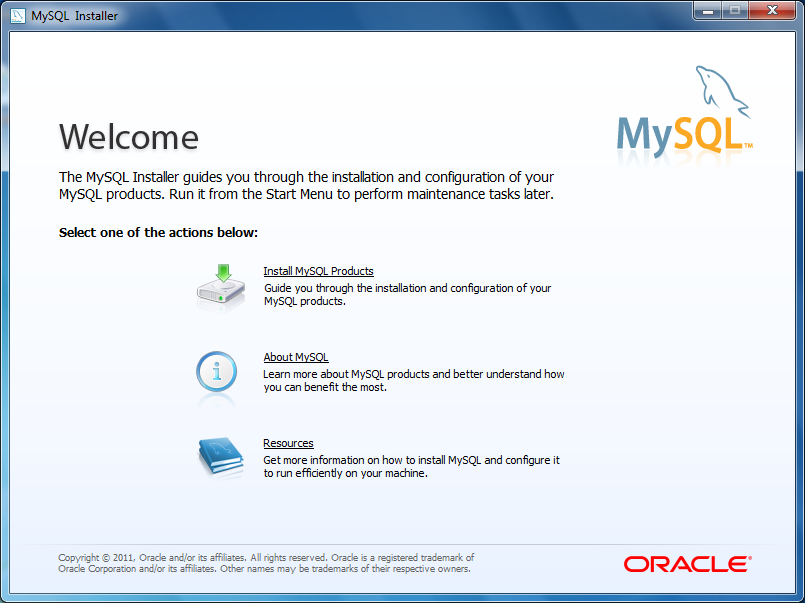
- When the Setup starts, click on Install MySQL products

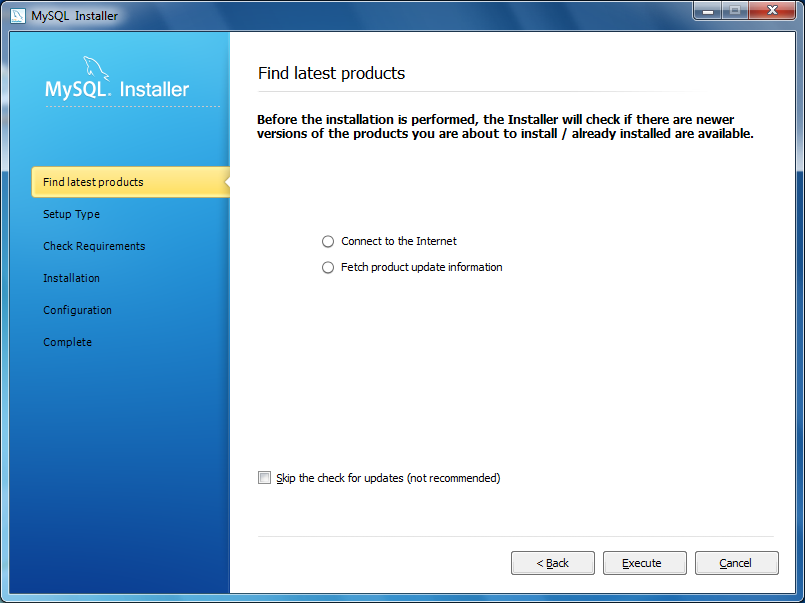
- You will see a Find latest products message. I recommend you to skip the step; it’s a waste of time.

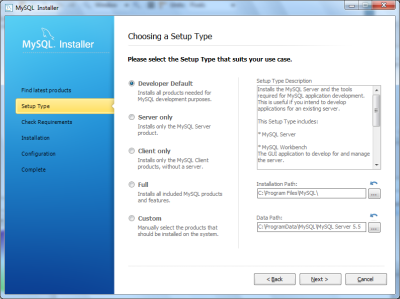
- Choose the “Developer Default” setup type and click Next.
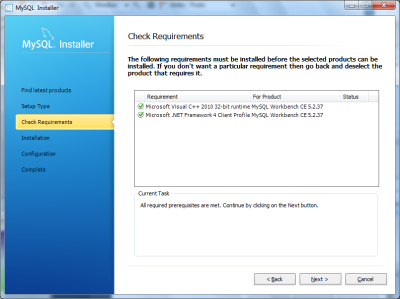
- Check if the requirements are being met or not. If No, then download the required software in the list and click Next.
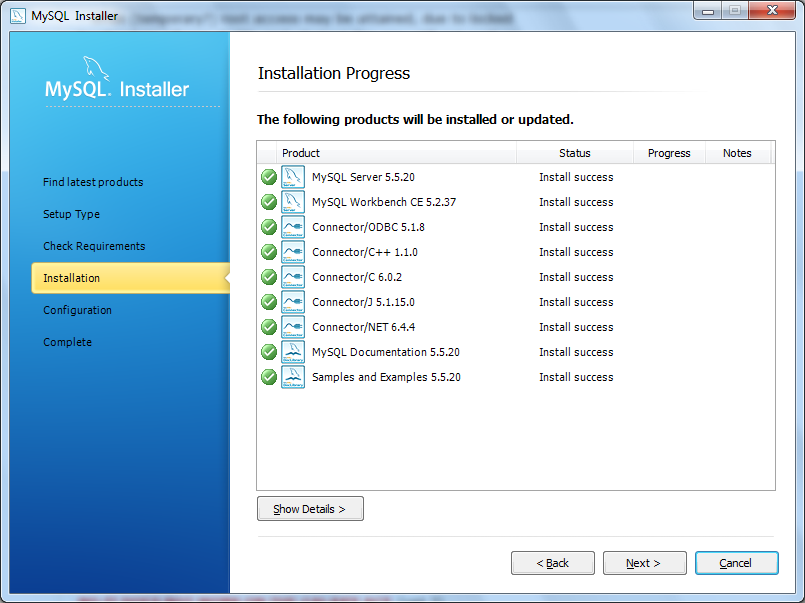
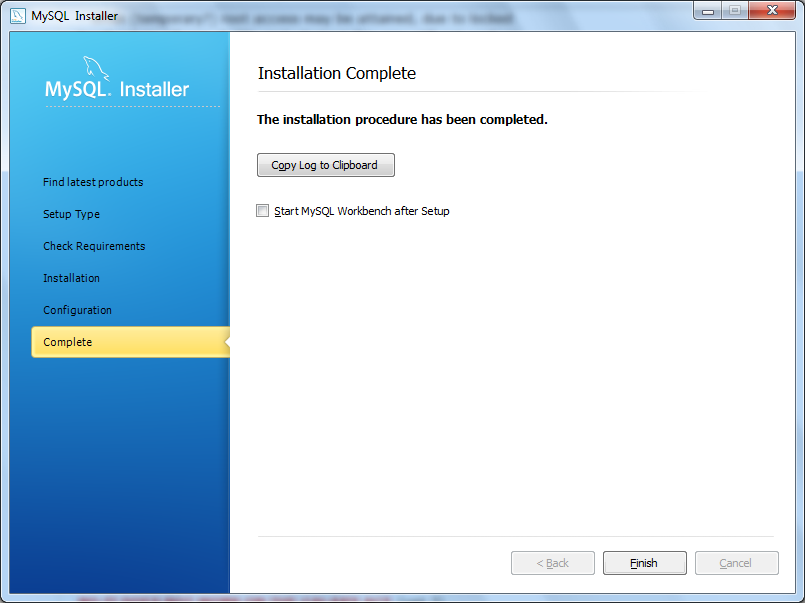
- You will see the screen that would show you the installation status.
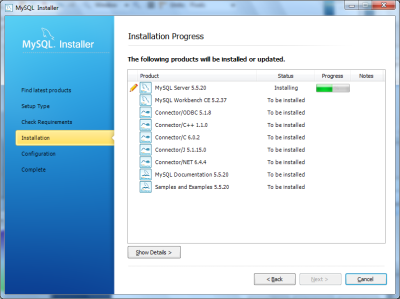
- When the installation completes, click Next.

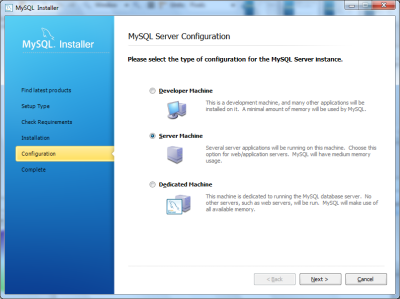
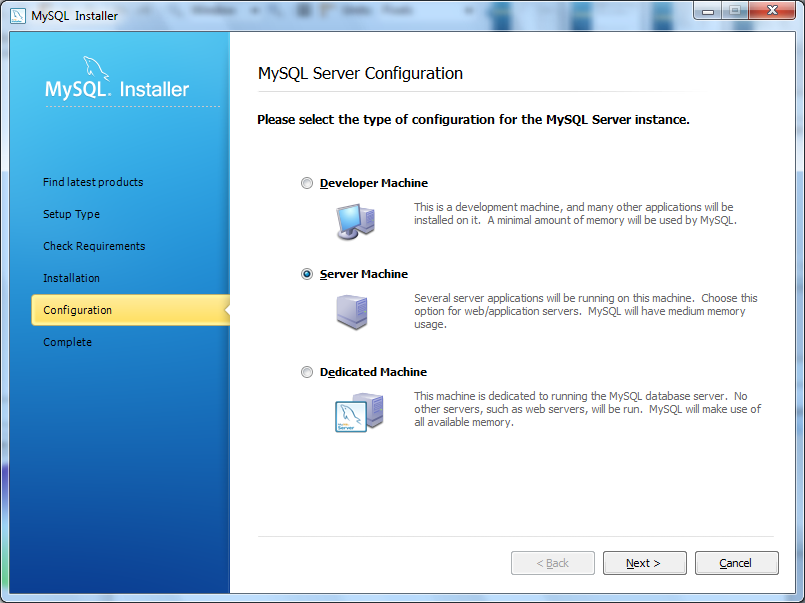
- Now comes the Configuration part. Click Next and select your device as a server machine. Click Next again.
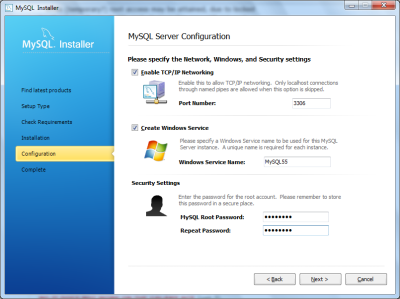
- Select all the options and set any root password you want.
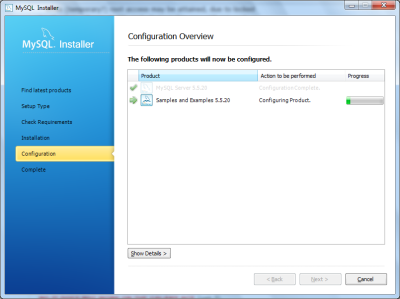
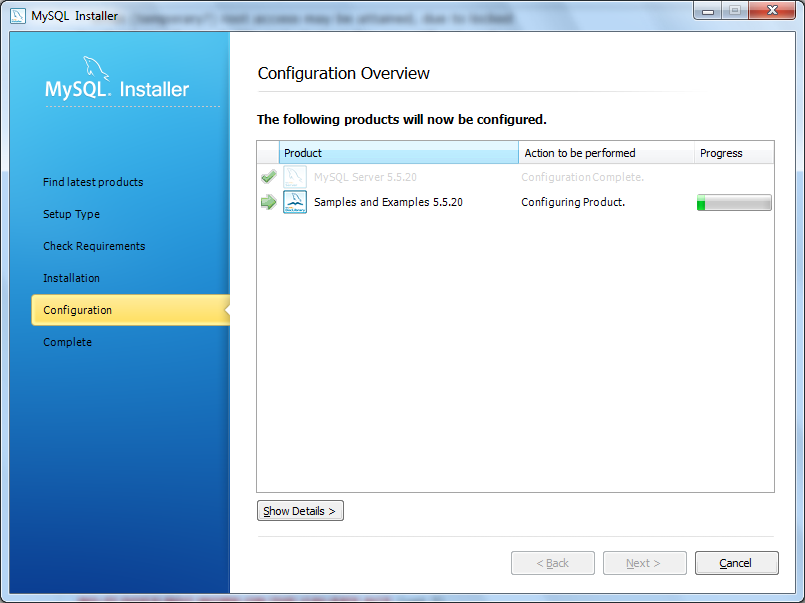
- Now let the program also configure examples and samples.
- Finally, click finish to exit, but do not run the application.


Setting up IIS7
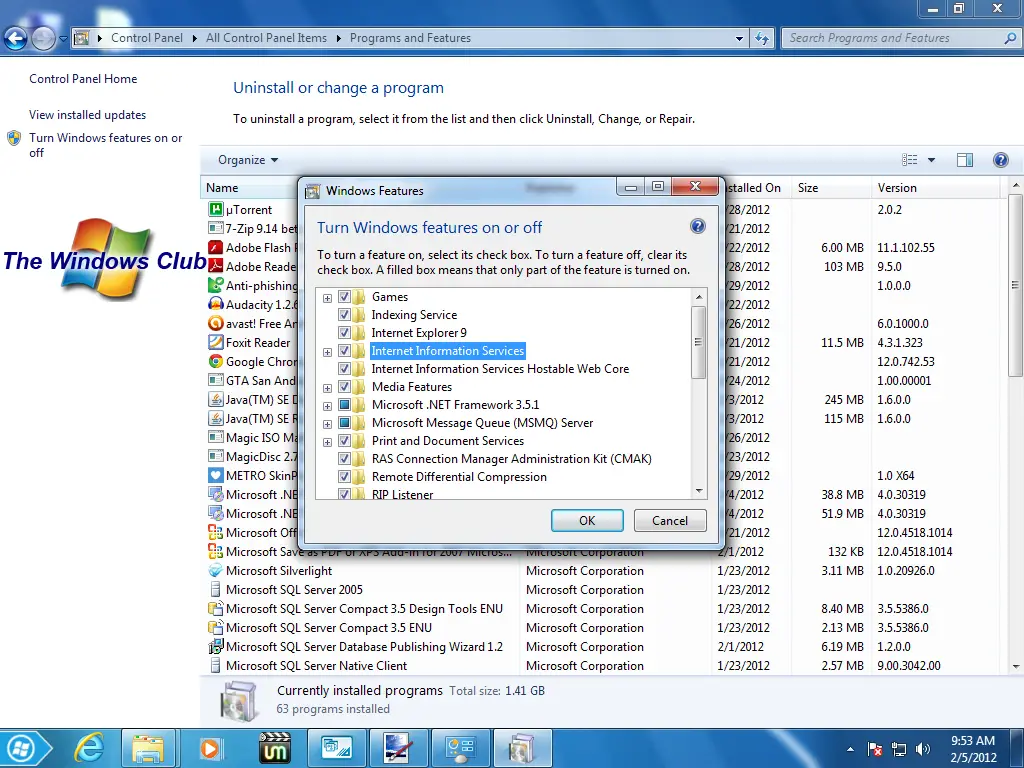
- Go to Control Panel > All Control Panel Programs > Programs and features.
- Click on “Turn Windows Features on or off”

- Enable all the Internet Information Services features and then click on “OK”.
- Wait till it enables the features. A reboot might be required.
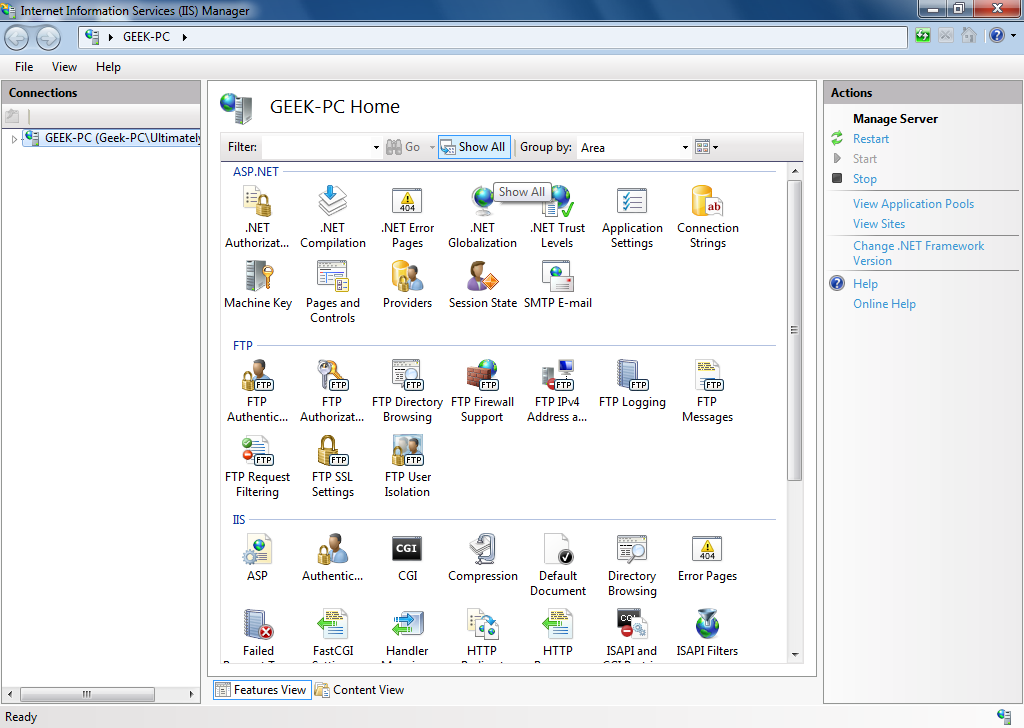
- Now go to Start search and type “IIS”.
- Open IIS manager.
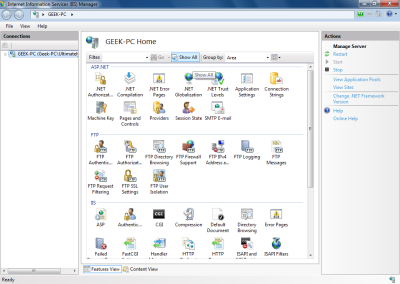
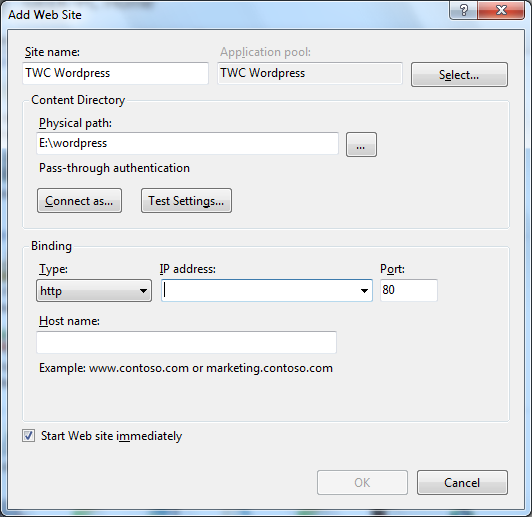
- Right click on your PC name and click on “Add Website.”
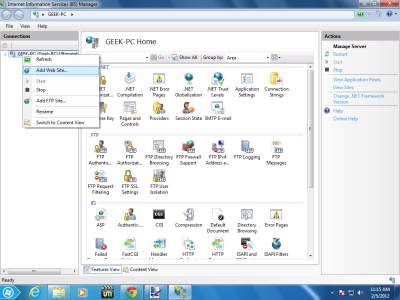
- Enter the site name (anything you want)
- In the physical path enter the path to extracted files and folders of the WordPress file that you downloaded earlier.

- In the IP Address field enter your LAN IP; that generally starts with “192.168.”
- Disable “Default Web Site”
- Now that’s all you have successfully set up IIS.

Now, that’s all for this part. In the next part, we will see how to create a new MySQL database and configure WordPress according to PHP and MySQL.