If you want to watermark an image or a photo without using Word or Photoshop or any other free watermark software, these free online tools will help you add a watermark to an image or a photo. You can use these free web apps to add watermark in bulk, use text as well as the image as watermark.
Add Watermark to Image online
1] Watermark.ws

Watermark.ws is popular because of its simplicity. The free account holders can add a watermark to only one image at a time and process only the first 30 seconds of any video. Talking about other features, you can import files from your PC, Facebook, Google Drive, Evernote, or any other popular cloud storage. It is possible to add a text watermark as well as an image watermark. For a text watermark, you can find dozens of fonts to use.
2] PicMarkr
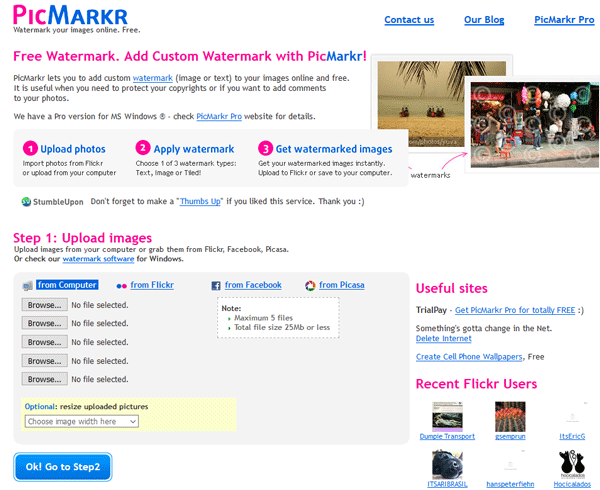
PicMarkr.com is yet another very useful and free tool to add a watermark to any image. Unlike Watermark.ws, you can upload & process multiple files at a time. It is possible to upload five images at a time – but the total file size limit is 25MB. The best part is that you can use text as well as image watermark on all the files. It offers a special feature called Tiled watermark. It is possible to import an image from your PC, Flickr, Facebook, and Google Photos – and you can export them to any of these sources after completing the process.
3] Watermark-Images
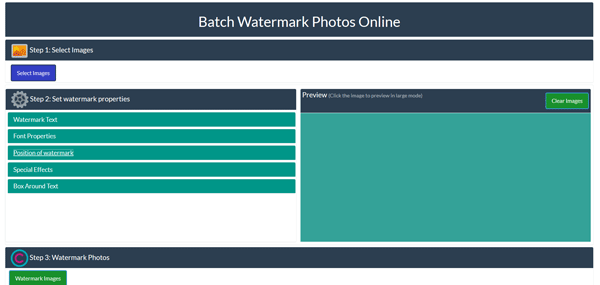
WatermarkImages.com is another web app that can help you watermark your images in bulk. It comes with a neat and clean interface and all the options are well categorized. You can upload a maximum of 18 files at a time. Following that, you would be able to select the watermark text, font family, font size, font color, the position of the watermark, as well as some special effects. You can select the position by choosing Left/Middle/Right or you can opt for the Custom position. The only drawback is you cannot use image watermarks.
Read: Free Watermark software for Windows.
4] Water Marquee

In terms of features, WaterMarquee.com is similar to the other tools mentioned here. However, the user interface wise, it is similar to the very first tool mentioned in this list. Having said that, you can add an image watermark alongside a text watermark to any image. You can customize the text watermark by choosing different fonts, changing font size, color, background, transparency, and so on. Talking about limitations, the free version users can only upload and process 5 images at a time.
5] Watermark Tool
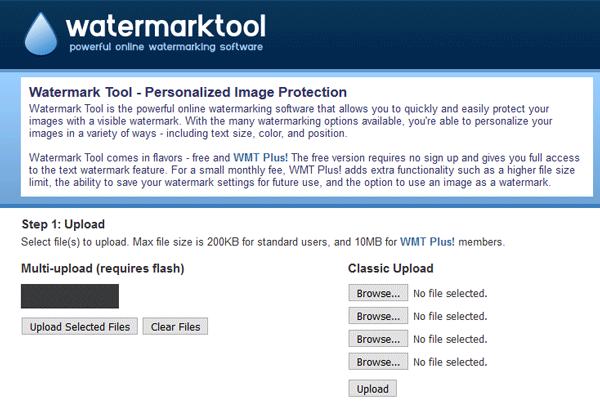
This WatermarkTool.com can add only text watermark. However, you can process up to 5 images at once. Talking about the customization, you can use a custom font, choose the required size, color, opacity, etc. Although it allows users to choose a position, it doesn’t offer a custom position. After processing, you can download the watermarked image to your computer, as usual.
Do you know of any other free online service that allows you to add watermarks to photos and images?
Read next:
- Free Watermark Remover software & Online tools
- Resize, Decorate, Add Borders, Frames, and Watermarks to images with BorderMaker.